NEW - RARE! 1944 D-Day 6th British Airborne Division "PEGASUS BRIDGE" Fragment with History Display Case


NEW - RARE! 1944 D-Day 6th British Airborne Division "PEGASUS BRIDGE" Fragment with History Display Case
Comes with a hand-signed C.O.A. and a full historical research write-up.
*Limited Edition of 50*
Own your piece of history today!
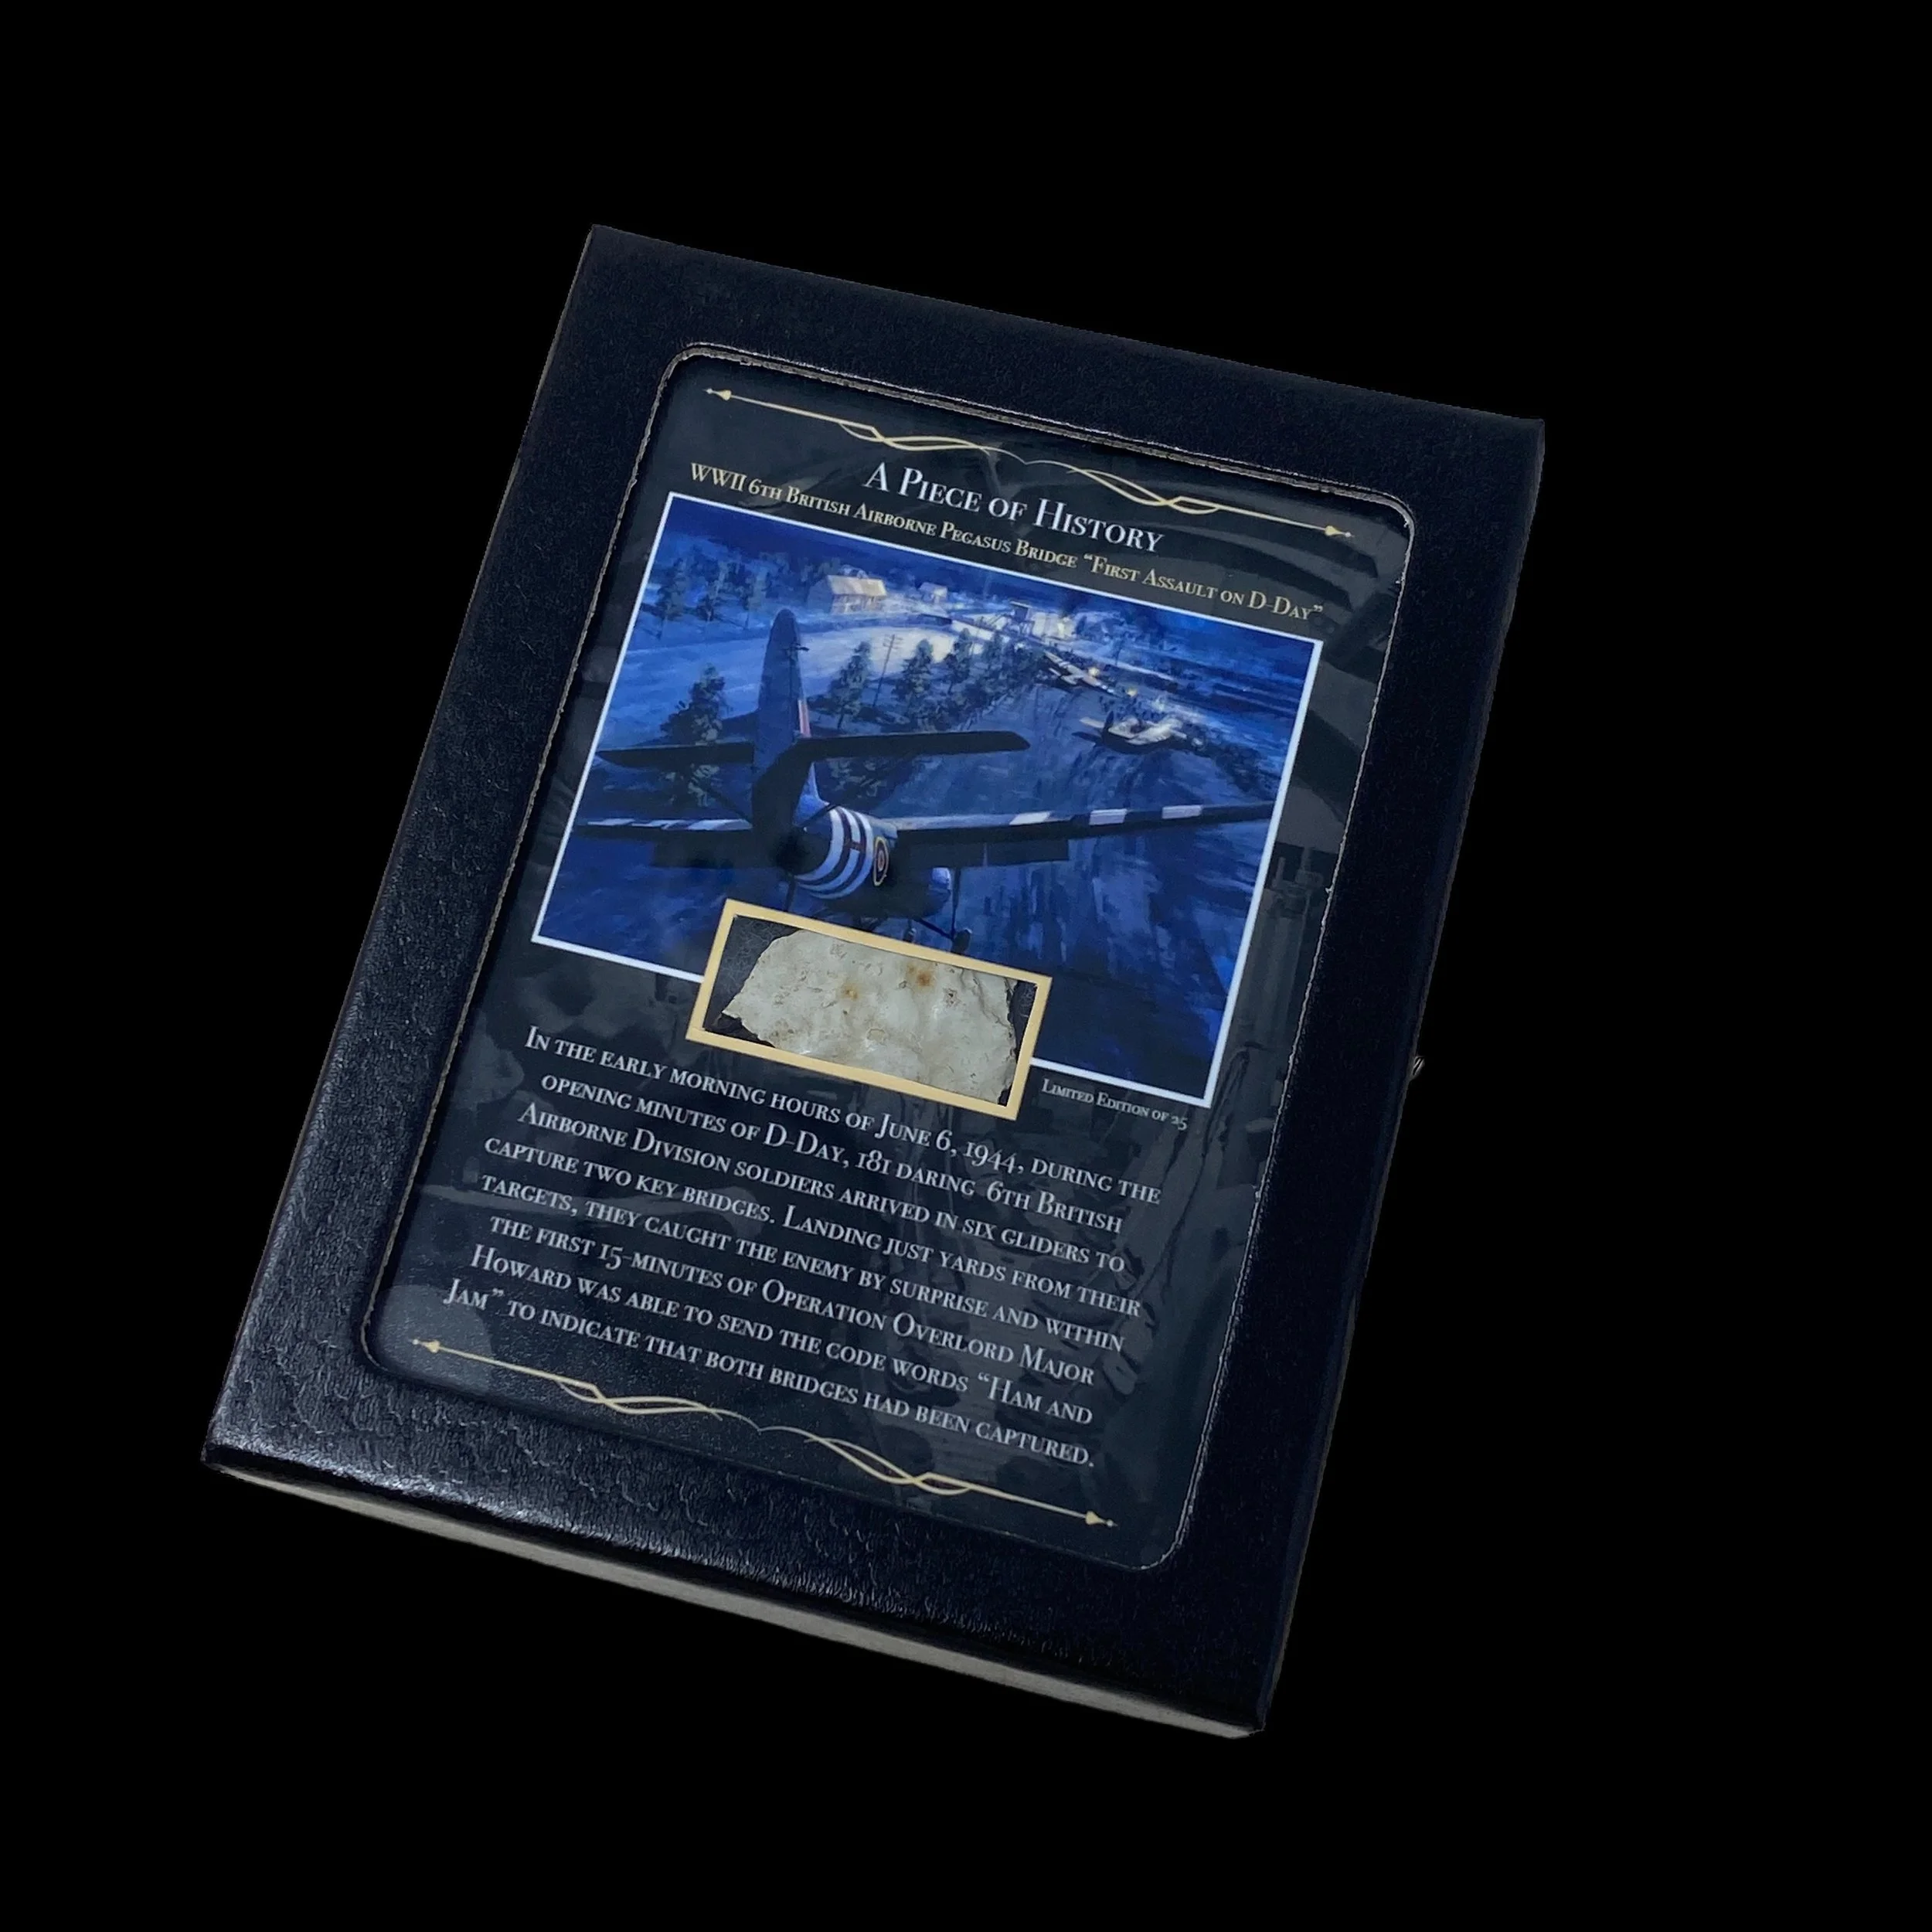
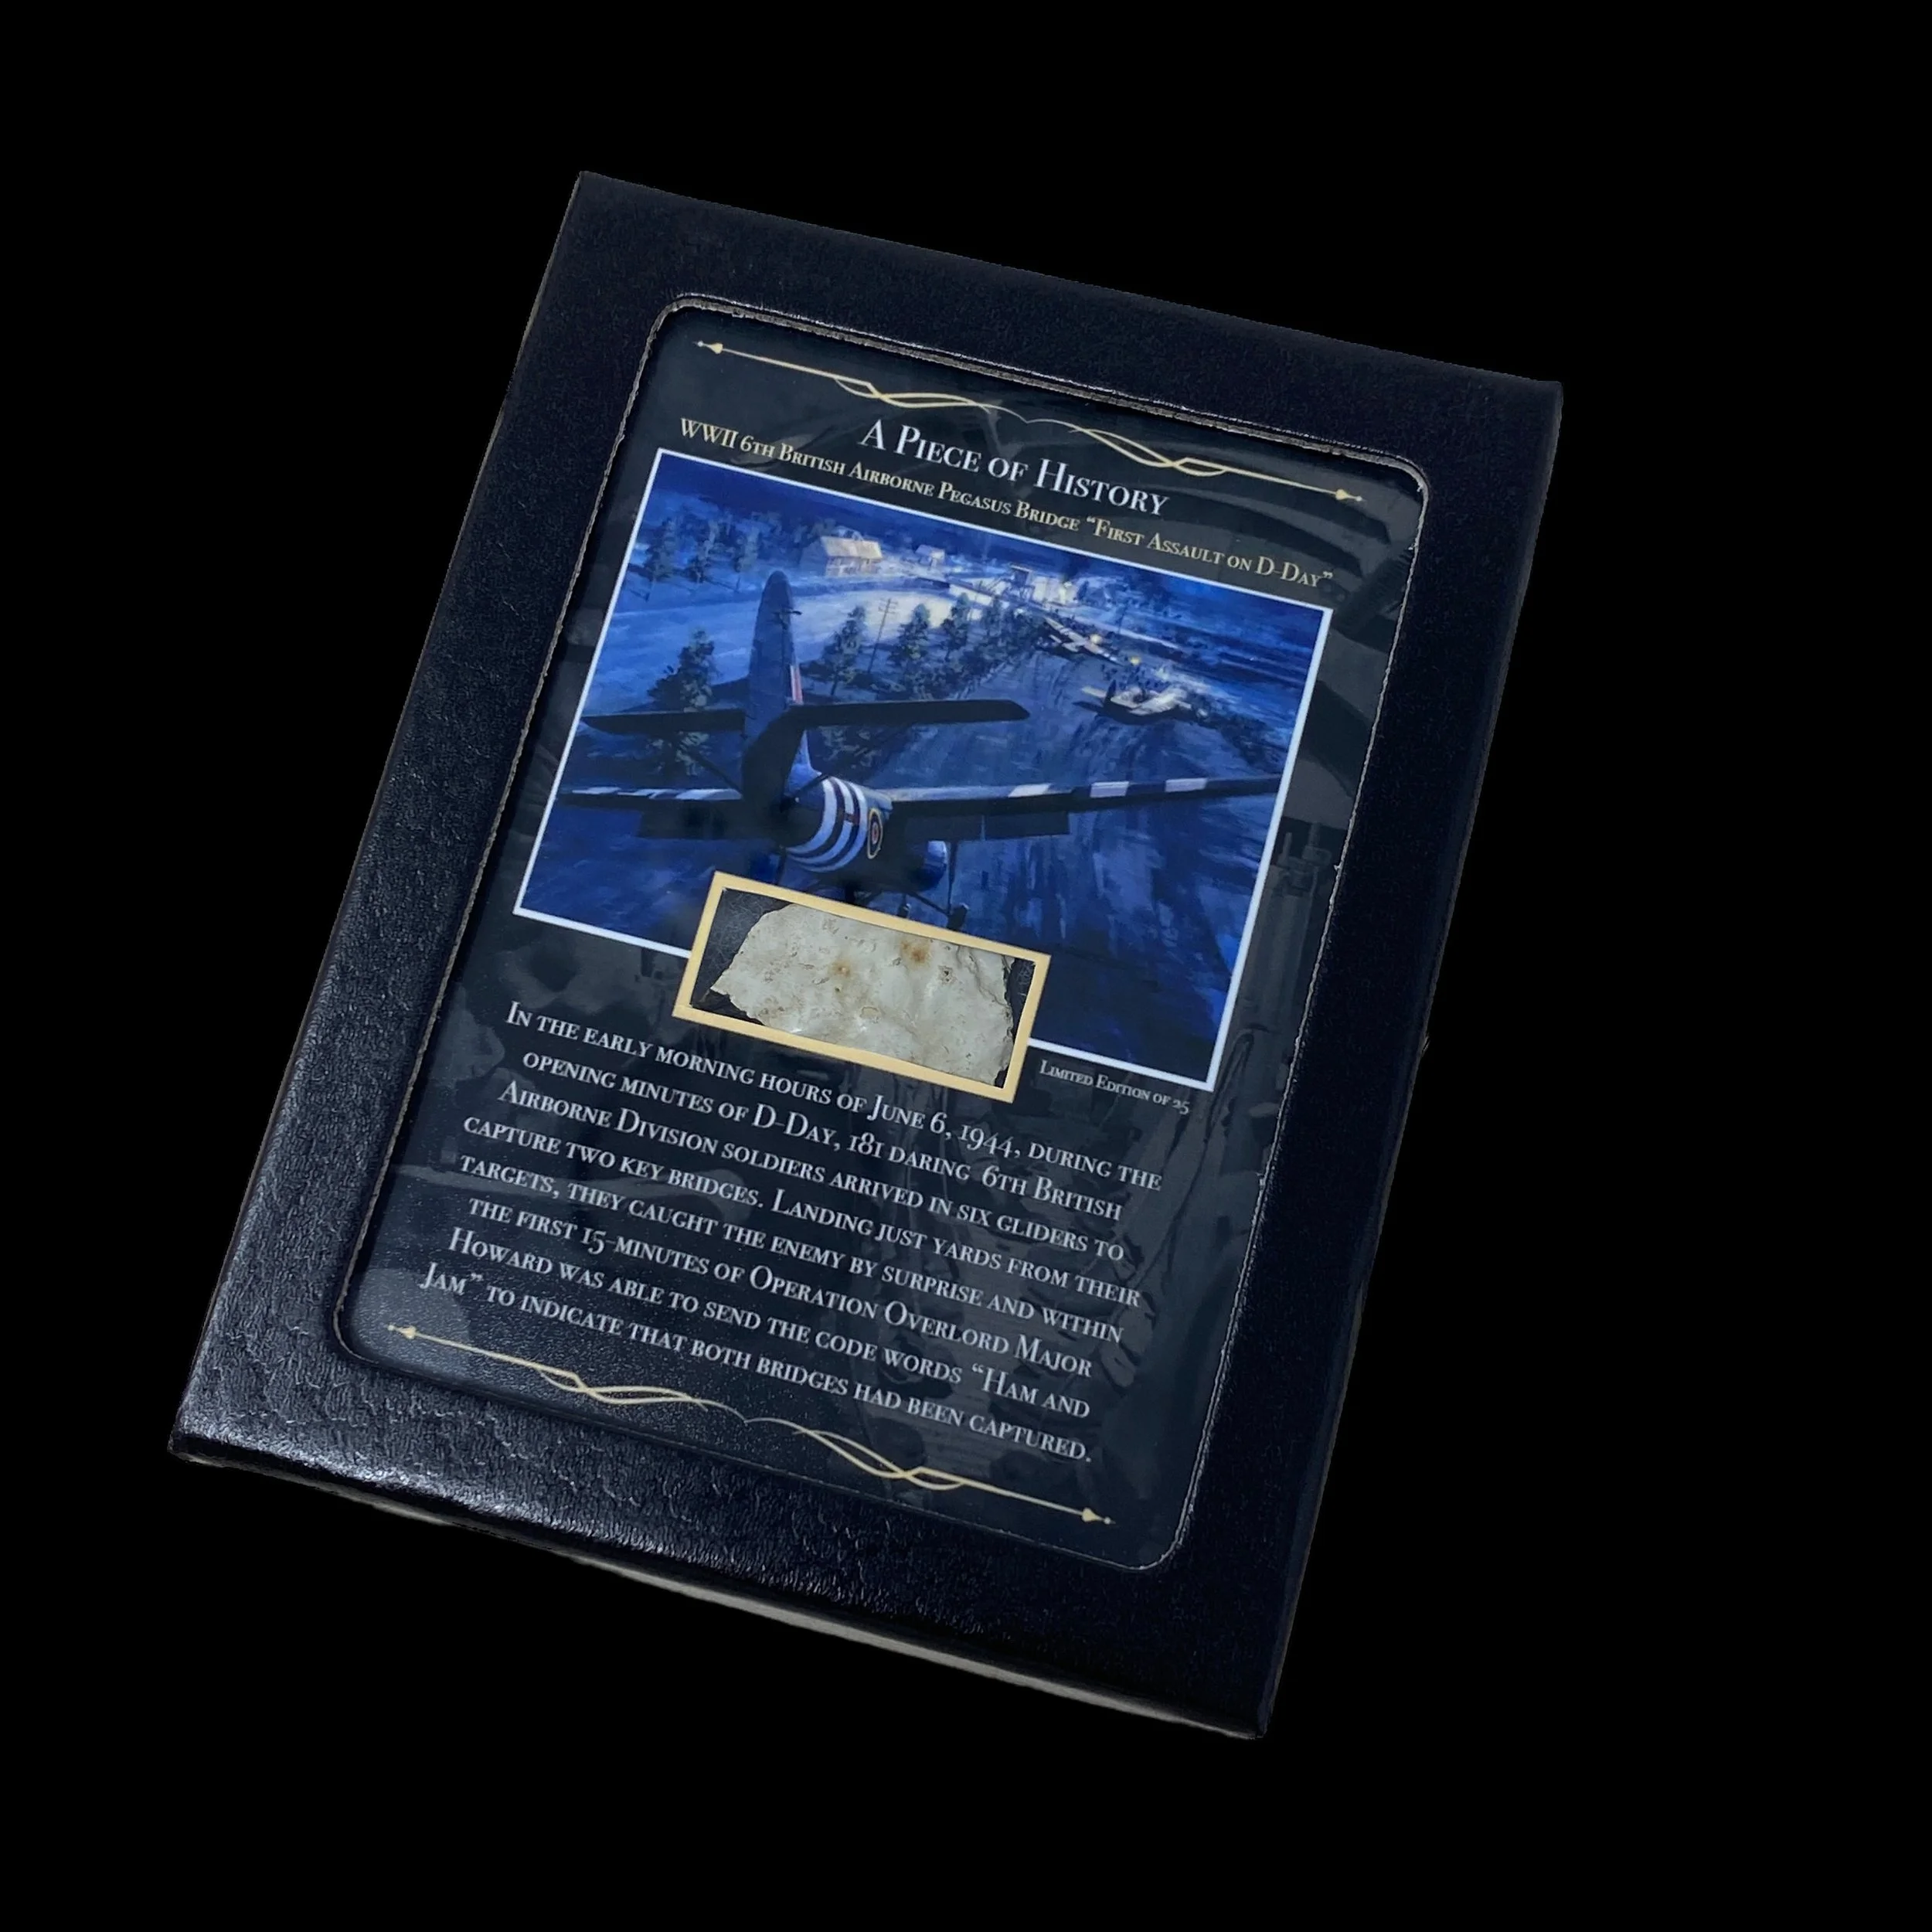
Due to an incredibly high demand for display case options, we are proud to offer one of our LIMITED EDITION series of HISTORIC DISPLAY CASE EXCLUSIVES. This incredible “Piece of History“ is professionally encased in a glass display case with plush padding and a tightly sealed display case. Each display features a historical photograph and a short description that corresponds to the artifact displayed. This display case measures a perfect 4.25 inches tall x 3.25 inches wide.
This series is a limited edition of 50 pieces, meaning that each “Piece of History” display is unique. The D-Day artifact fragment you receive may vary slightly from the display shown.
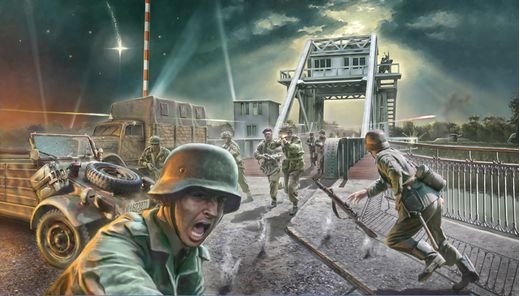
This incredibly rare and very historic piece of WWII history is an original fragment of the infamous Pegasus Bridge (the first British objective to be captured on D-Day).
In the early morning hours of June 6th, 1944 during the opening minutes of D-Day, 181 daring 6th British Airborne Division soldiers arrived in six gliders to capture two key bridges. Landing just yards from their targets, they caught the enemy by surprise and within the first 15 minutes of Operation Overlord Major Howard was able to send the SECRET CODE “ham and jam” to indicate that both brides had been captured and the beachhead invasion was set to commence.
Not only was Pegasus Bridge the first objective captured during the opening minutes of the D-Day invasion, but it was also the place of the first Allied Army casualty. Lieutenant Brotheridge was mortally wounded crossing the bridge in the first minutes of the assault and became the first member of the invading Allied armies to die as a result of enemy fire on D-Day.
D-Day - Pegasus Bridge:
Operation Overlord was the plan to establish an Allied presence in France, which would allow the liberation of Western Europe. The D Day landings in Normandy were the start of this plan. However, in order for this landing to be successful, it was essential to secure a number of key positions before the beach landings took place. During the night before the landings, three airborne divisions were to land by parachute and glider in order to secure the flanks of the landing beaches and protect the troops landing from German counter attacks. The British part of the plan, which was to secure the eastern flank of the invasion, was code-named Operation Tonga and this was assigned to the 6th Airborne Division. The aim was to secure the high ground in between the River Orne and the River Dives, by capturing the Orne bridges and destroying the bridges over the Dives. It was known that the major German armoured forces were to the East and controlling this ground would prevent them moving to the landing beaches. A subsidiary action to this was code-named Operation Deadstick. The objective of Operation Deadstick was to capture intact two road bridges, one across the Orne Canal, known as Bénouville Bridge, and one across the River Orne, known as Ranville Bridge. The control of these bridges was crucial to the success of the invasion. The role of the airborne troops was to ensure that the bridges were captured and to hold them against any counter-attack until relieved by troops from Sword beach. Lord Lovat’s Special Commandos were given the task of leading this relief.
Members of D Company of the Oxford and Buckinghamshire Light Infantry were chosen to capture the two bridge, landing in six gliders, towed by Halifax bombers. Three gliders would land at the River Orne Bridge and three would land at the Canal Bridge. The latter became known as Pegasus Bridge, taking the name of the emblem of the British airborne troops.
THE CAPTURE OF PEGASUS BRIDGE:
On the evening of 5 June 1944, Major John Howard and his company of Ox and Bucks climbed into the trucks which would take them to the gliders. It was only now that they were told of the code ‘Ham and Jam’. When they radioed this code, it would mean that both of the bridges had been taken intact. Once their equipment was loaded on board the gliders, the men climbed aboard, followed by their officers. At 22.56, Glider No 1 took off with Major Howard, followed by the other gliders at one minute intervals. One can only imagine how they felt as they crossed the Channel and then the French coast knowing that if their tug planes were shot down they would be helpless as their glider would crash either into the sea or on land.
At 00.07 the gliders arrived at the coast, where the tug planes released the gliders. They were now in enemy territory. The first sight of Caen was dramatic: it had been bombed and the flames lit the area. Searchlights were desperately looking for targets for their anti-aircraft guns. The men must have breathed a sigh of relief when the gliders turned away from Caen to head towards the bridges from the landward side. Very soon, their landing sites came into view. At Pegasus Bridge Major Howard’s glider landed at 00.11 followed quickly by gliders 2 and 3. Glider No 3 broke in two on impact and Lance-corporal Fred Greenhalgh was knocked unconscious and thrown into a pond. His body was later recovered and he became the first Allied casualty on D Day.
All the men had been training for this mission for many months. They were at the peak of physical fitness. They had attacked replicas of the bridges. Each man knew his task and had practised its completion many times. However, they had not crash landed in a glider. Most of them were concussed for a few seconds on the force of the landing. Nonetheless, their training ensured that they were on their feet and in action within seconds.
There were only two soldiers on sentry duty on the bridge as the Ox and Bucks silently rushed them. A young 18 year old German sentry was walking towards the eastern end of the bridge when he saw a large group of men with blackened faces in camouflaged battle jackets running towards him with guns carried at their hips and ready to fire. Realising the danger, he turned and ran as fast as his legs would carry him shouting, ‘Paratroopers’. The other sentry immediately fired a Very flare and he became the first German soldier to die in battle on that day. Grenades were thrown into the machine-gun pillbox, whilst the sappers were inspecting the bridge for explosives, cutting fuses and wires, although no charges were in place. The gunfire and the flare alerted the German soldiers in machine-gun pits and they opened fire. Lieutenant Brotheridge threw a grenade into a machine-gun pit but was hit by a bullet in his neck. The ferocious fighting continued but by 00.21 German resistance was overcome and the bridge was secured. Some of Brotheridge’s platoon returned to their wounded leader who was now losing consciousness. One of his men described finding him:
I looked at him …. His eyes were open and his lips moving. I put my hand under his head to lift him up. He just looked, choked and he laid back…. I just knelt there and looked and I thought, ‘My God, what a waste.’
Brotheridge was the first Allied soldier to die in action on D Day. Howard quickly established his command post and word came that the Orne Bridge had also been taken. Although only two gliders reached the Orne River Bridge, it was also captured quickly without any enemy intervention.
The code Ham and Jam, confirming a successful operation, was sent repeatedly until it was finally acknowledged. Now, Howard organised his men to defend their position while waiting for reinforcements. It was not long before the 7th Battalion Parachute Regiment, commanded by Lieutenant Colonel Pine-Coffin (one wonders what the men thought of this name!), arrived to assist with defence of the bridge and the approach roads.