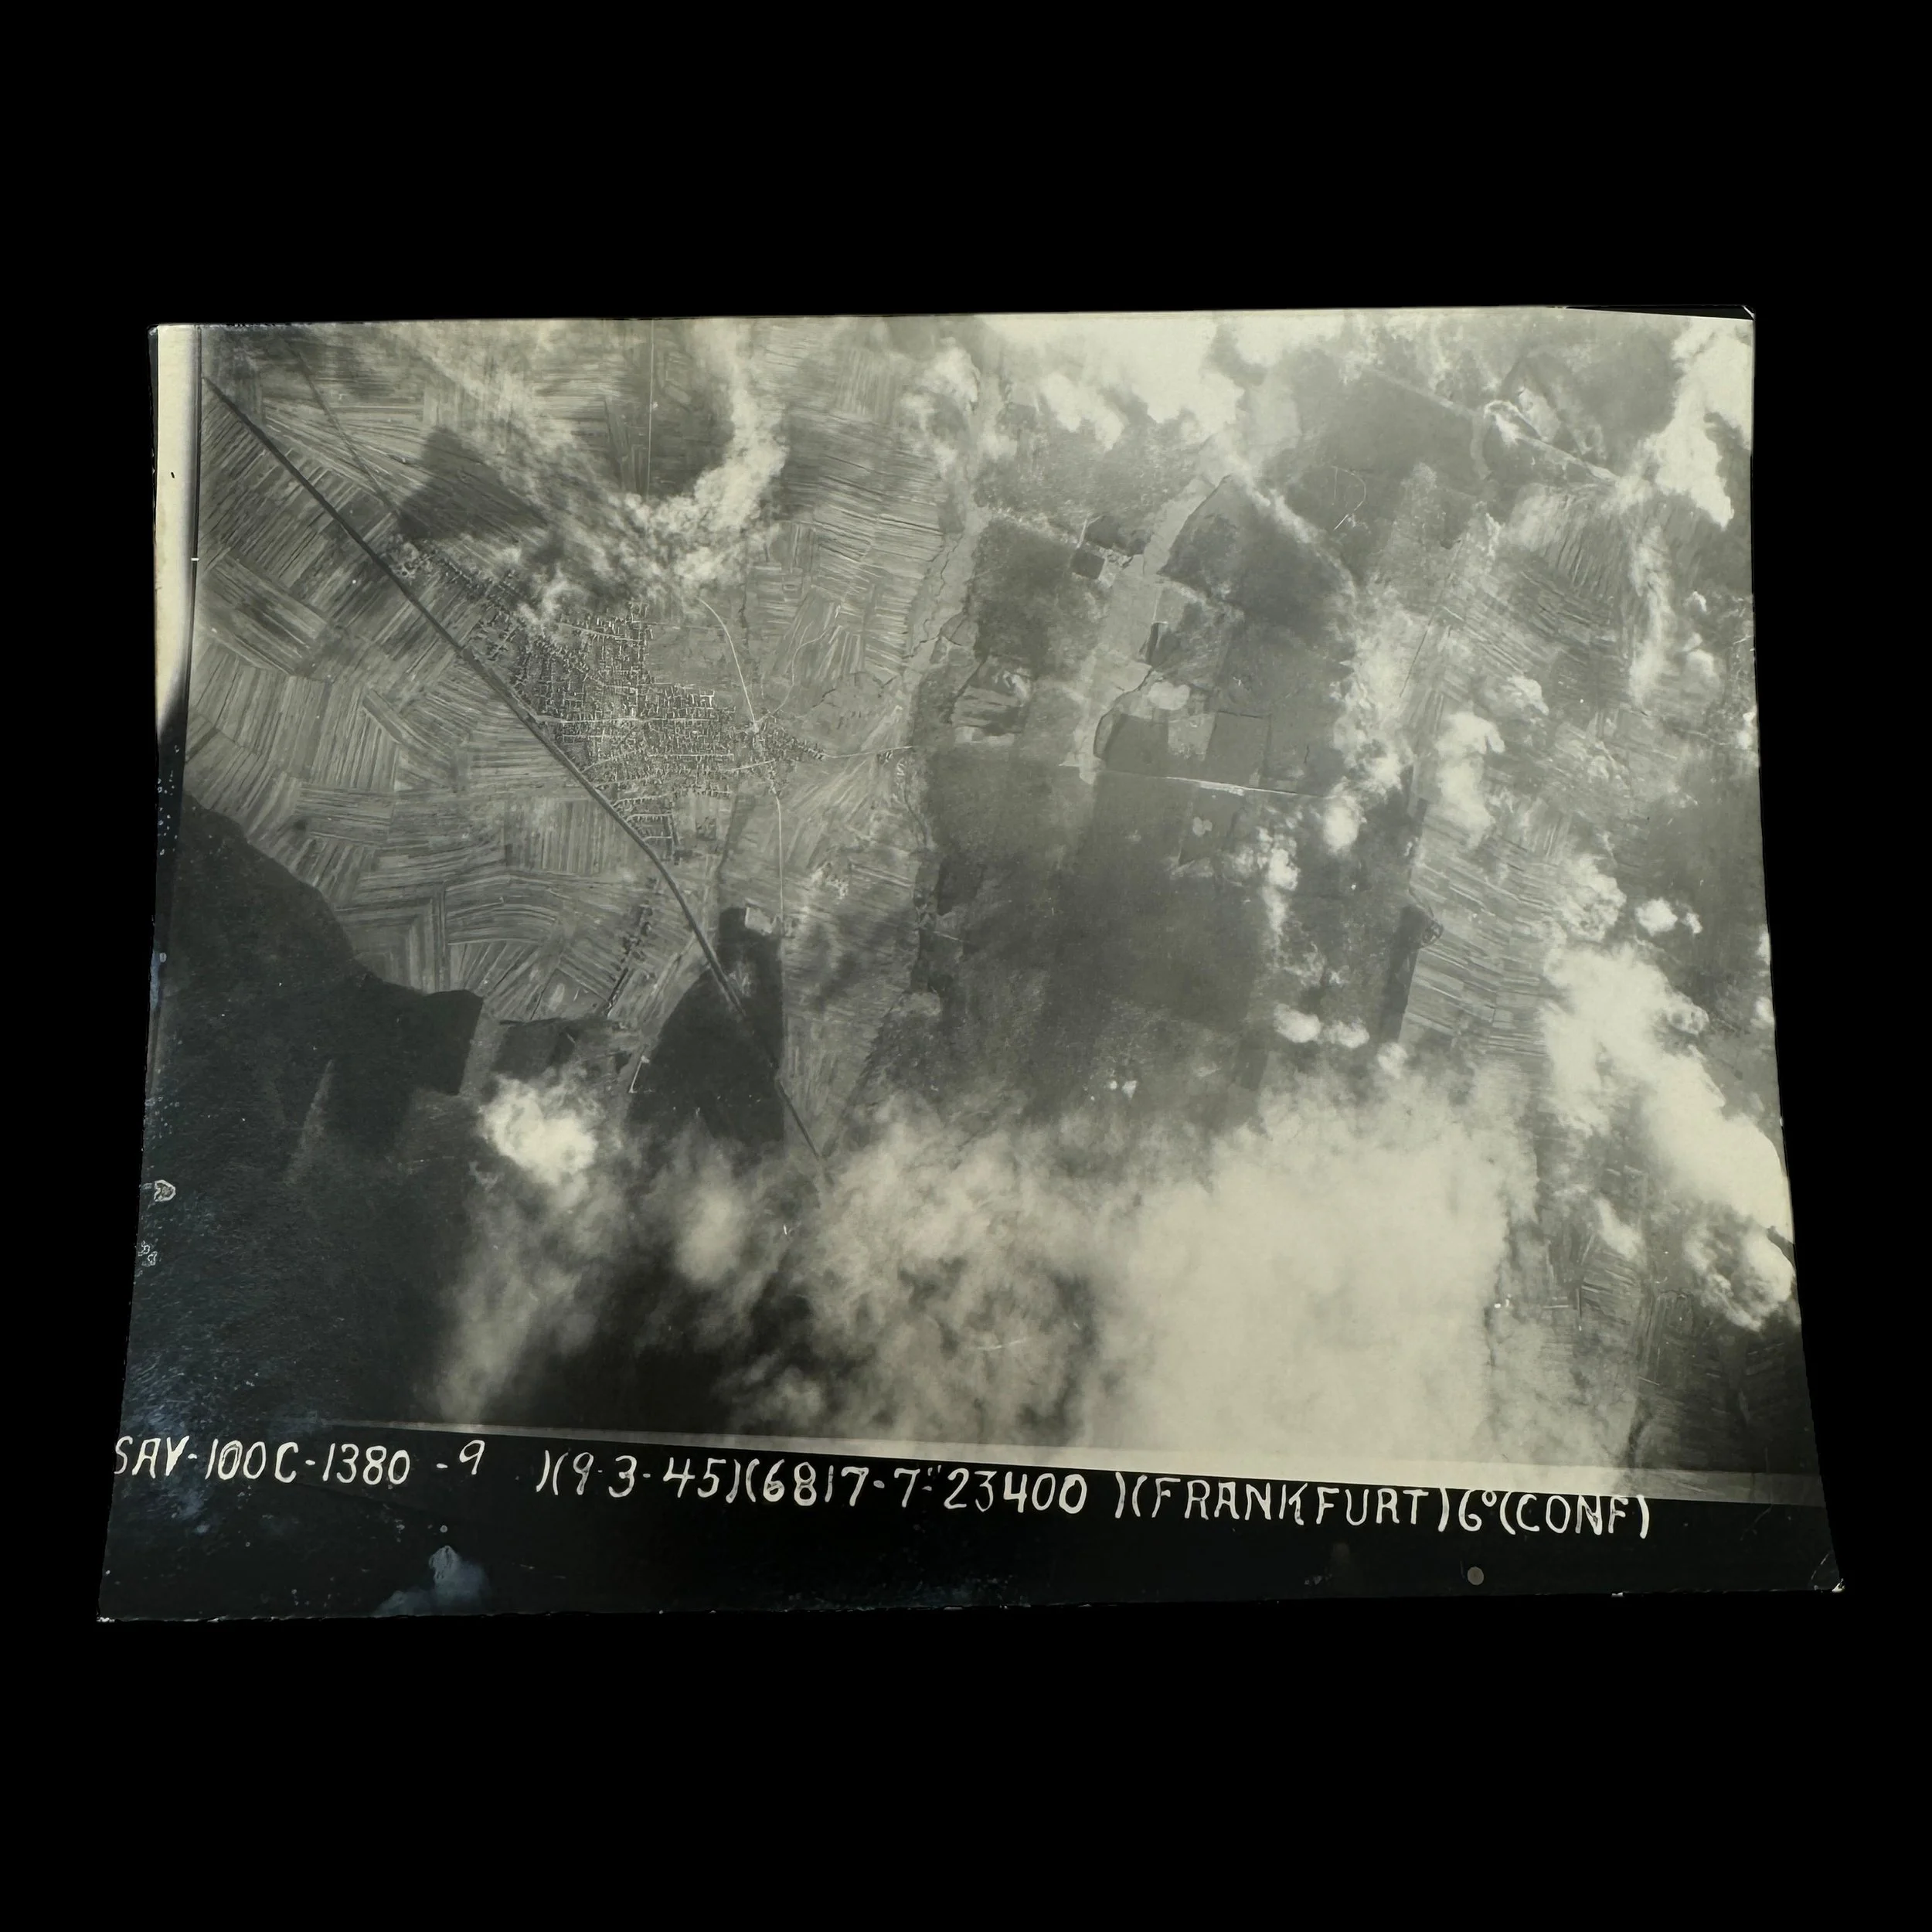
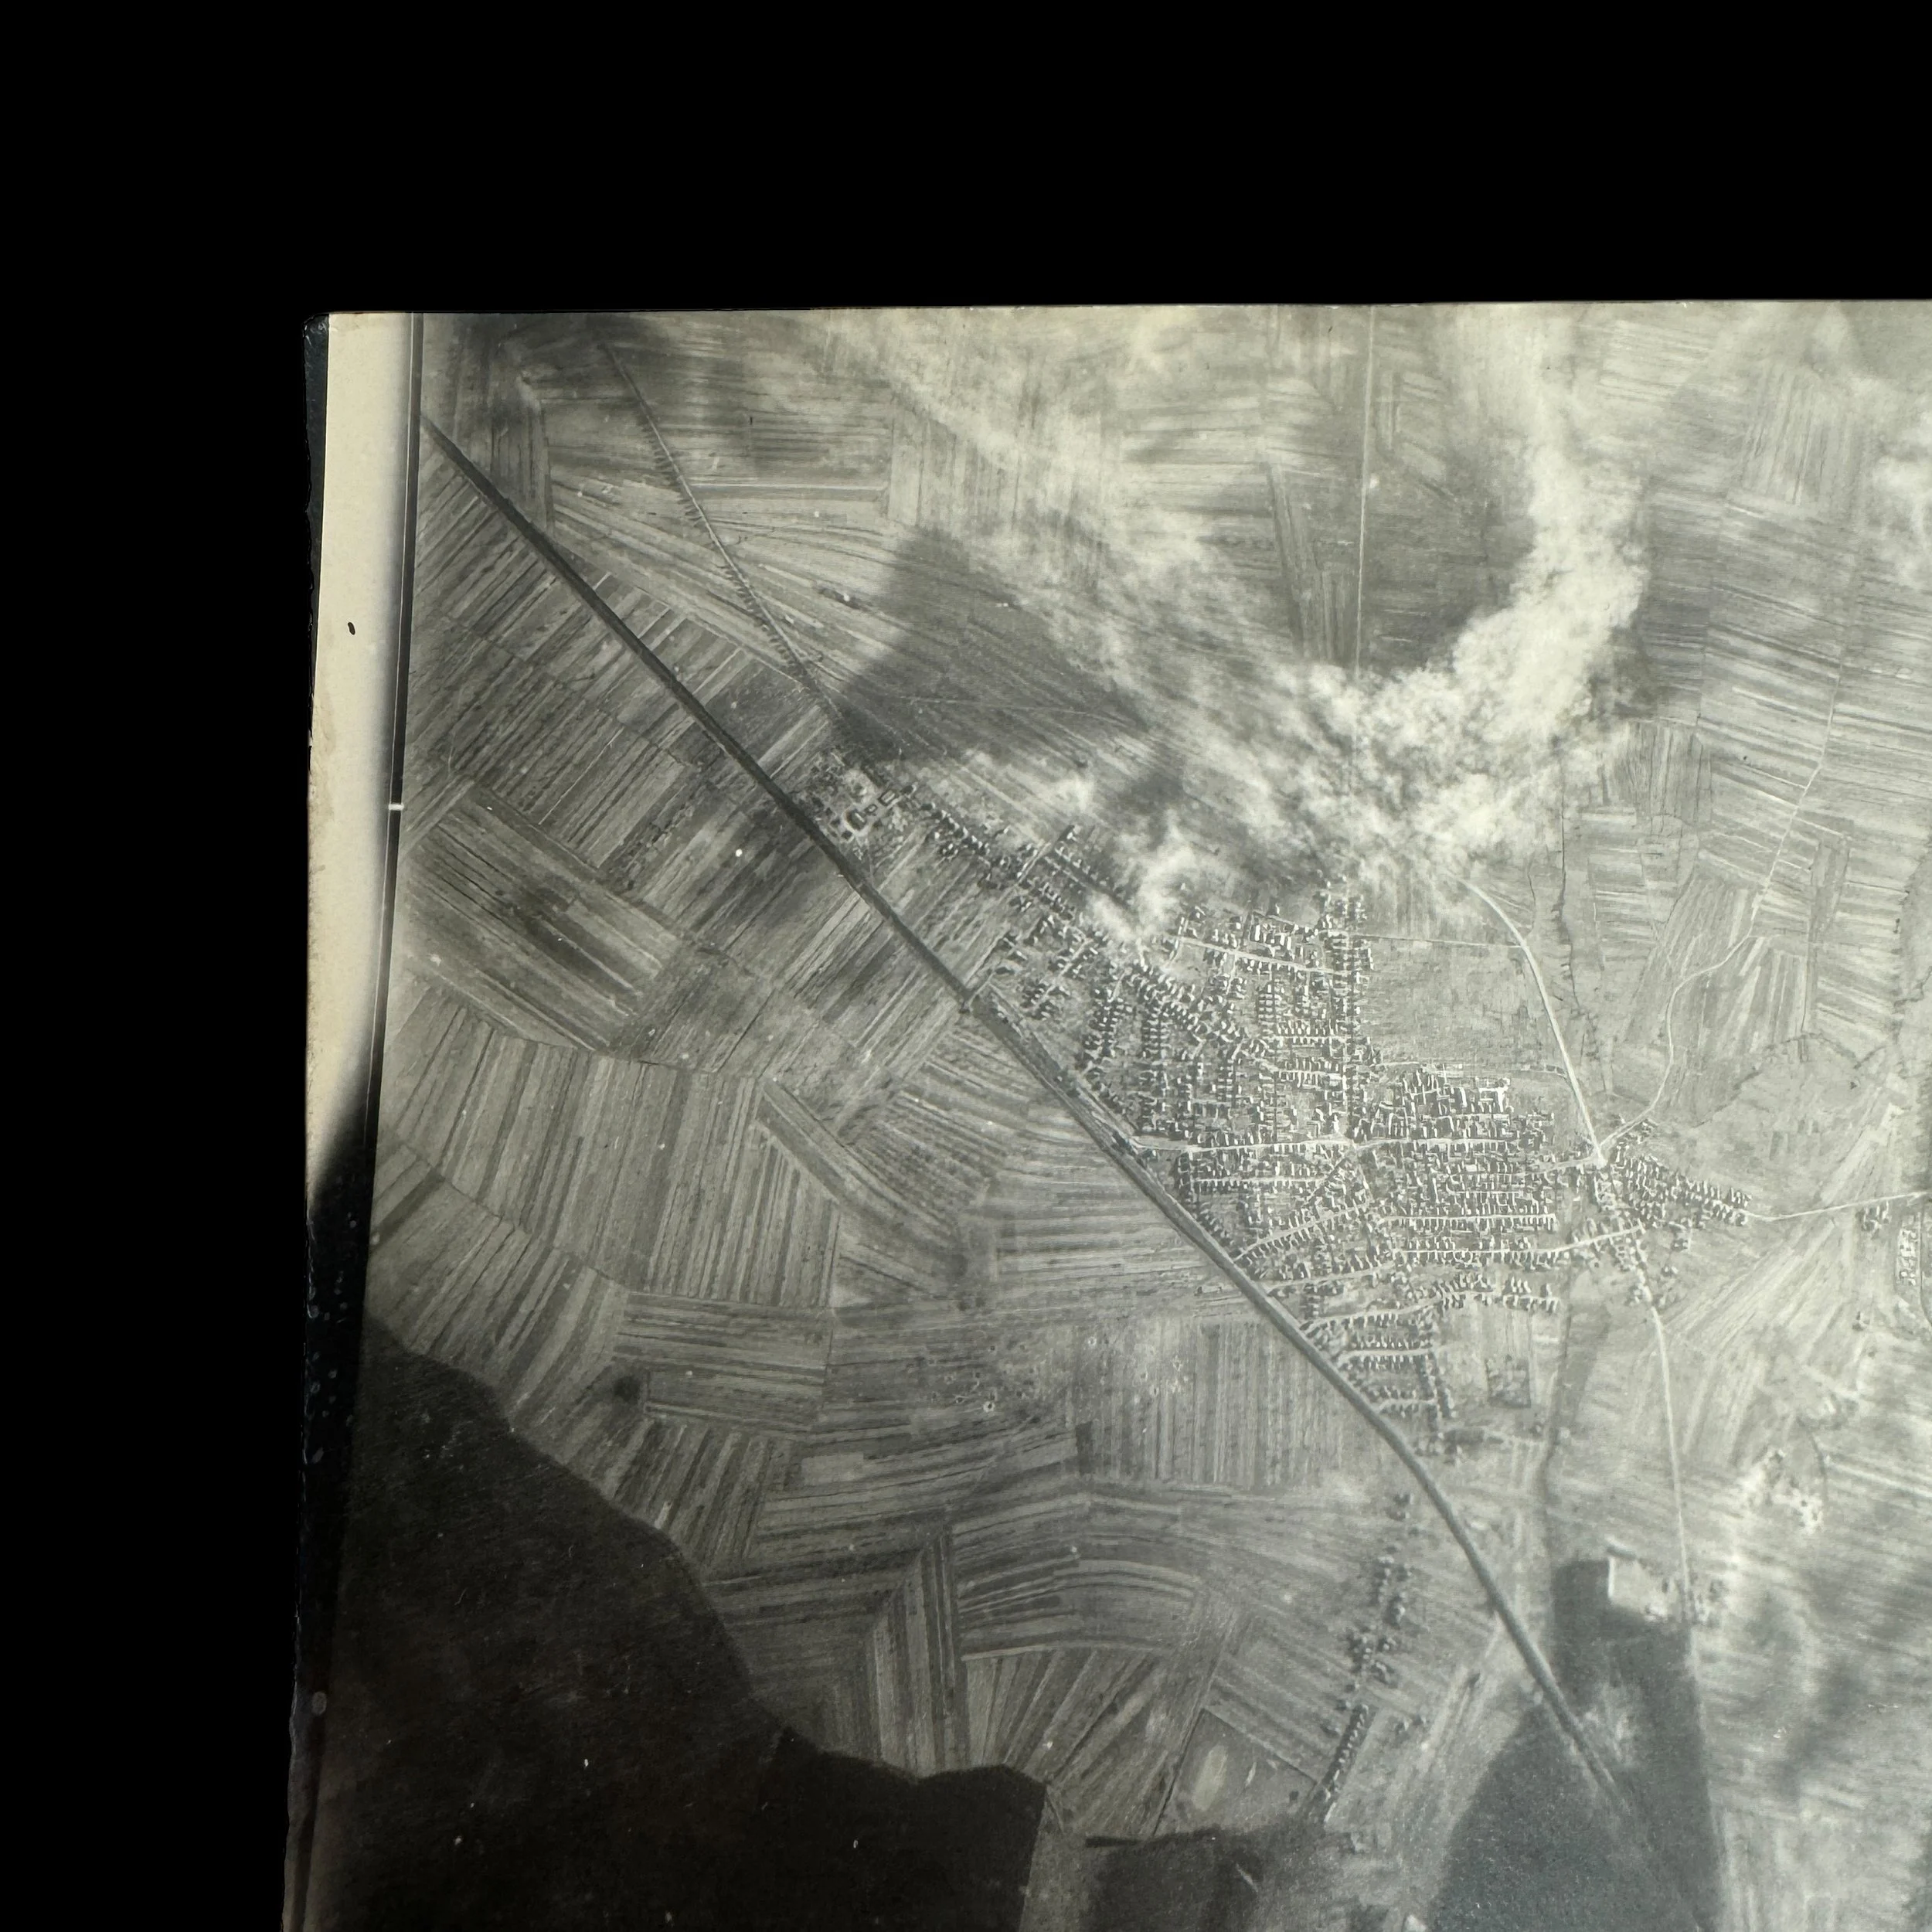
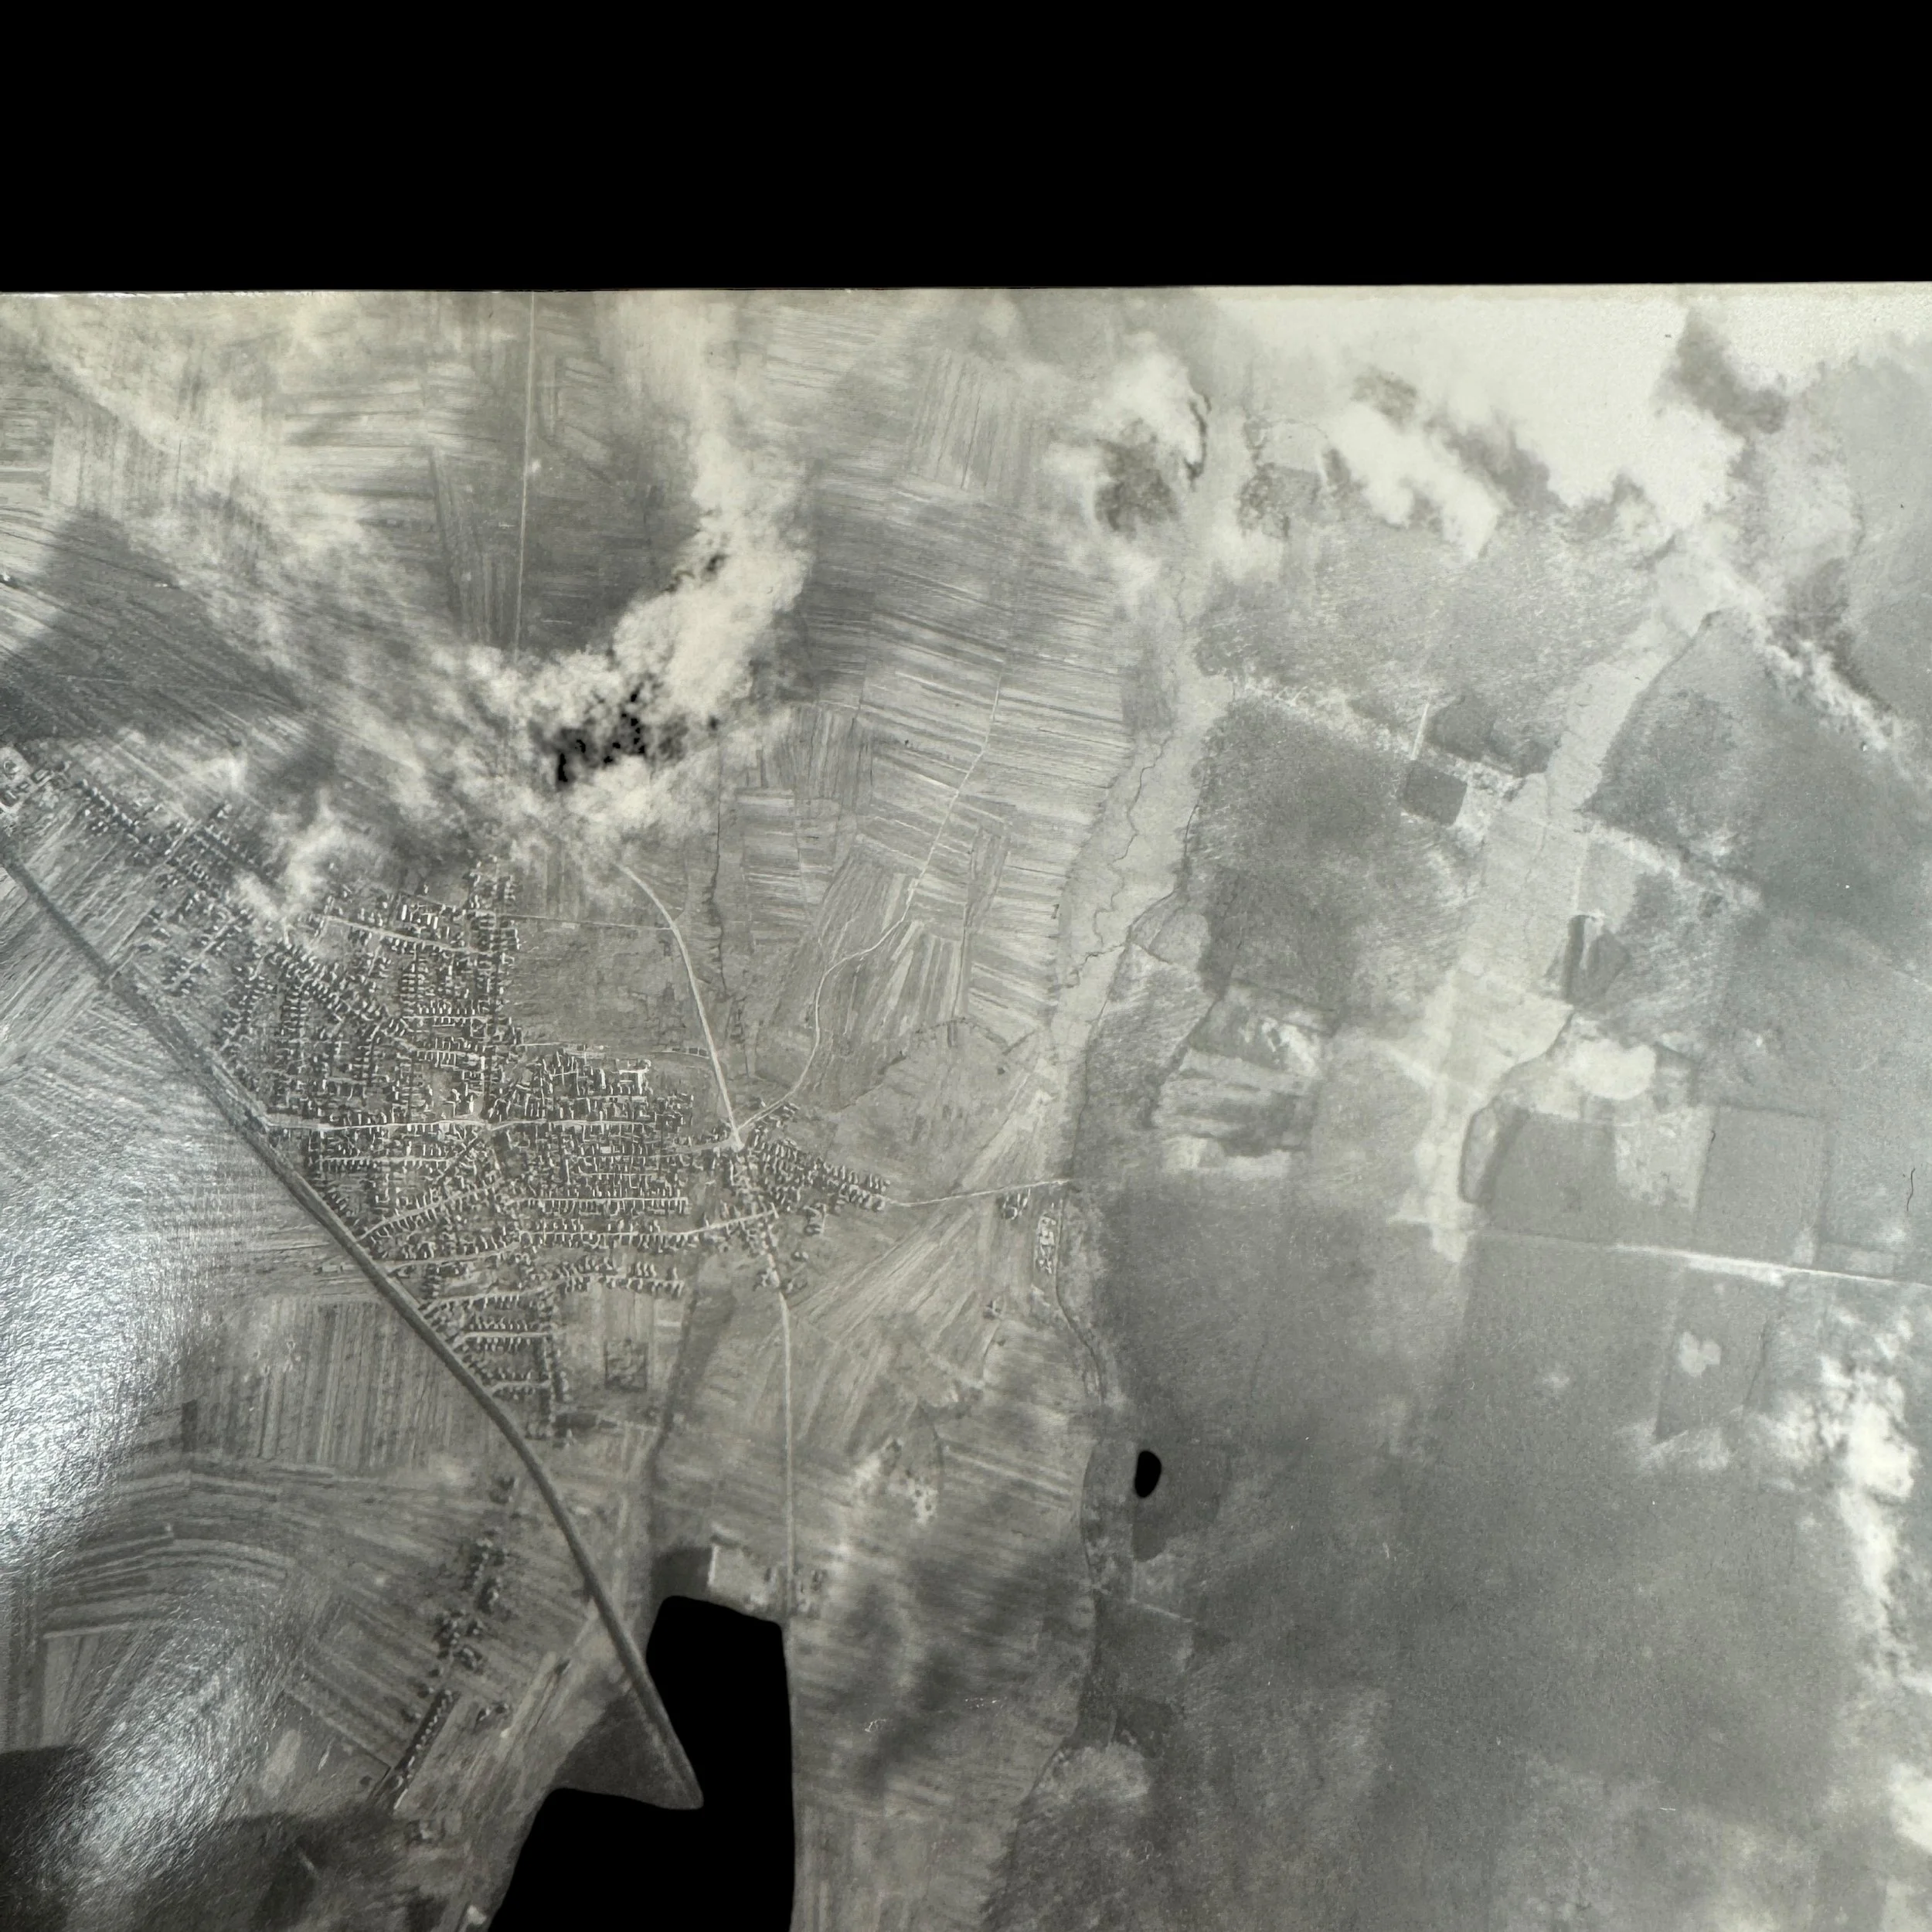
RARE! WWII 100th Bomb Group 8th Air Force March 9th, 1945 "Mission #275 - Frankfurt, Germany (Aircraft Factory)" Type 1 Aerial Combat Mission Photograph


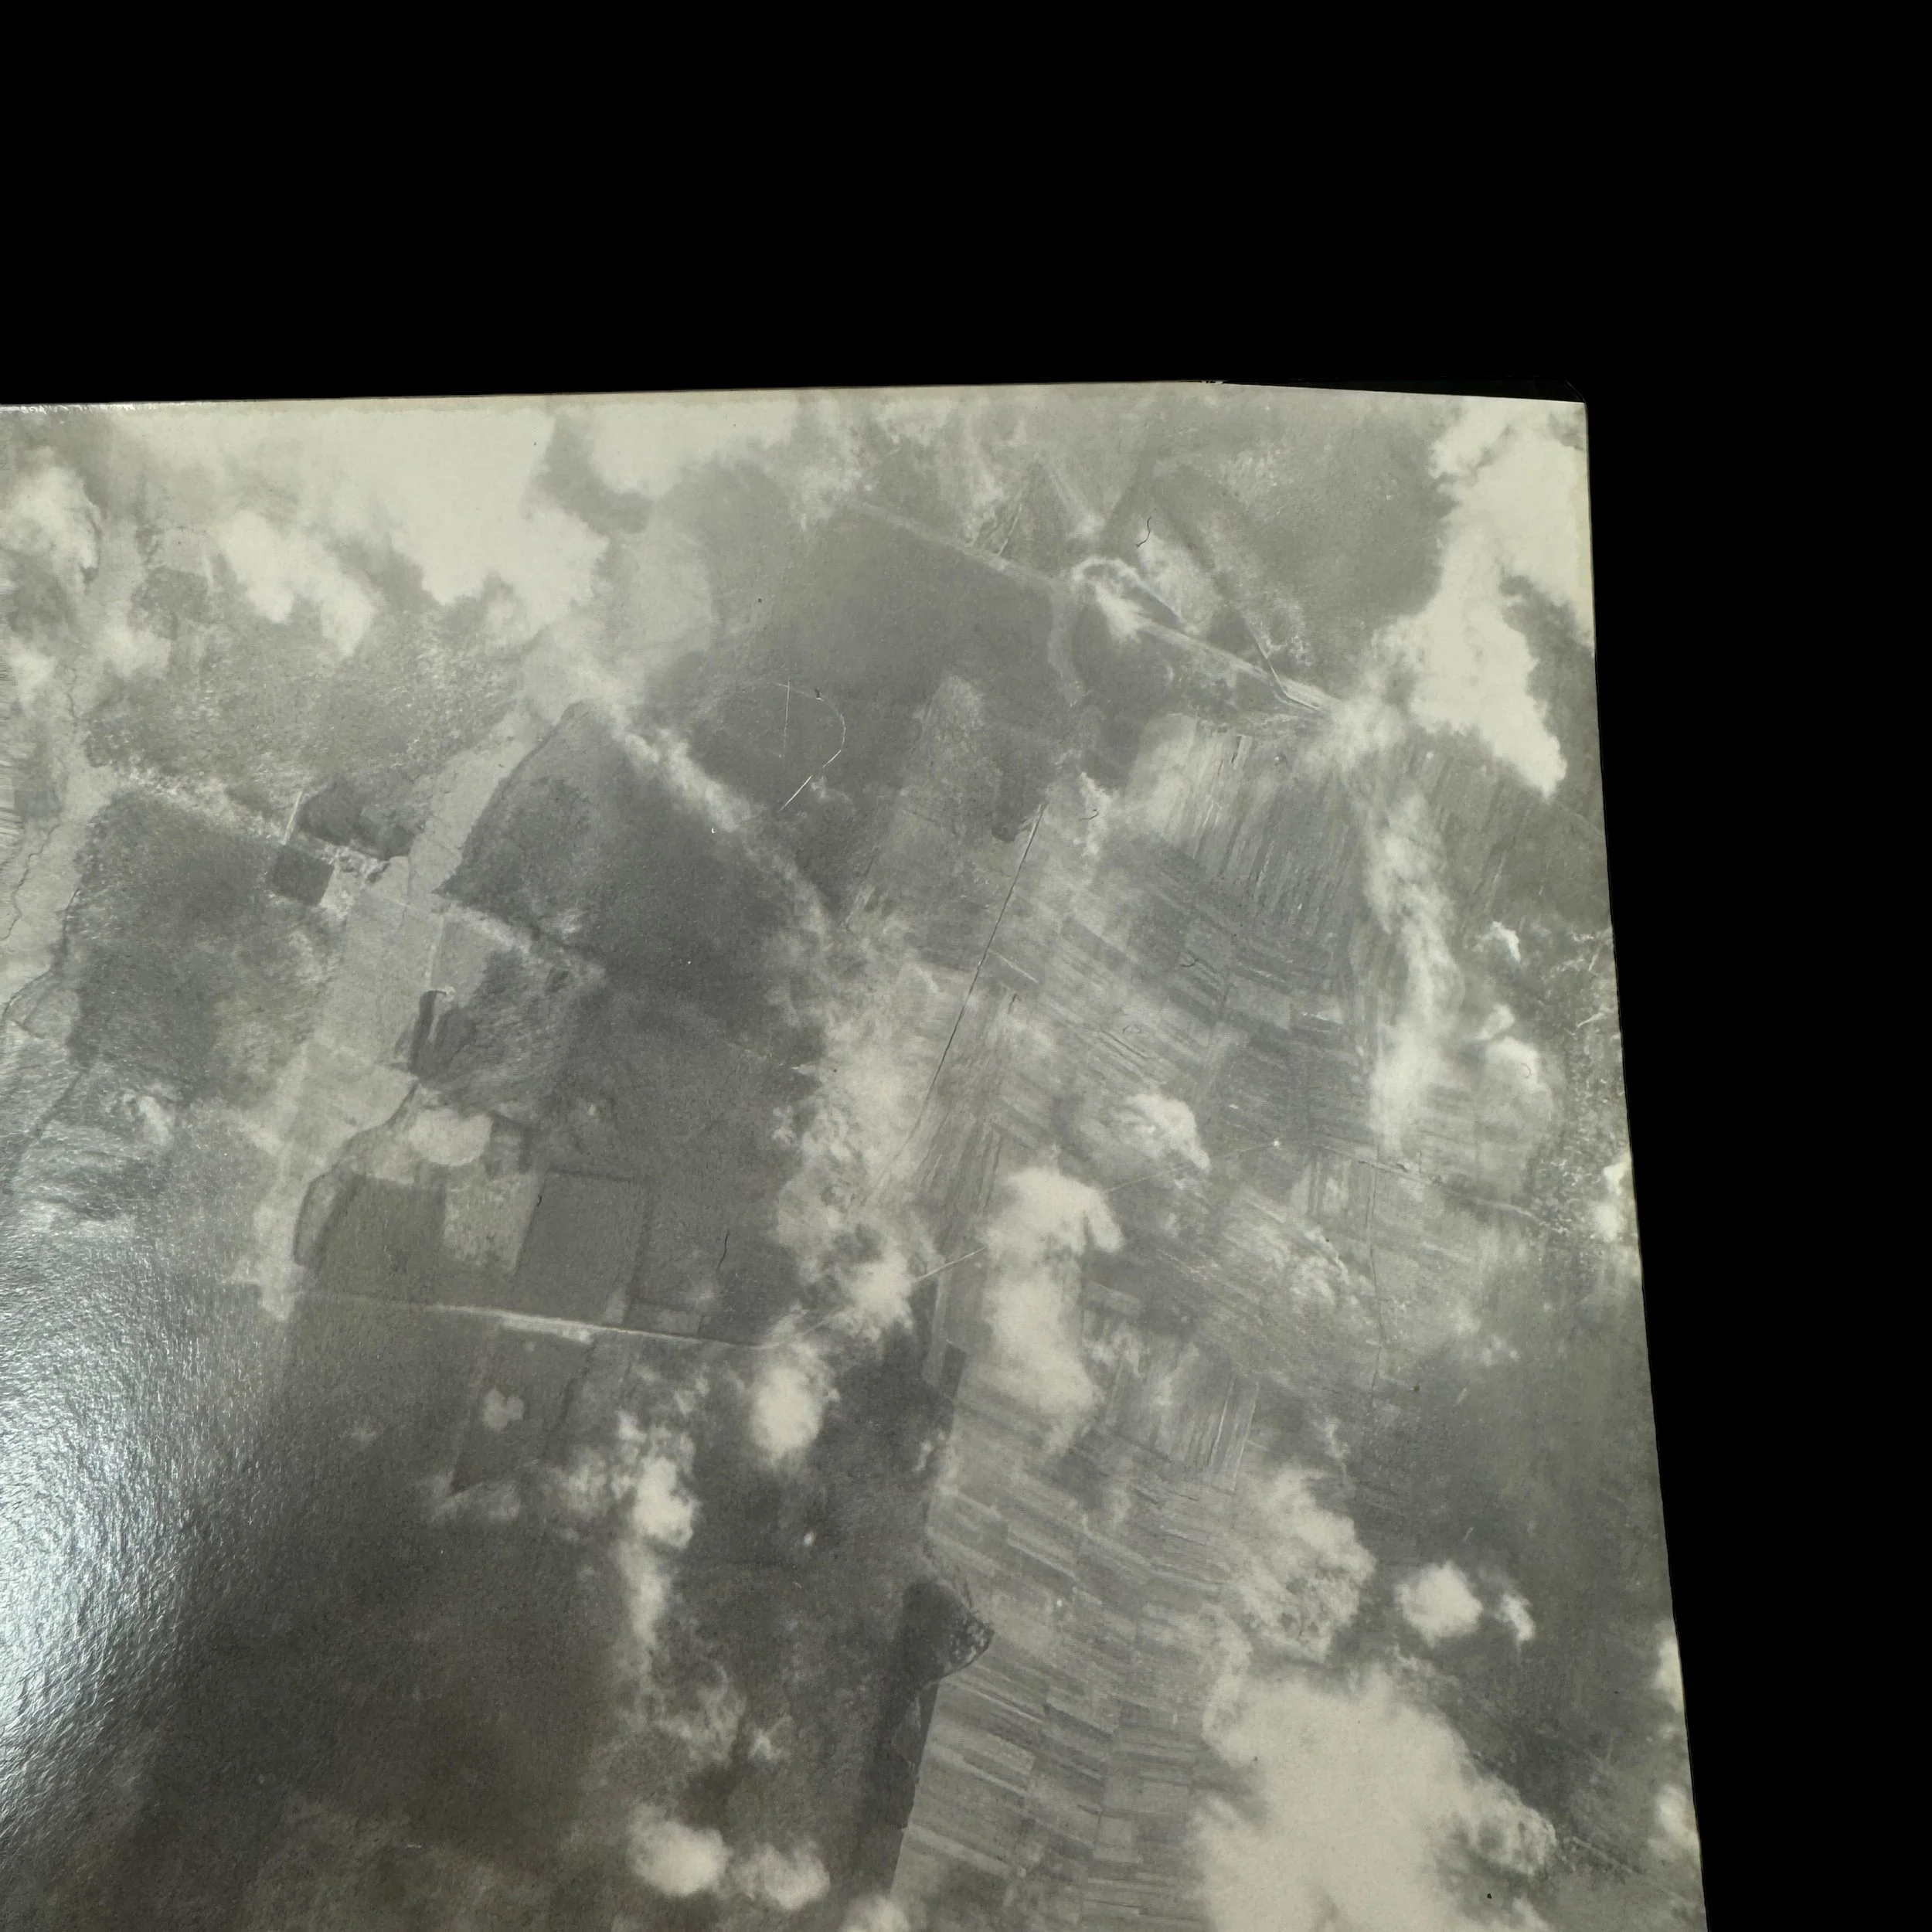
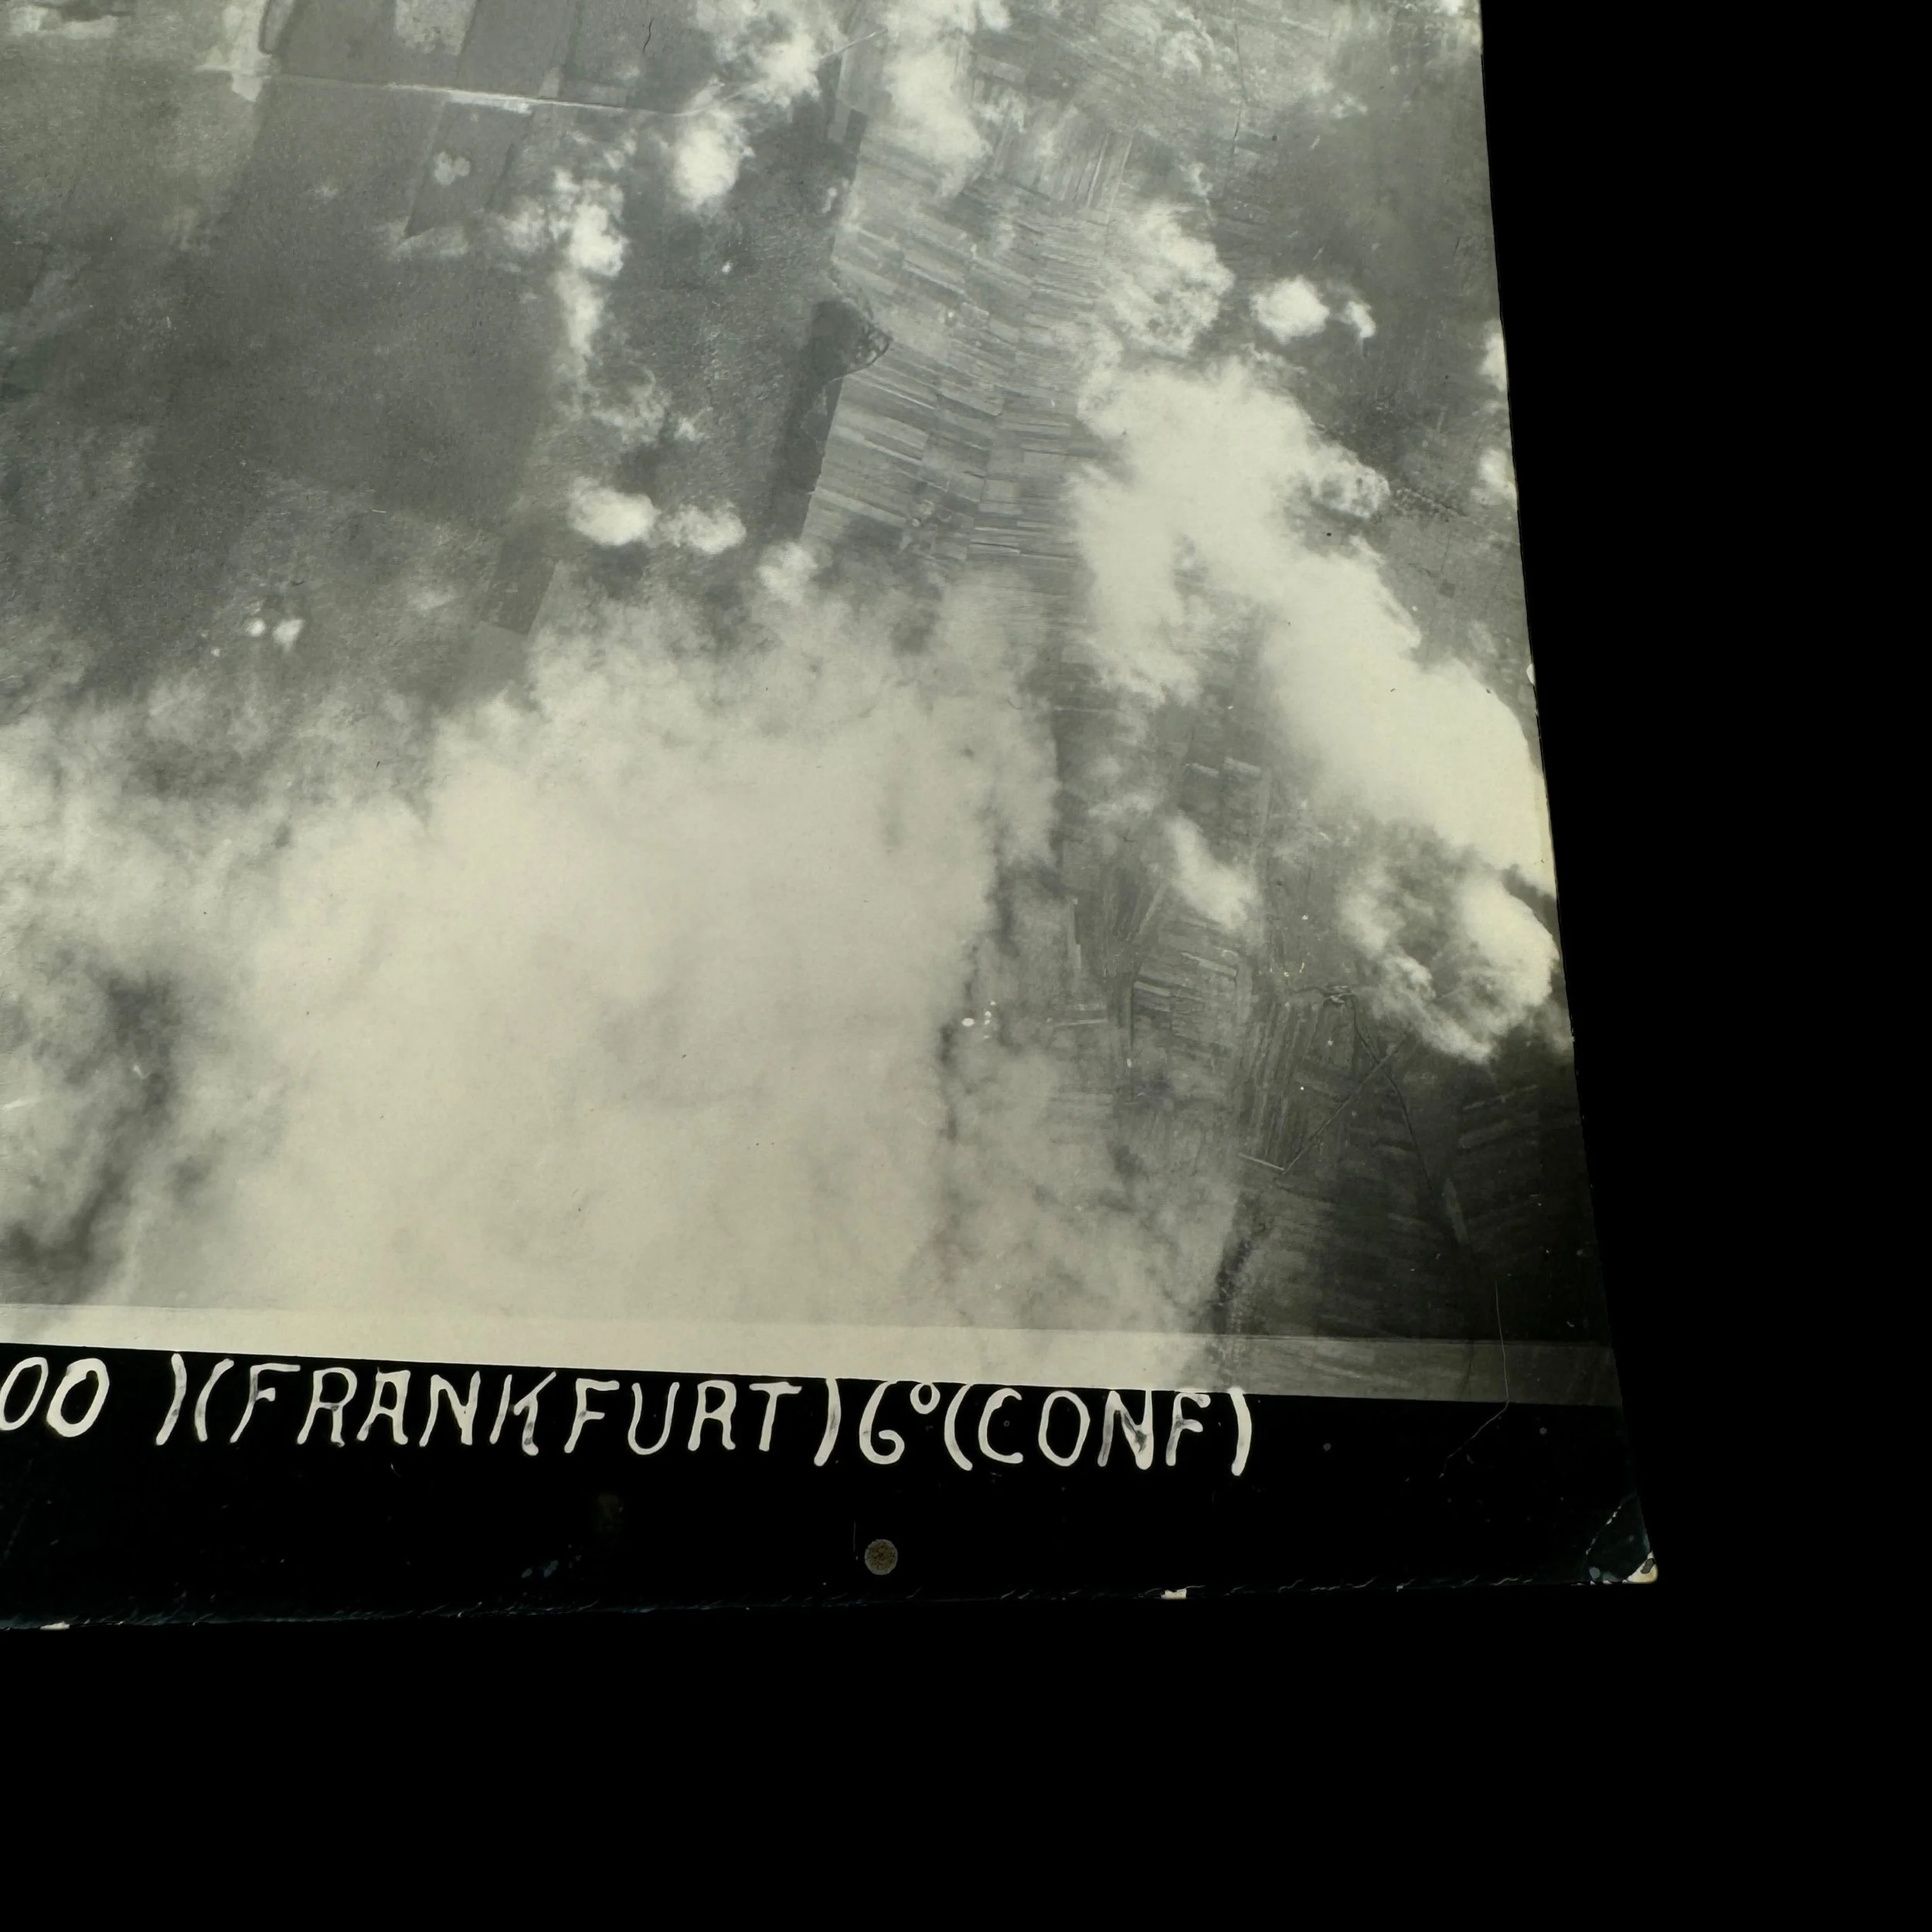
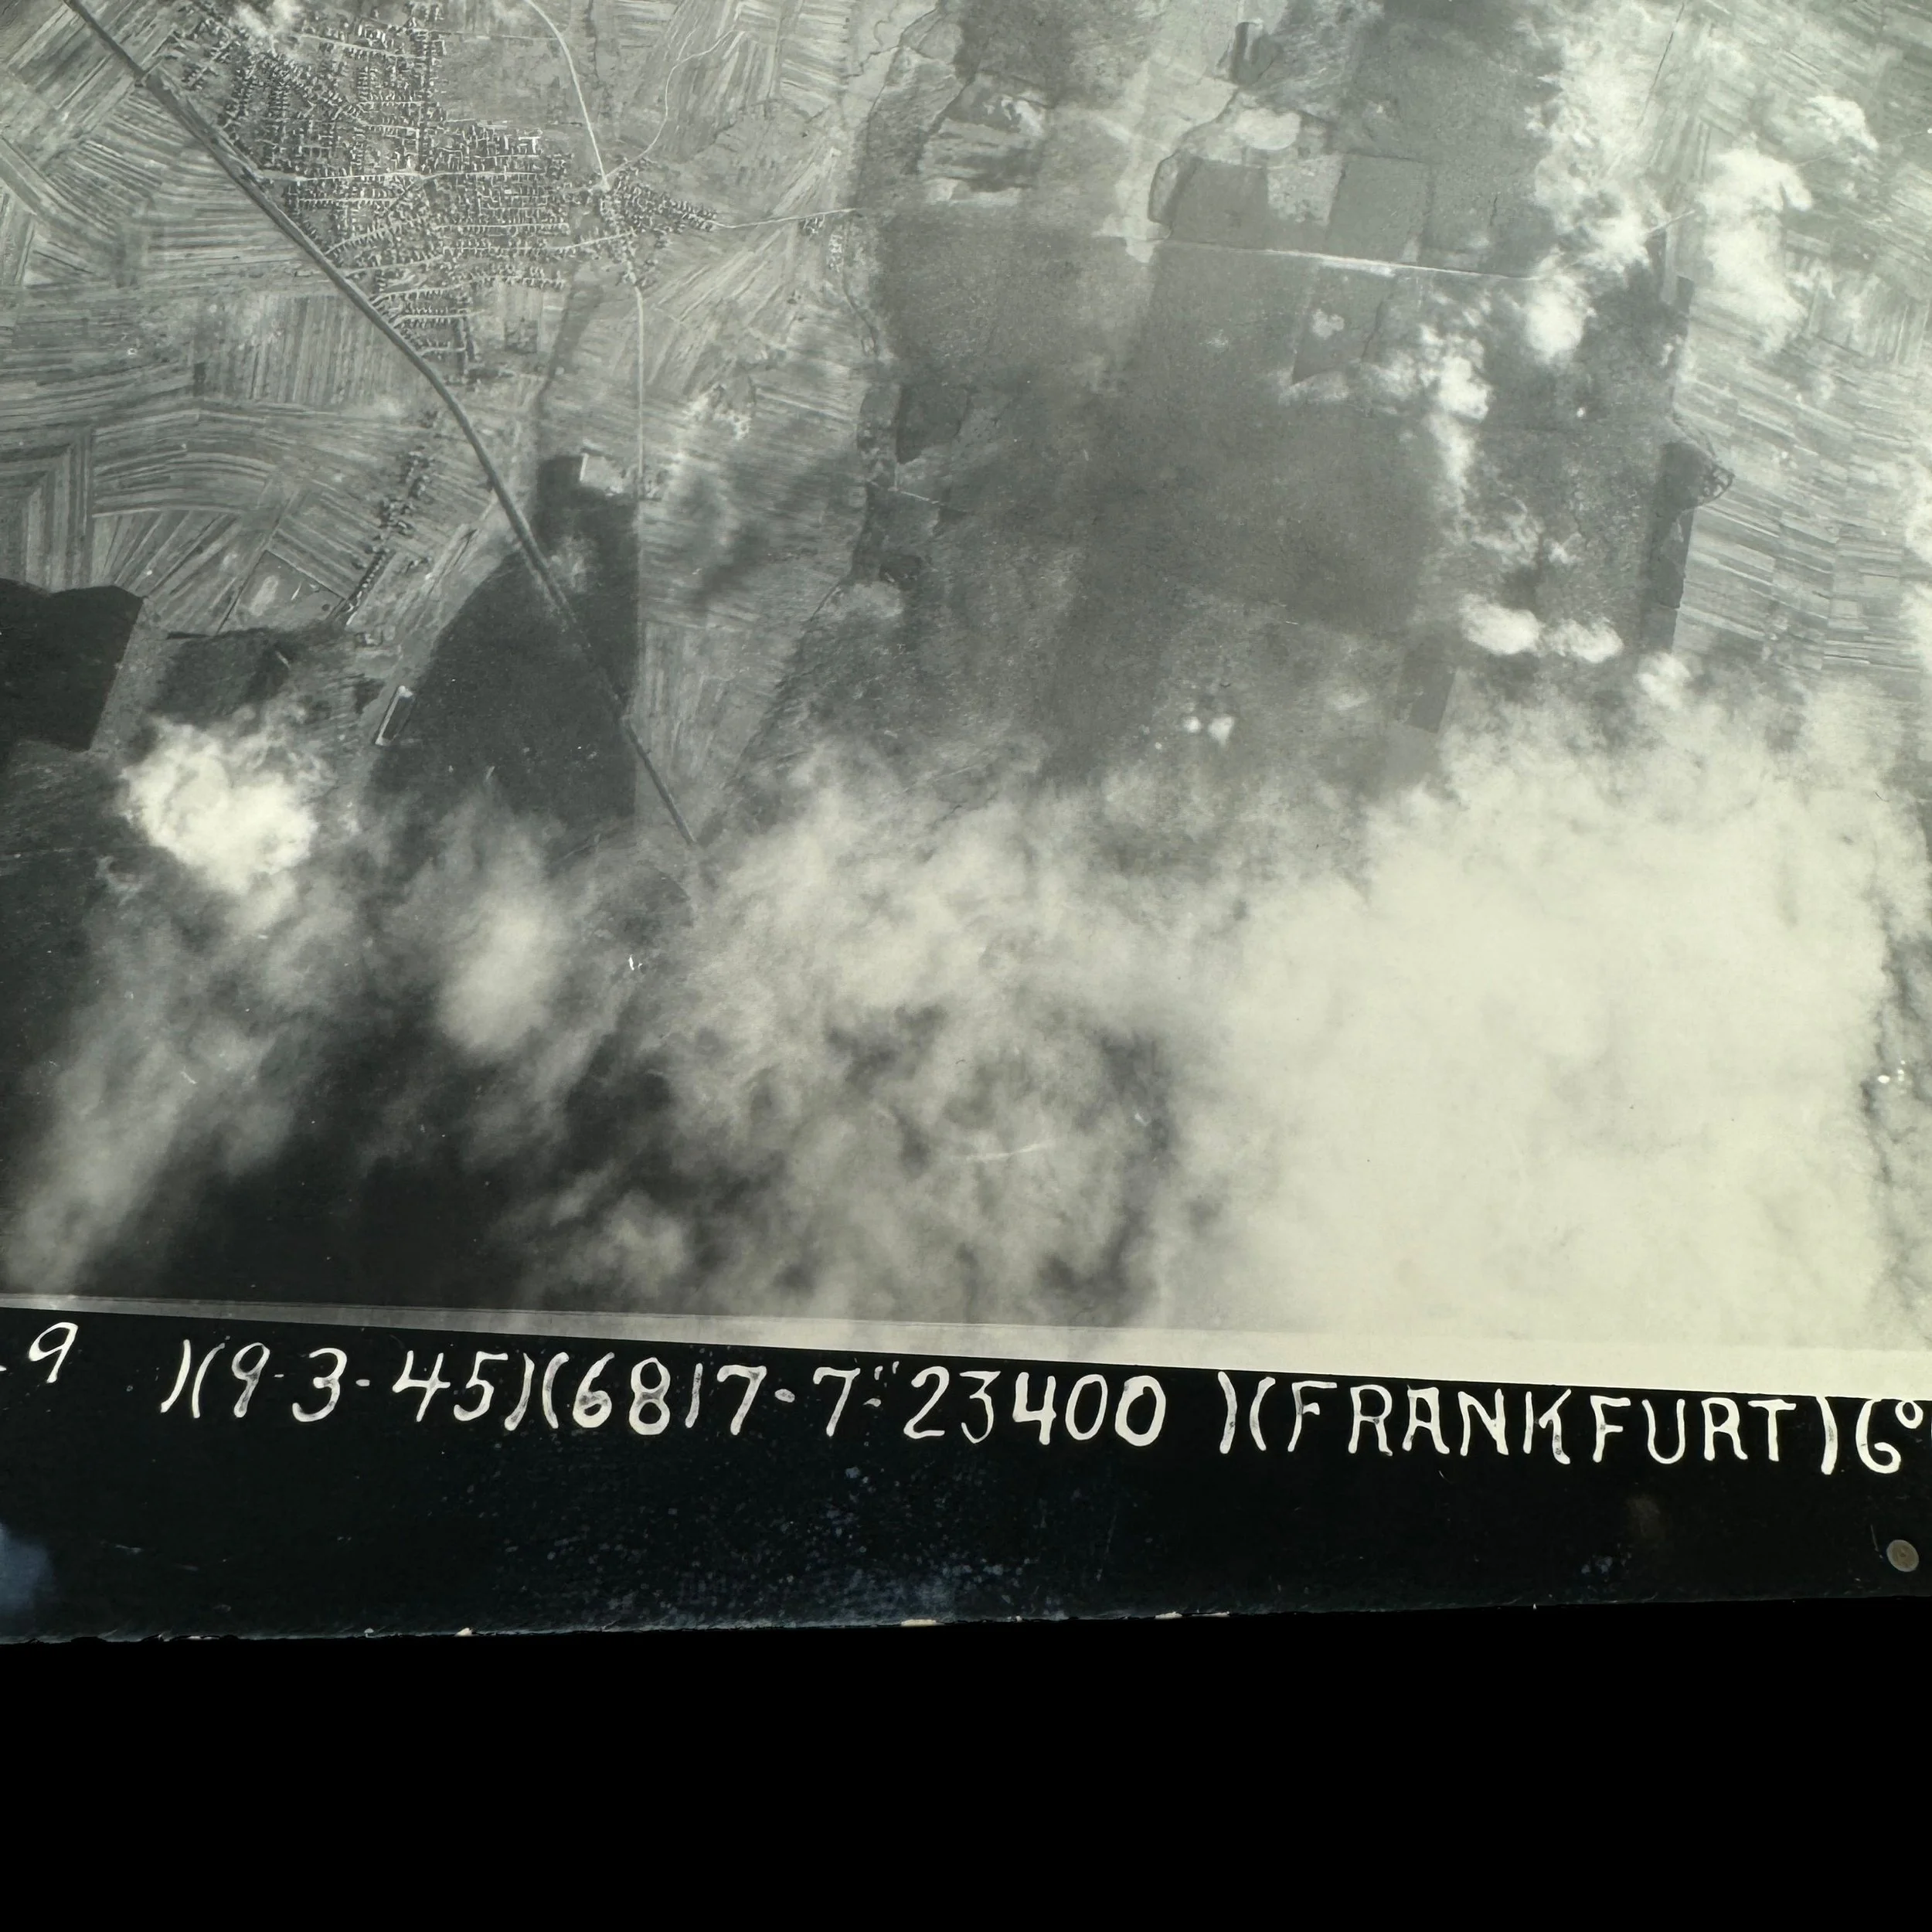
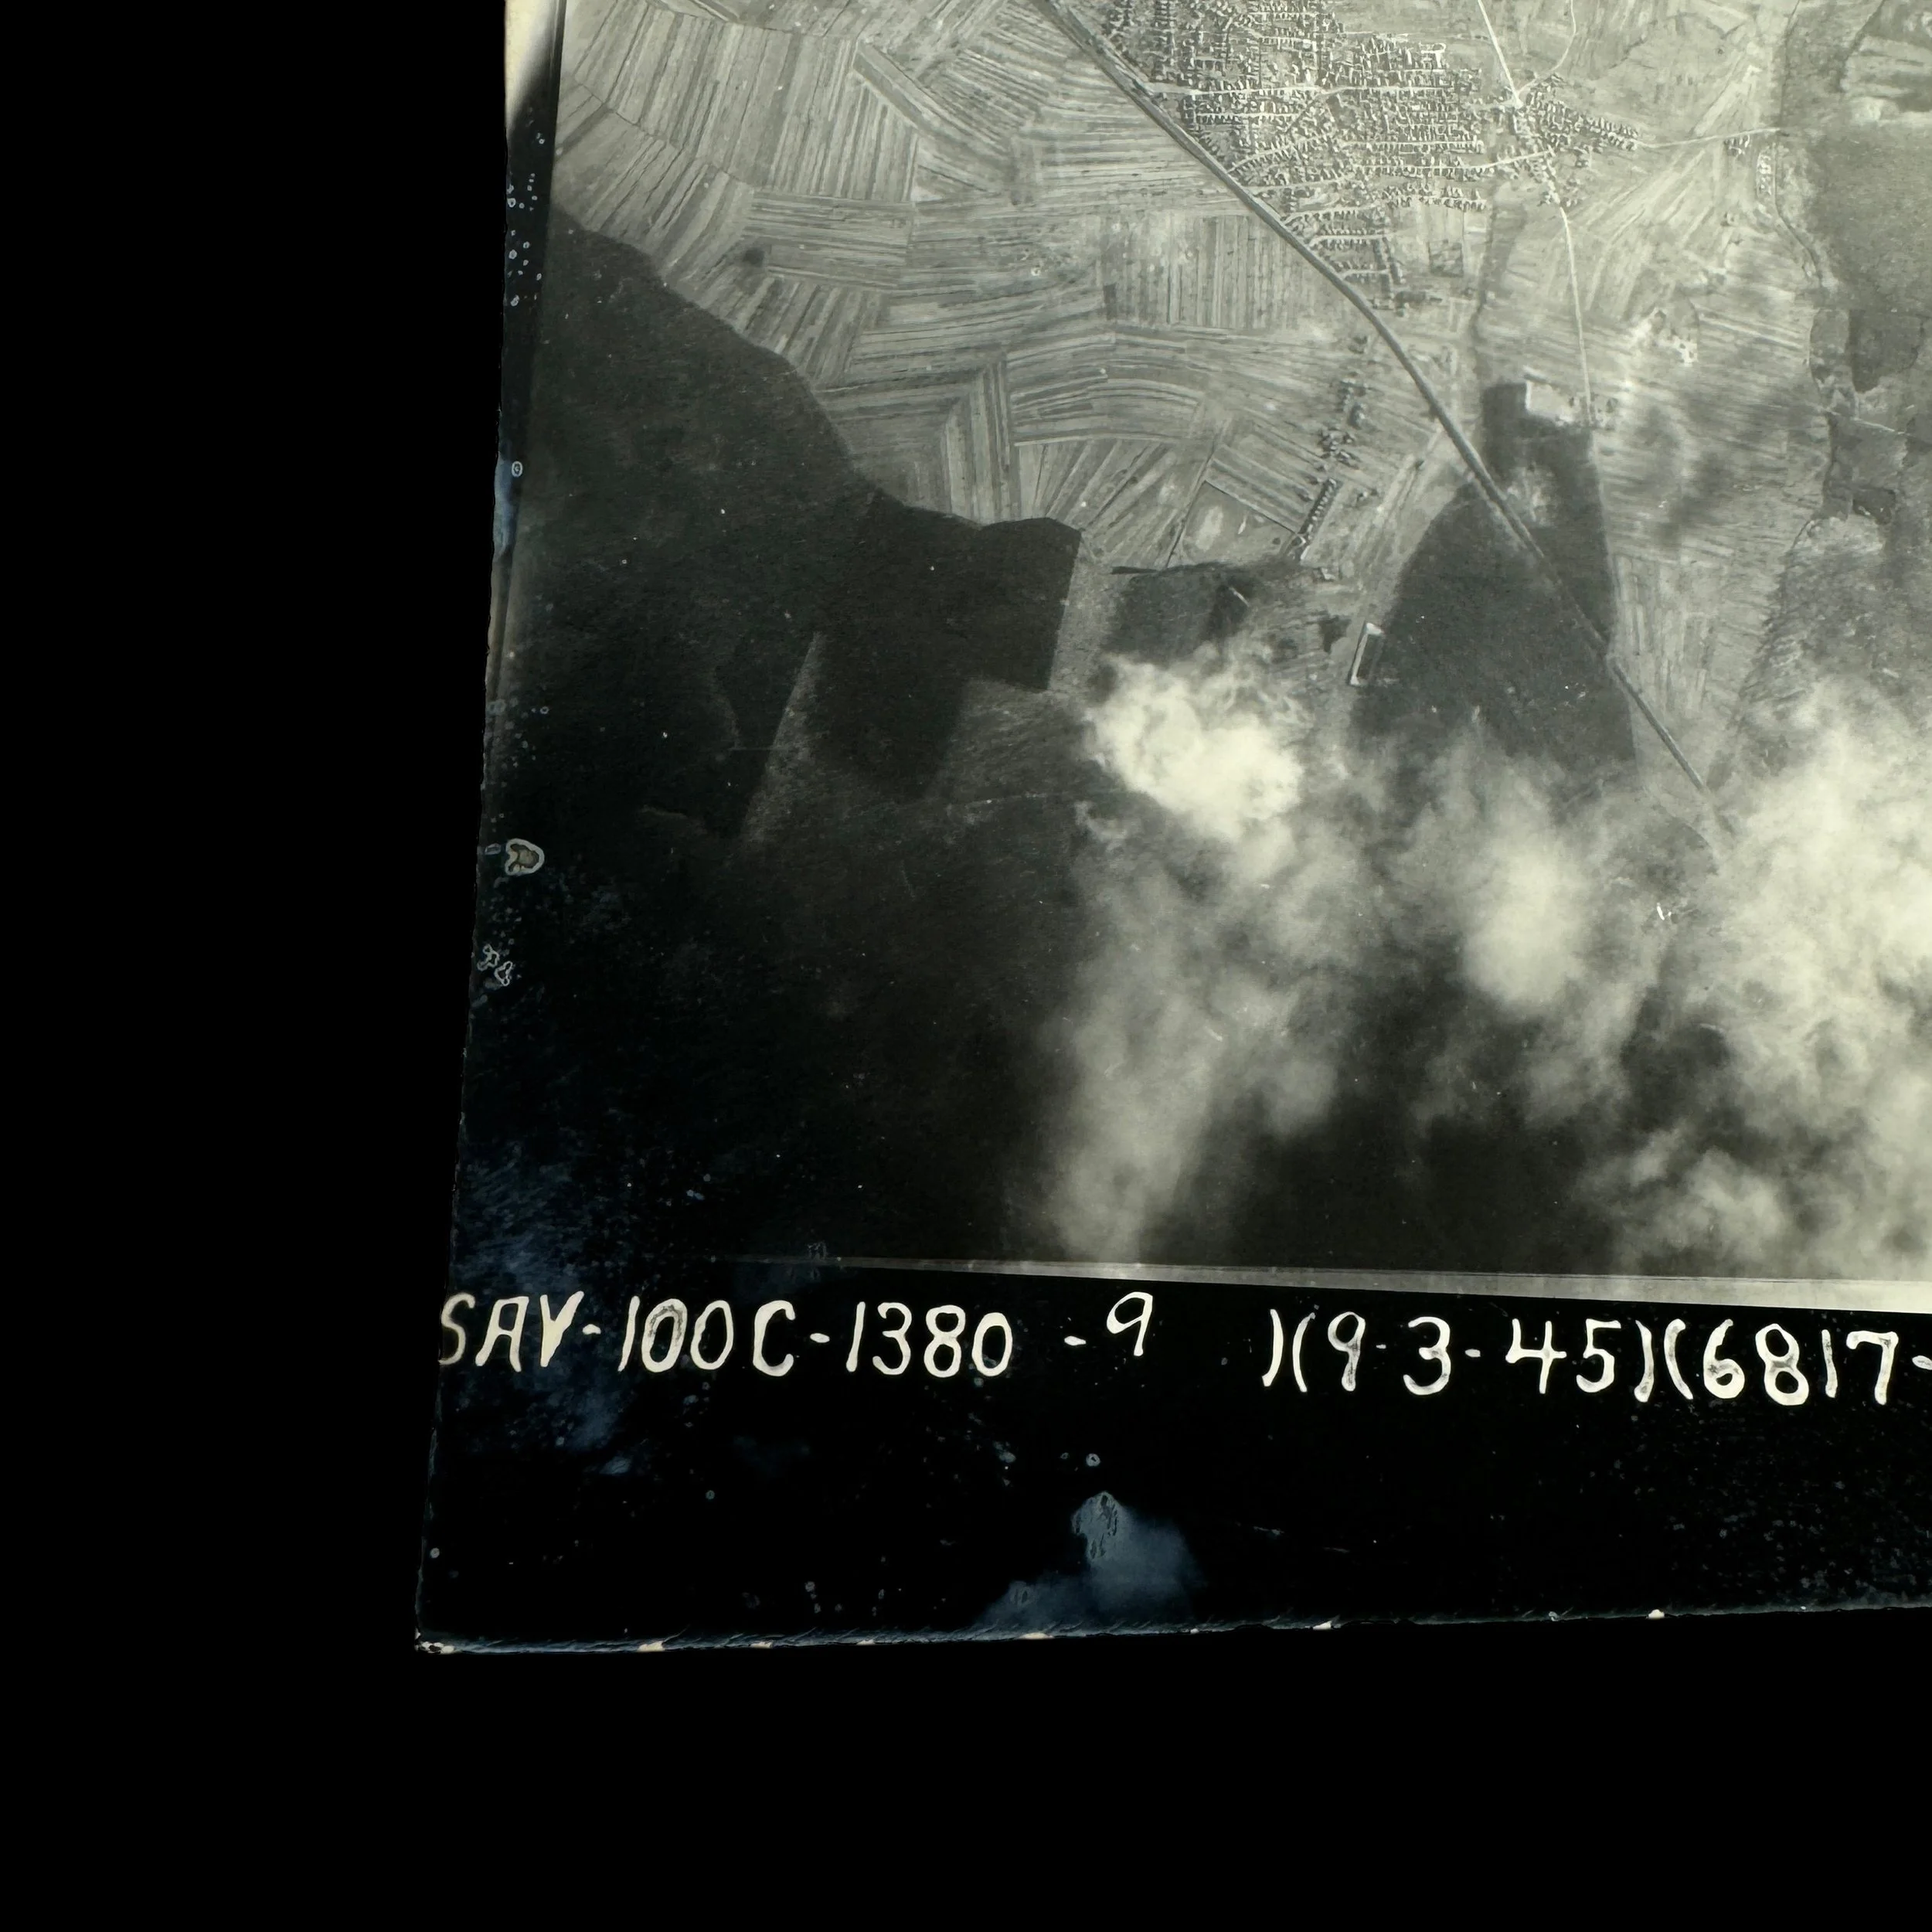
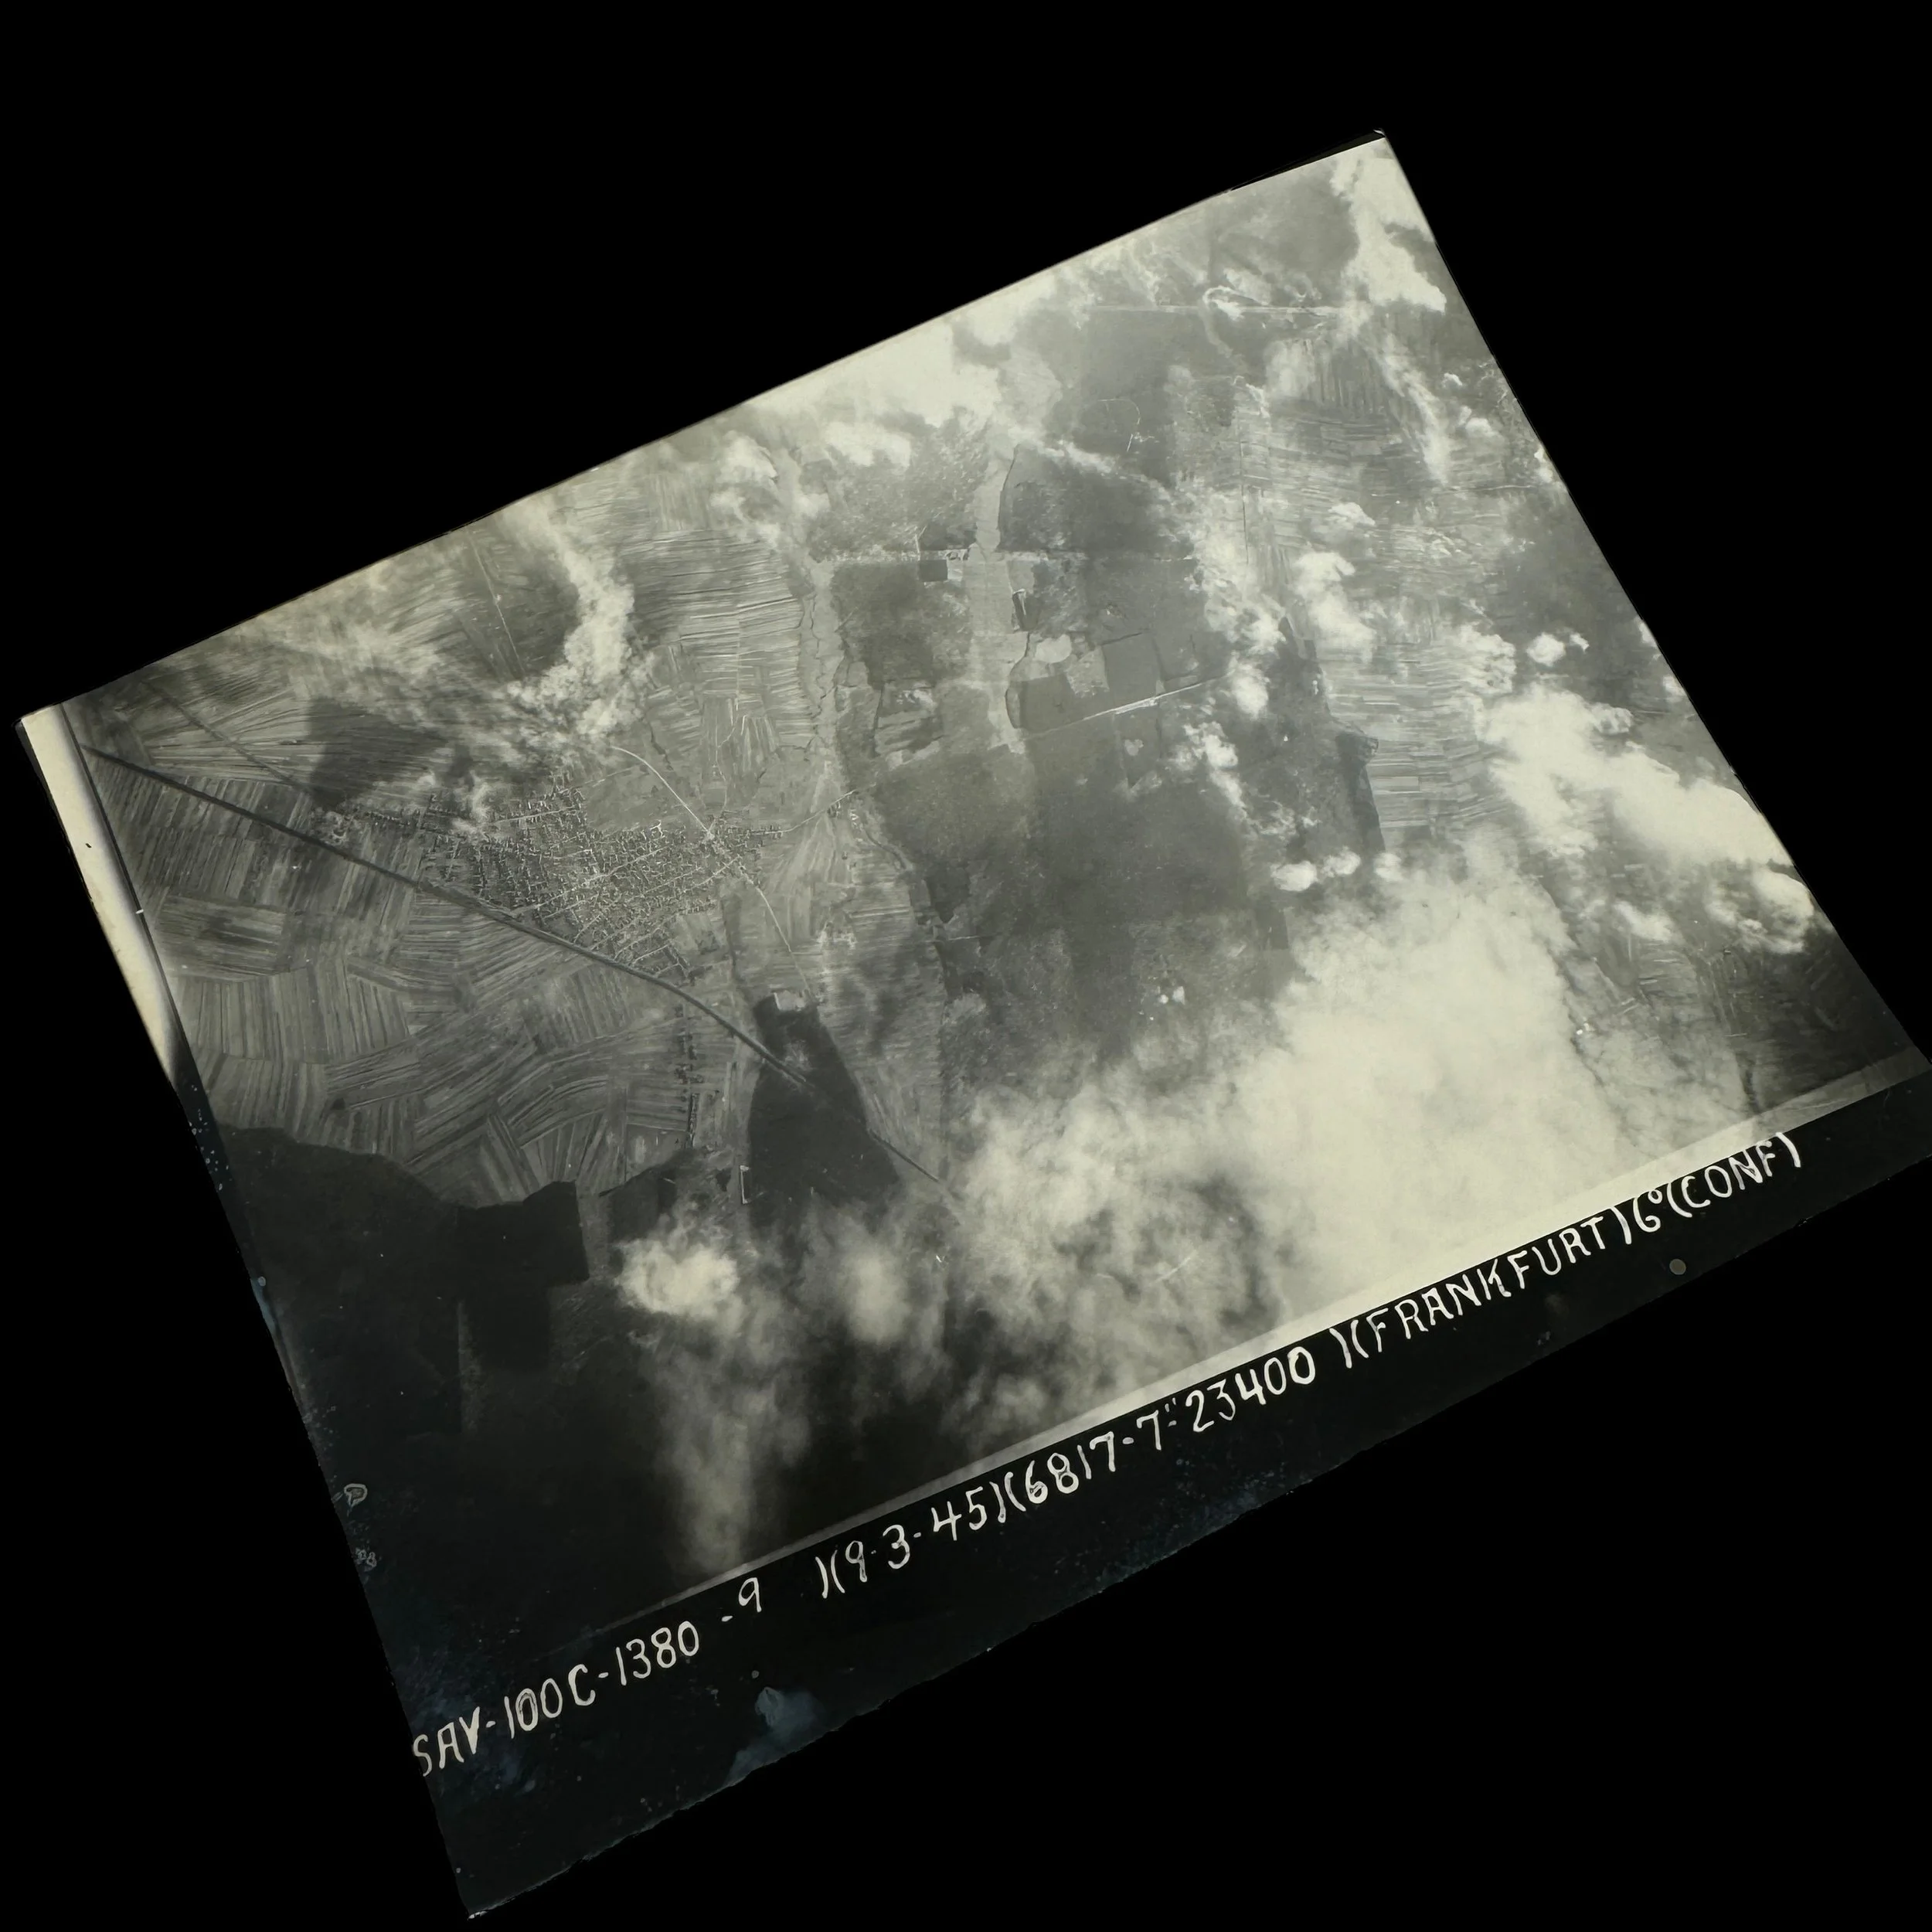
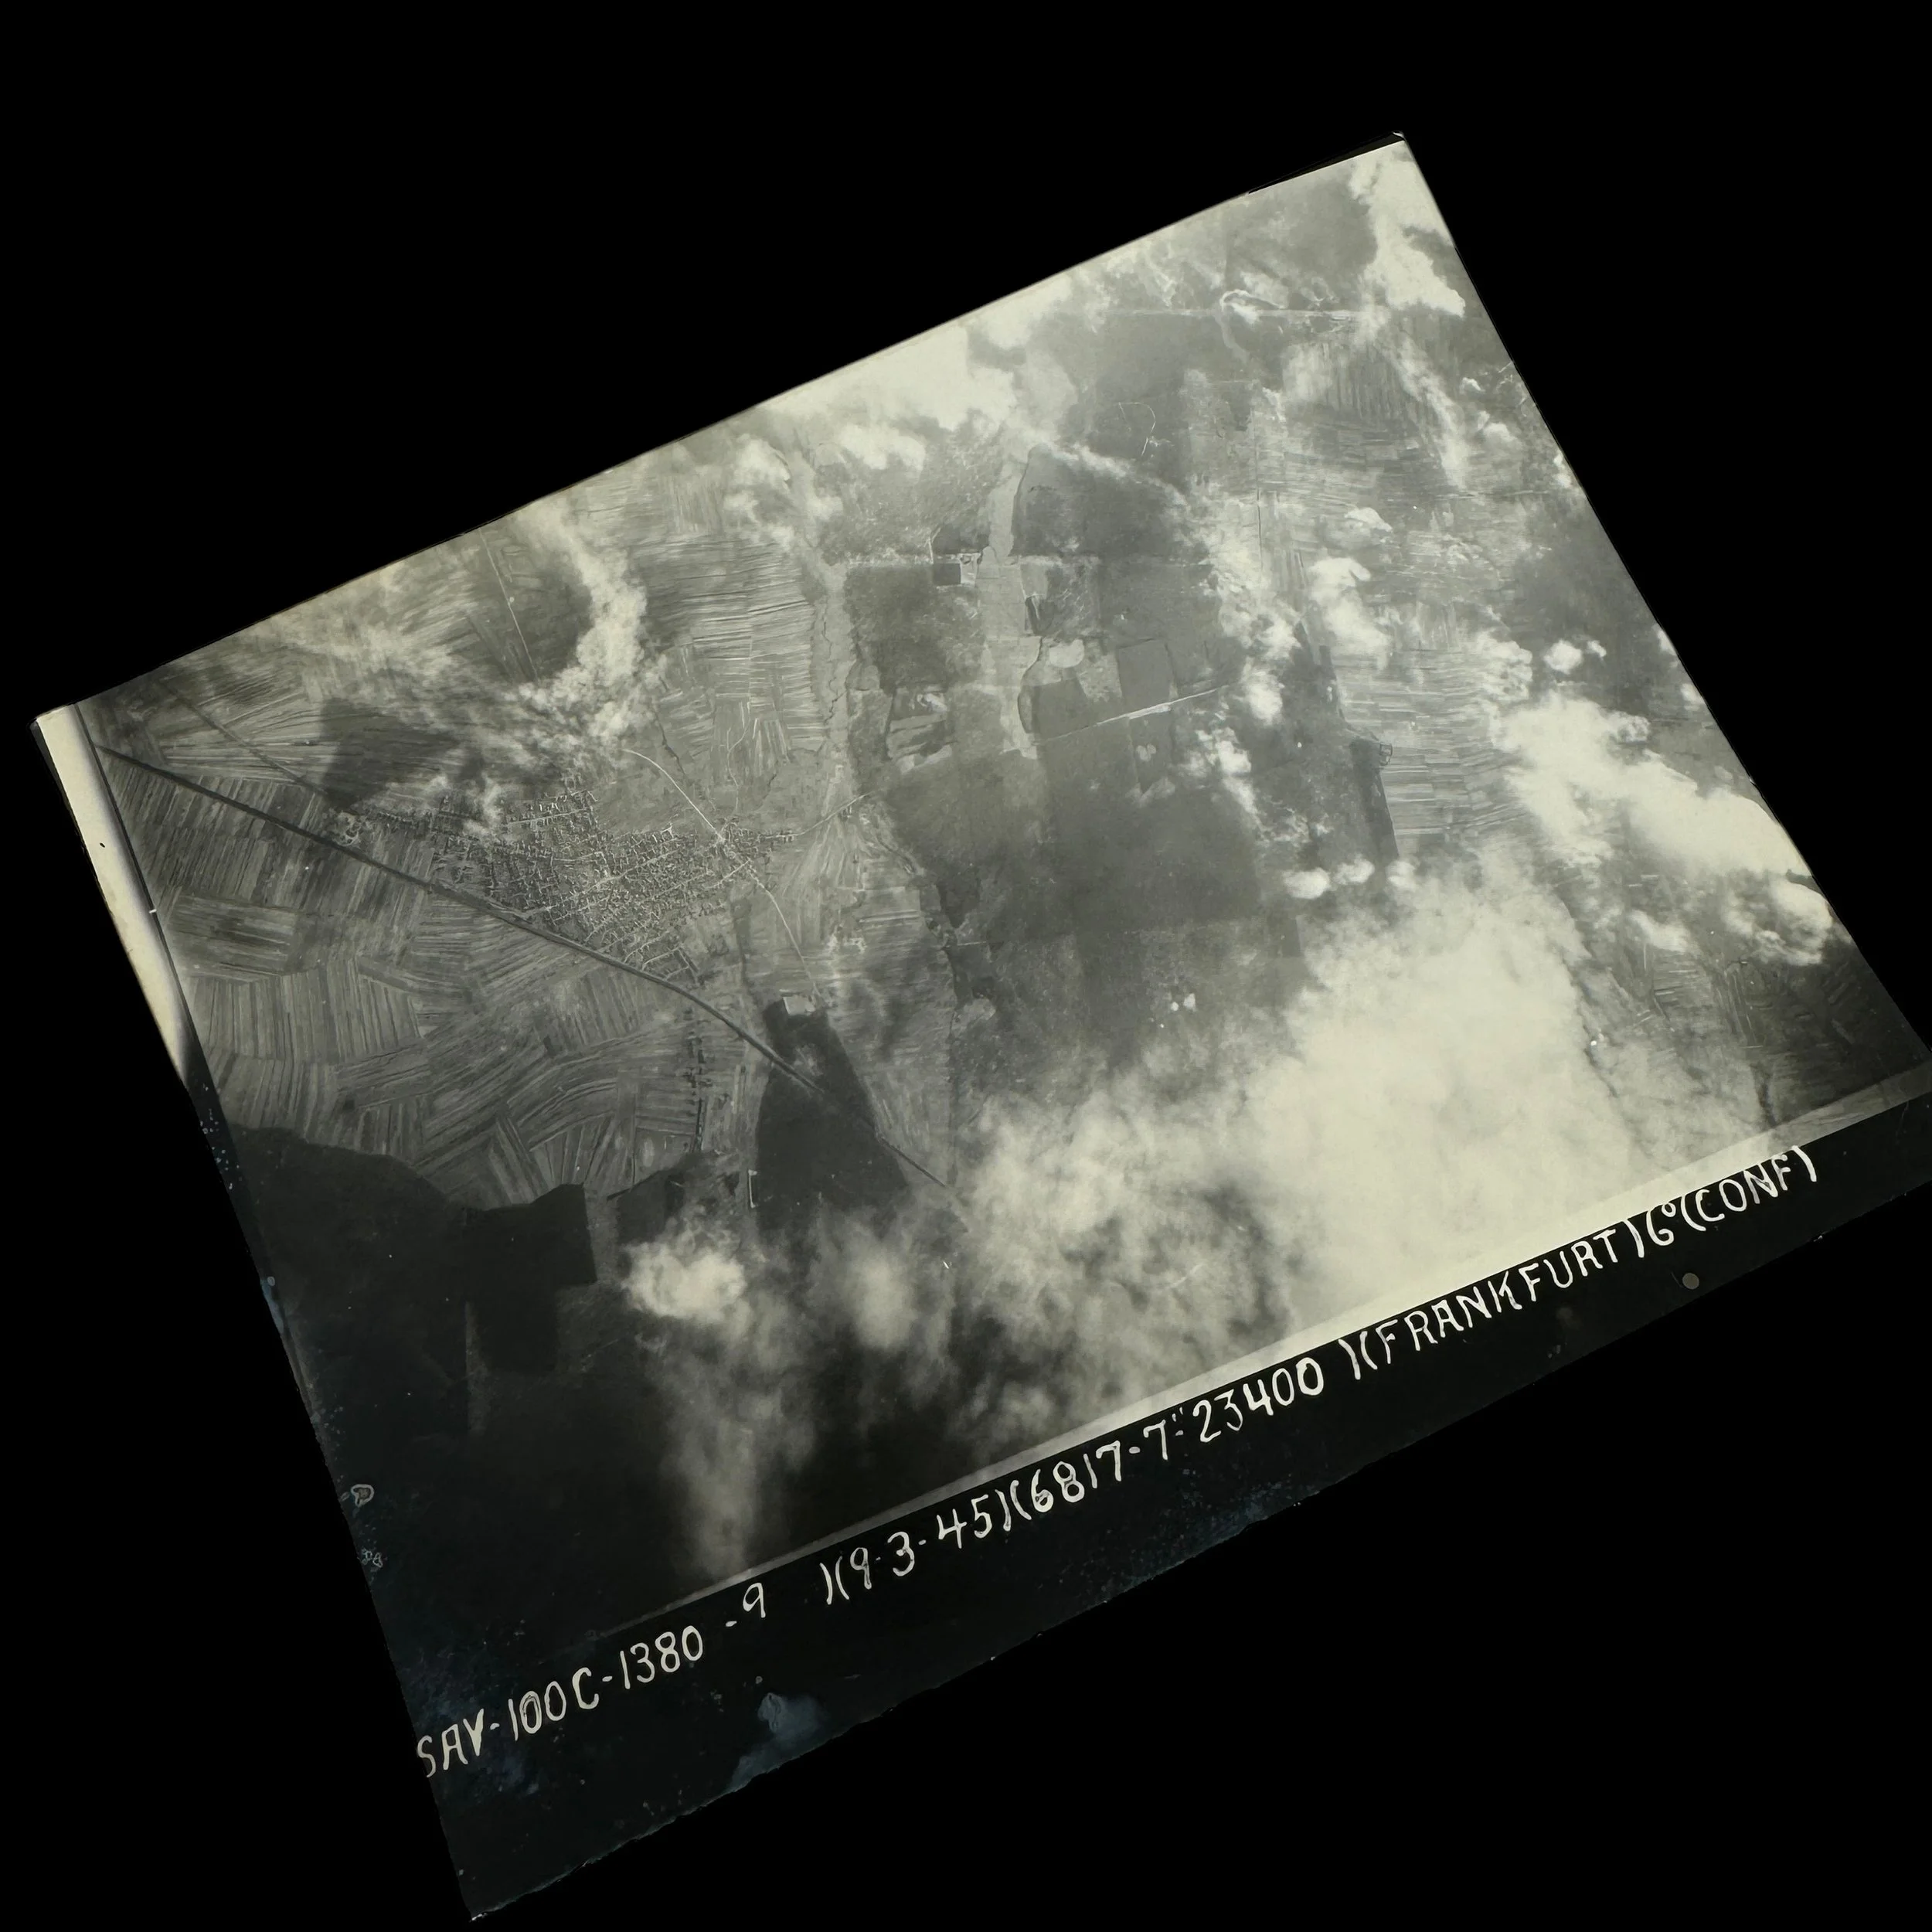
RARE! WWII 100th Bomb Group 8th Air Force March 9th, 1945 "Mission #275 - Frankfurt, Germany (Aircraft Factory)" Type 1 Aerial Combat Mission Photograph
Comes with a hand-signed C.O.A.
100th Bomb Group Mission #275
Mission Date: March 9th, 1945
Target: Frankfurt, Germany (Aircraft Factory)
Classified: CONFIDENTIAL
Size: 5 × 7 inches
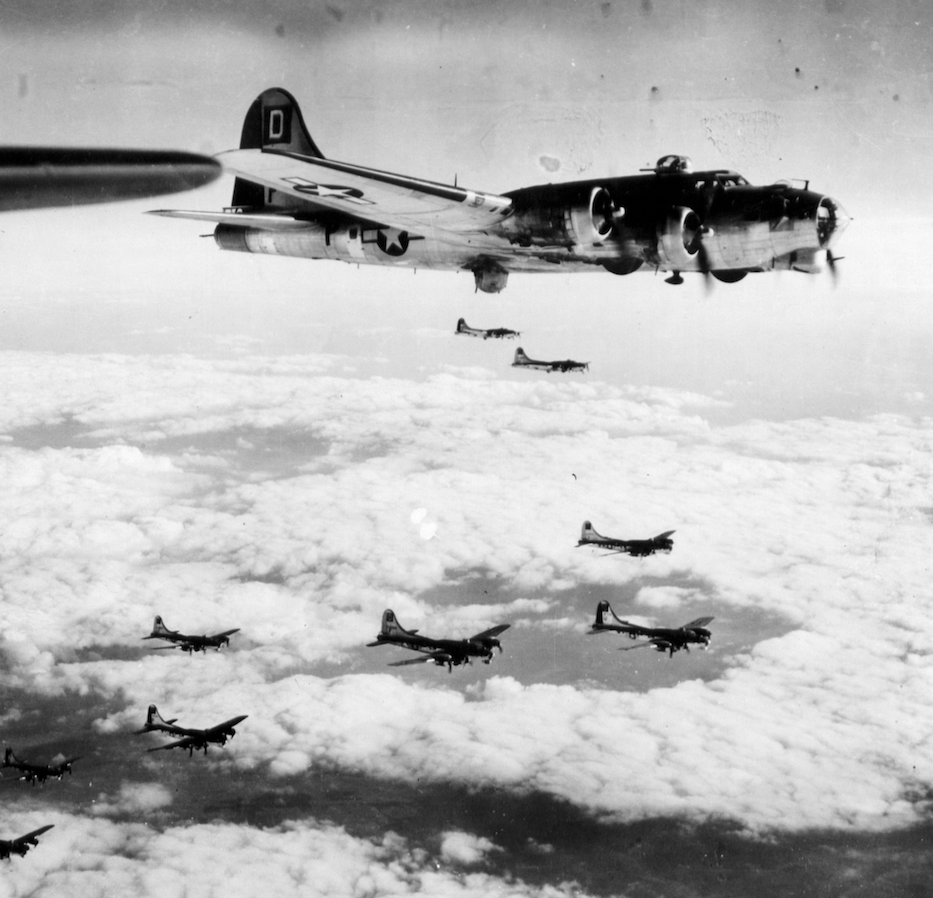
This exceptionally rare and museum-grade World War II artifact is an original "CONFIDENTIAL" marked Type 1 aerial combat mission photograph taken from a B-17 Flying Fortress of the 100th Bomb Group, Eighth Air Force. Known as "The Bloody Hundredth," the 100th Bomb Group earned a reputation for its remarkable bravery and resilience during some of the most intense and critical missions of the Allied strategic bombing campaign over Europe. These photographs provide an irreplaceable glimpse into the air war, capturing the danger, precision, and historical significance of these missions.
Taken during daring bombing raids conducted by the 8th Air Force, these photographs were developed immediately after the returning B-17 aircraft landed at Allied airfields in England, having survived fierce engagements with enemy fighters and deadly flak barrages. Each mission photograph was classified according to the sensitivity of the operation, marked "Confidential," "Secret," or "Top Secret," depending on the importance of the target and the secrecy surrounding the mission.
***THE TEXT BELOW IS FROM THE OFFICIAL MISSION SUMMARY OF THIS EXACT BOMBING RAID PHOTOGRAPH:
March 9th, 1945 Flak Over Frankfurt: The 100th Bomb Group's Harrowing Mission on the Eighth Air Force Campaign
At the 0345 briefing, crews learned their mission would target Frankfurt, with the primary objective being a metal works sheet rolling mill and jet component factory. The secondary target was its marshaling yards. Known for heavy defenses, Frankfurt's anti-aircraft guns totaled 300, primed to engage the bomber stream.
Flying last in the Division column, the 13th Wing was led by the 390th, with the 100th as the 'B' group and the 95th as 'C.' Charles A. Martin/Blanding led the 100th's formation, with High and Low Squadrons led by Command Pilot/Ellis and Stivers/Champion, respectively.
Thirty-eight crews launched under clear skies over England and the Channel, but as briefed, encountered 6/10-8/10 cloud cover upon crossing the continent. Intense flak began at 1000 hours near the IP as the 100th's Lead ship prepared for the bomb run. A misstep by the closely-following Low and Lead squadrons caused them to abort the initial run, forcing a second pass through heavy flak. Bombs were dropped using the 390th's smoke markers, though results were unclear.
Flying in the Low squadron’s Lead ship, Bombardier William Wellings recalled: “…Stivers decided to tack on a drop with A Sqdn. Went right over Primary, which was visual, but didn’t drop. Went straight into the town under heavy flak, then circled back to drop on two old smoke bombs. Don’t know what we hit, and don’t care. Saw a B-17 ahead go down in flames and explode; eight chutes were seen.”
Harvey Wingard, Waist Gunner on the Harbison Crew, witnessed a flak-damaged B-17 from the 95th join the 100th’s formation before its left wing tore off, igniting flames and breaking the tail. "Five chutes were seen."
The High squadron successfully attacked the Primary target alone at 1011 hours, joining the 96th Bomb Group for the return to the coast. Tail Gunner Thomas Booze described the flak over Frankfurt as "rough as hell." Radio Operator Dan Moore wrote in his diary, “Plenty of flak… it was so thick you could darn near get out and walk on it.” Donald Becker, flying his 8th mission, added, “…Most terrific and accurate flak I’ve ever seen. Bare feet away, it rocked and rolled the plane for 16 minutes.”
The 3rd Division lost three aircraft—one each from the 95th, 96th, and 490th Bomb Groups. However, all 100th crews returned safely, though 22 aircraft sustained flak damage. The 418th Squadron sent 12 aircraft, with pilots including Bayley, Bovenzi, Calder, and Griffith bringing their damaged ships home. Mikesh returned with bombs intact due to another aircraft blocking his drop. Crews landed near empty on fuel, with interrogations revealing the toll of one of the war’s toughest missions.
Condensed History of the 100th Bomb Group:
The 100th Bomb Group was constituted as a heavy bomber group inside the Eighth Air Force, which, at peak strength on D-Day, June 6, 1944, fielded 40 groups of Boeing B-17s and Consolidated B-24s. The 100th Bomb Group also known as the "The Bloody Hundredth", because of its reputation for losing a high number of aircraft and crews.
Over the course of 22 months of aerial combat, the aircrews of the 100th had served a deadly apprenticeship as they honed their skills and tactics. In an unemotional analysis of the raw numbers, the Bloody 100th’s wartime losses were not the worst suffered by the Eighth Air Force, though they were in the top three of losses by heavy bomber groups. The official history from the 100th Bomb Group Foundation cites 184 missing aircrew reports on 306 missions. In his memoir An Eighth Air Force Combat Diary, 100th copilot John Clark pointed out that “50% of the Group’s losses occurred in only 3% of its missions.” Like a gambler whose luck has gone cold, when the crews of the 100th had a bad day, they had a very bad day.
More than 26,000 Eighth Air Force personnel sacrificed their lives in service to the war effort. The total number killed or missing in action was slightly more than that suffered by the U.S. Marine Corps, and a little less than half the losses sustained by the entire U.S. Navy. Comparisons such as these do nothing to diminish the contributions of other military branches, but rather point out the gargantuan scale of the Eighth Air Force’s effort. The 100th Bomb Group’s portion of those losses was 785 men killed outright or missing in action and 229 aircraft destroyed or rendered unsuitable for flight.
Essential Roles of the Photographs in the Allied War Effort
1. Post-Mission Briefings
These combat mission photographs were indispensable in post-mission debriefings with aircrews. They provided:
Visual Feedback: Detailed images allowed crews to assess the effectiveness of their bombing runs, determining whether targets were hit with precision or if adjustments were needed for future missions.
Combat Intelligence: The photographs documented enemy defenses encountered during the mission, such as anti-aircraft artillery placements, flak concentrations, and Luftwaffe interception patterns.
Tactical Improvements: Reviewing these images enabled crews to refine their bombing accuracy and tactics, improving mission success rates while minimizing risks to personnel and aircraft.
2. Intelligence and Mapping
Type 1 photographs were invaluable to Allied intelligence, serving as critical resources for:
Identifying New Targets: Reconnaissance imagery revealed the locations of enemy industrial facilities, supply depots, and military installations, shaping future mission objectives.
Mapping Enemy Defenses: The photographs helped Allied analysts chart flak zones, radar installations, and troop movements, allowing for the creation of comprehensive intelligence maps that informed strategic planning.
Assessing Bombing Effectiveness: Post-bombing images documented the destruction of critical enemy infrastructure, such as factories, transportation networks, and oil refineries, ensuring mission objectives were met.
3. Strategic Bombing Campaigns
The Eighth Air Force relied heavily on these photographs to adjust and refine its bombing strategies. They played a critical role in:
Target Prioritization: Damage assessments from previous missions guided the selection of high-priority targets for subsequent raids.
Operational Planning: Insights gained from the photographs influenced mission parameters, such as bombing altitudes, formation patterns, and evasive maneuvers to counter enemy defenses.
Historical Significance and Legacy
These photographs stand as a testament to the courage and precision of the 100th Bomb Group. Stationed at Thorpe Abbotts, England, "The Bloody Hundredth" became synonymous with heroism and sacrifice, enduring significant losses during missions deep into enemy territory. Their motto, "Keep the Show on the Road," exemplified their unrelenting determination in the face of overwhelming odds.
The combat imagery produced by the group not only documented their contributions but also played an instrumental role in crippling Germany's industrial and military capabilities. Today, these photographs are regarded as museum-grade artifacts, offering a tangible connection to the technological innovation, strategic foresight, and human courage that defined the Allied war effort.
The rarity of these images further elevates their historical value, as many were destroyed after the war to maintain operational secrecy. Those that remain offer an unparalleled window into the air war over Europe and the pivotal role of aerial reconnaissance in securing Allied victory.
The Type 1 aerial combat mission photograph from a B-17 Flying Fortress of the 100th Bomb Group is far more than a historical artifact—it is a powerful reminder of the bravery, ingenuity, and determination that shaped the outcome of World War II. These images guided the Allied forces to victory and now serve as a lasting tribute to the men and women who risked everything in the skies above Europe. Preserving these photographs ensures that the sacrifices and triumphs of "The Bloody Hundredth" will never fade from memory, allowing their legacy to inspire future generations.
*Full Mission History of the 100th Bombardment Group (Heavy) during WWII:
Constituted as 100th Bombardment Group (Heavy) on 28 Jan 1942. Activated on 1 Jun 1942. Used B-17’s to prepare for duty overseas. Moved to England, May-Jun 1943, and was assigned to Eighth AF. Operated chiefly as a strategic bombardment organization until the war ended. From Jun 1943 to Jan 1944, concentrated its efforts against airfields in France and naval facilities and industries in France and Germany. Received a DUC for seriously disrupting German fighter plane production with an attack on an aircraft factory at Regensburg on 17 Aug 1943. Bombed airfields, industries, marshaling yards, and missile sites in Western Europe, Jan-May 1944. Operations in this period included participation in the Allied campaign against enemy aircraft factories during Big Week, 20-25 Feb 1944. Completed a series of attacks against Berlin in Mar 1944 and received a DUC for the missions. Beginning in the summer of 1944, oil installations became major targets. In addition to strategic operations, the group engaged in support and interdictory missions, hitting bridges and gun positions in support of the Normandy invasion in Jun 1944; bombing enemy positions at St Lo in Jul and at Brest in Aug and Sep; striking transportation and ground defenses in the drive against the Siegfried Line, Oct-Dec 1944; attacking marshaling yards, defended villages, and communications in the Ardennes sector during the Battle of the Bulge, Dec 1944- Jan 1945; and covering the airborne assault across the Rhine in Mar 1945. Received the French Croix de Guerre with Palm for attacking heavily defended installations in Germany and for dropping supplies to French Forces of the Interior, Jun-Dec 1944. Returned to the US in Dec 1945. inactivated on 21 Dec 1945.