Battle of St Quentin Canal '9/19/1918' German Emplacement and Trench Positions Combat Map
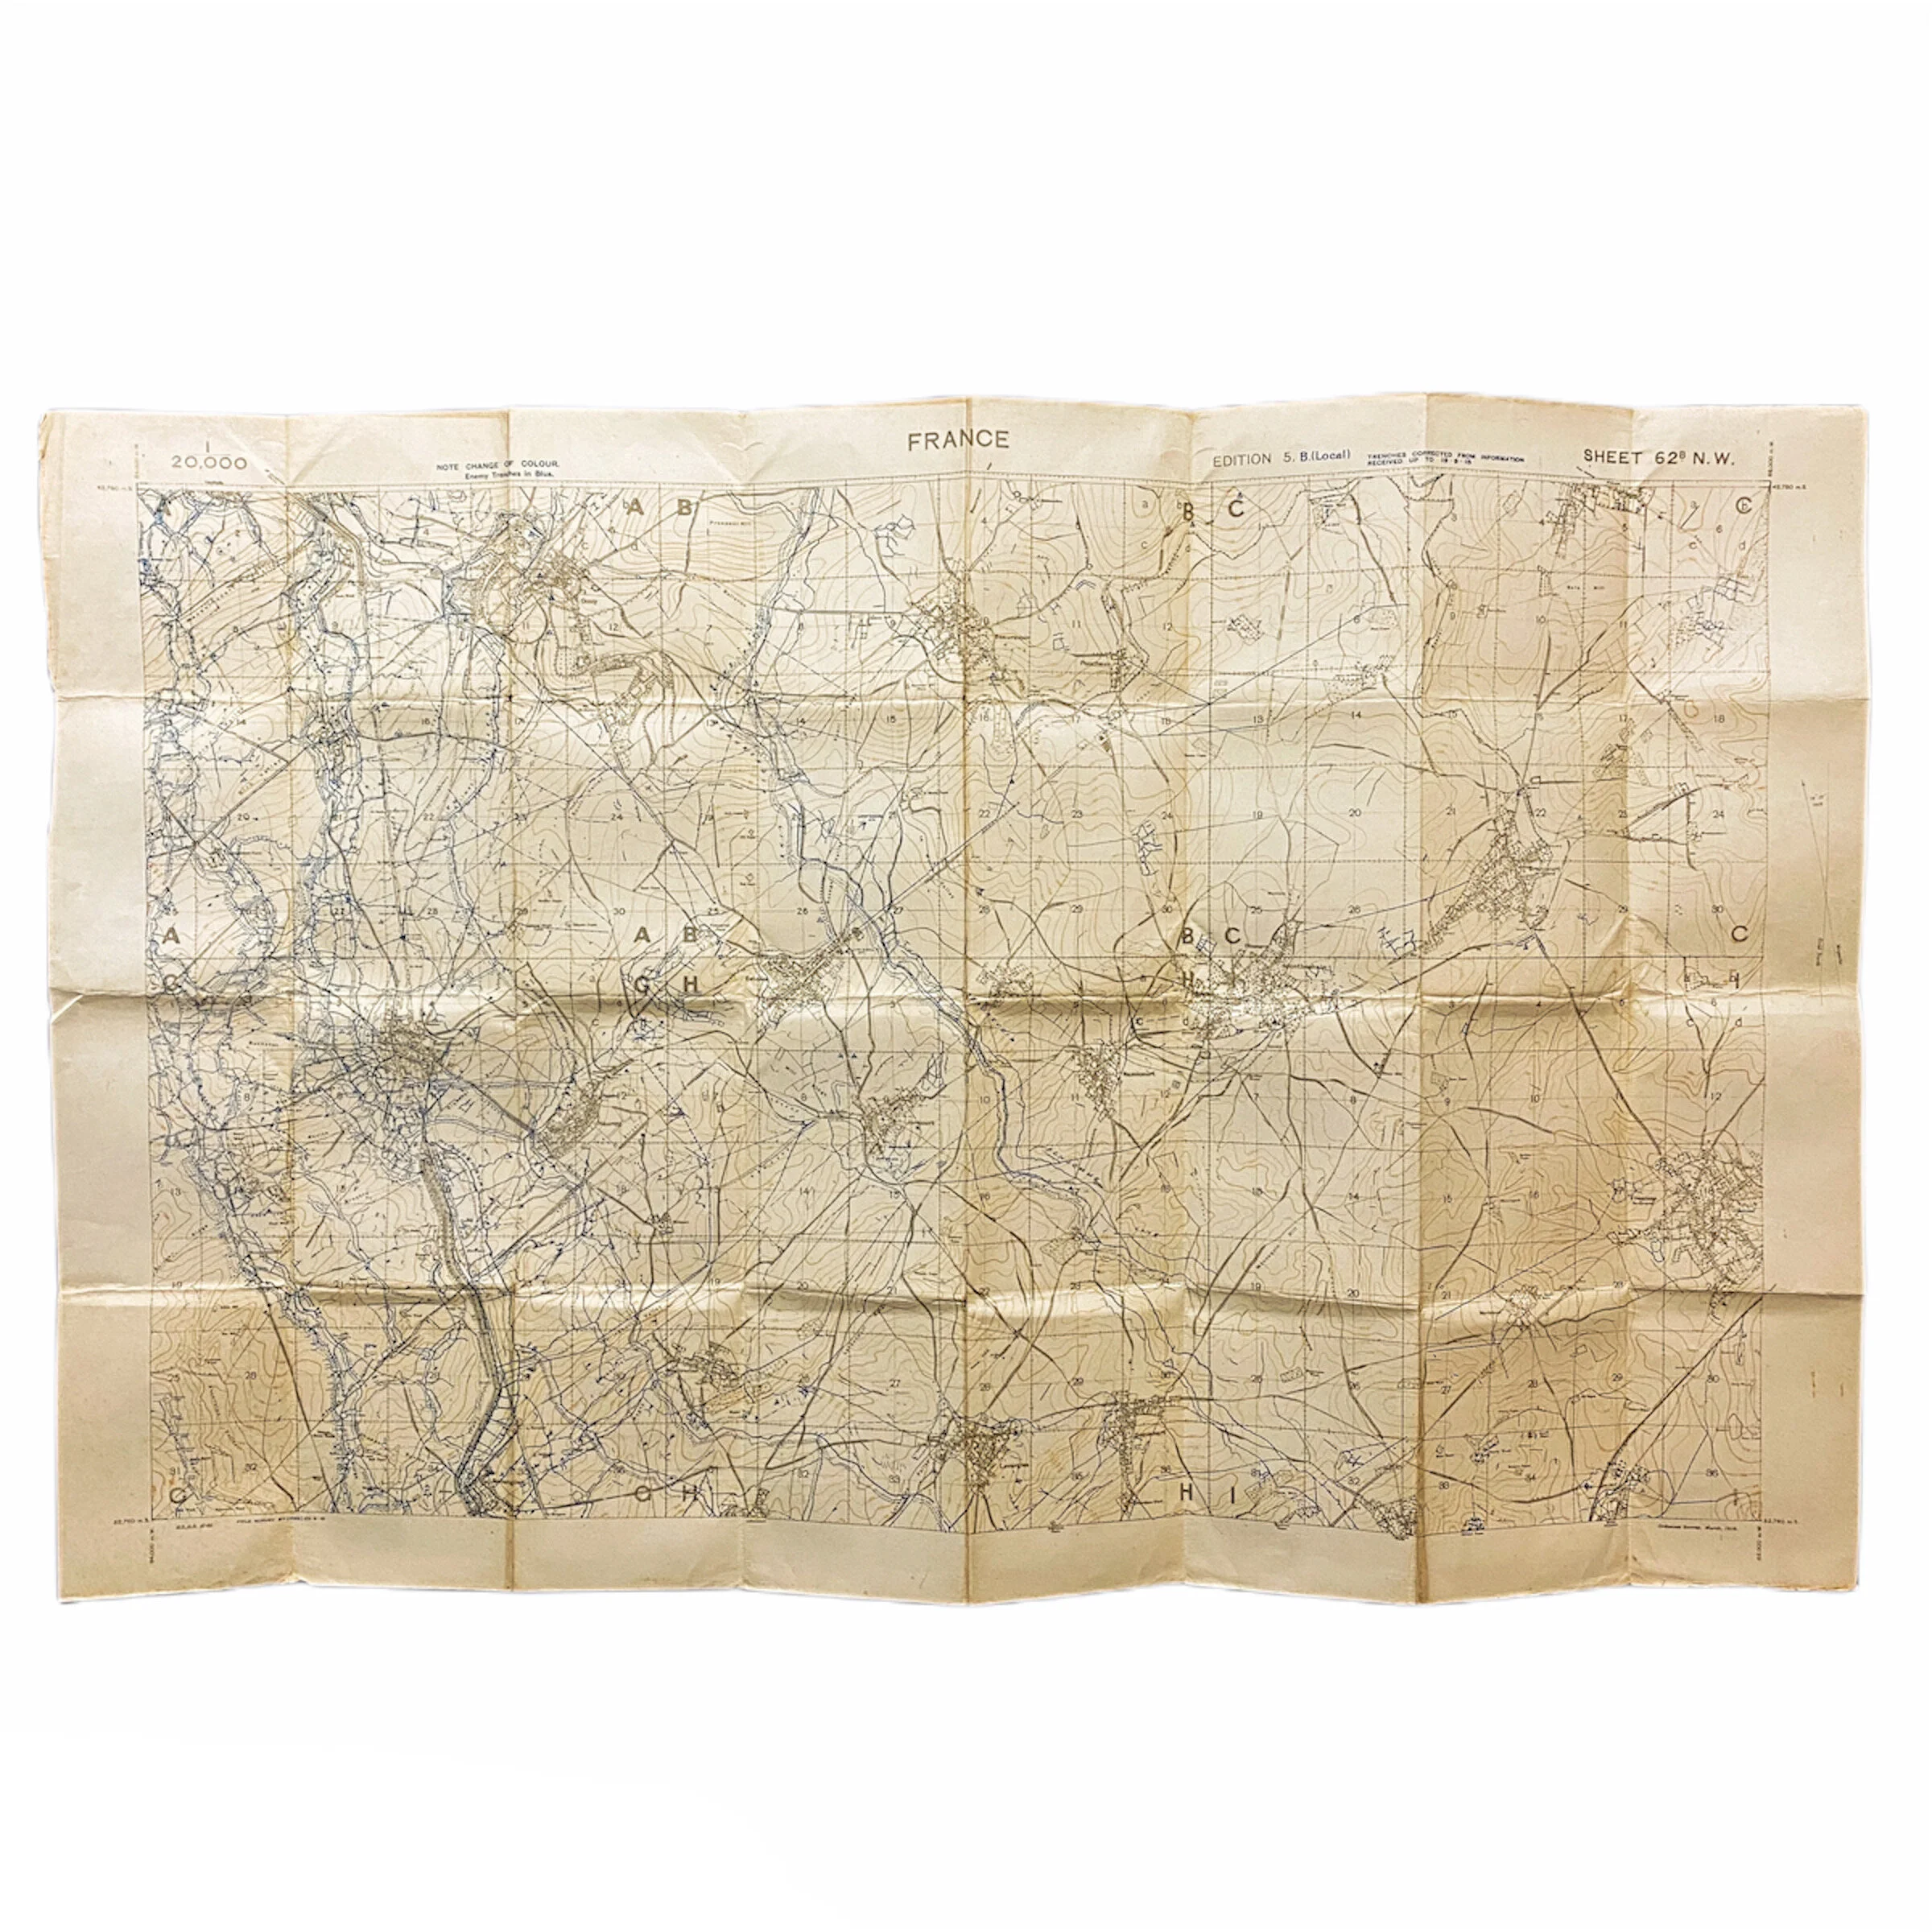


Battle of St Quentin Canal '9/19/1918' German Emplacement and Trench Positions Combat Map
Size: 35 x 22 inches
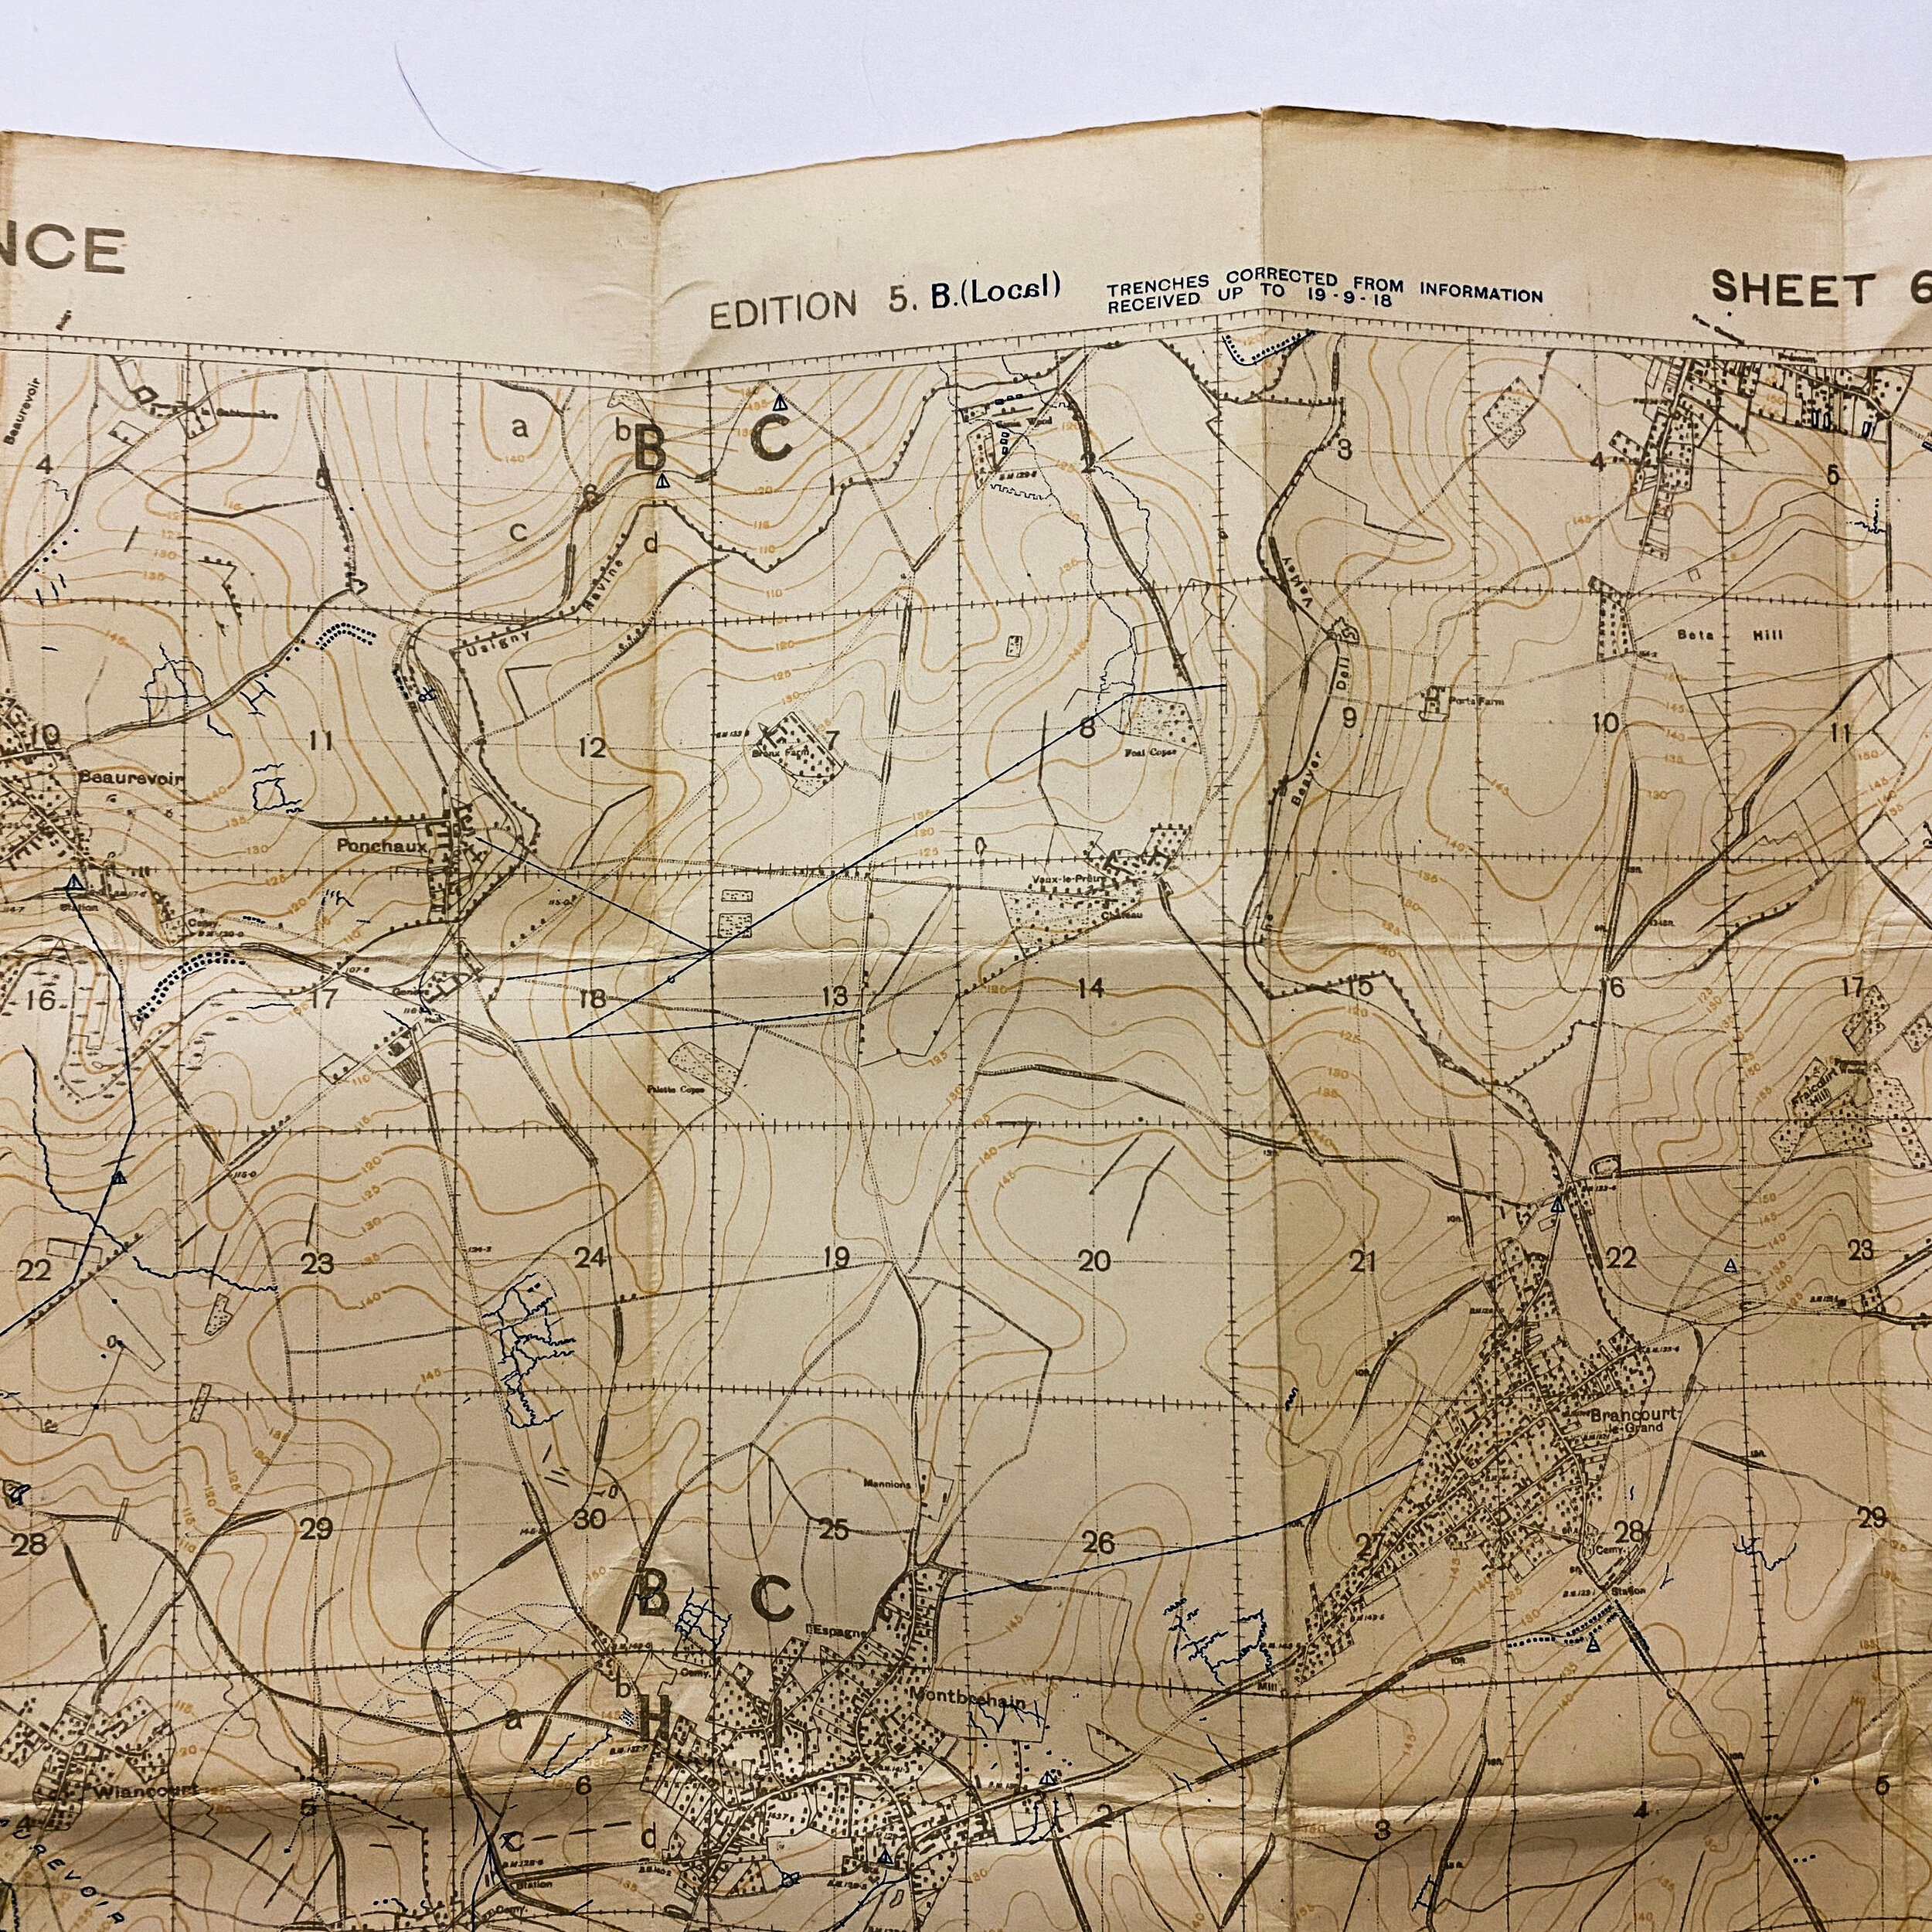
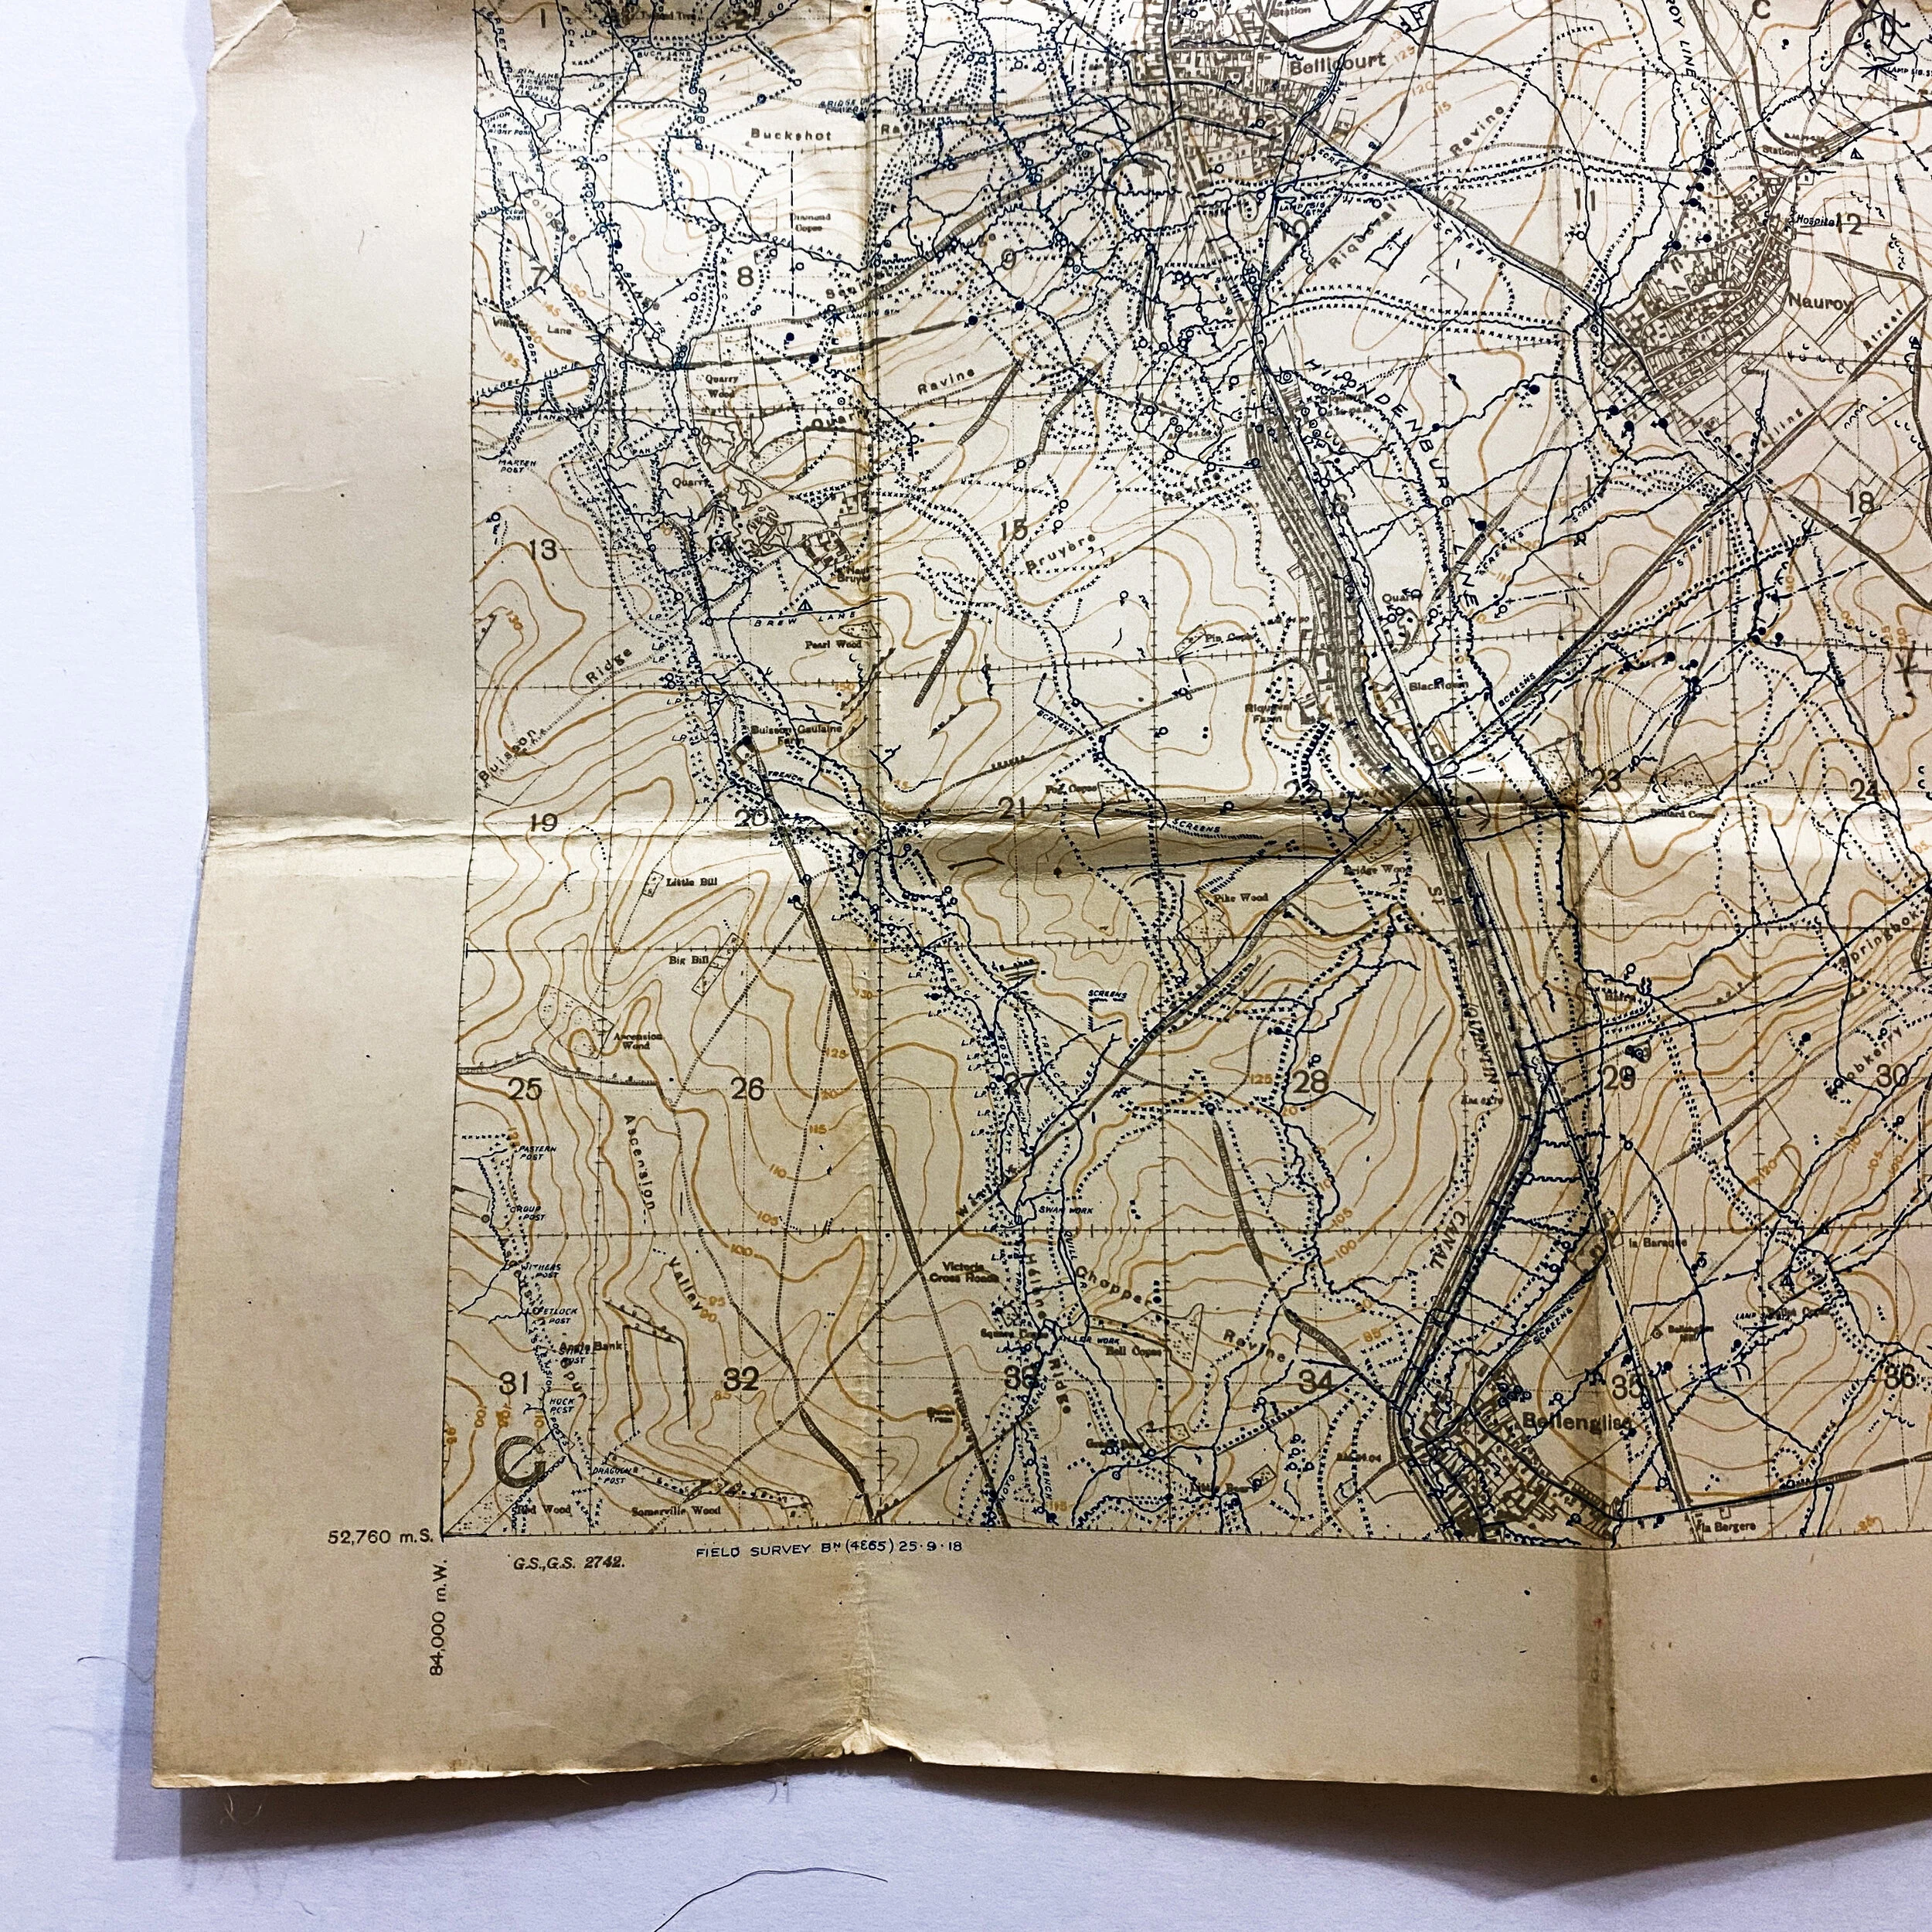
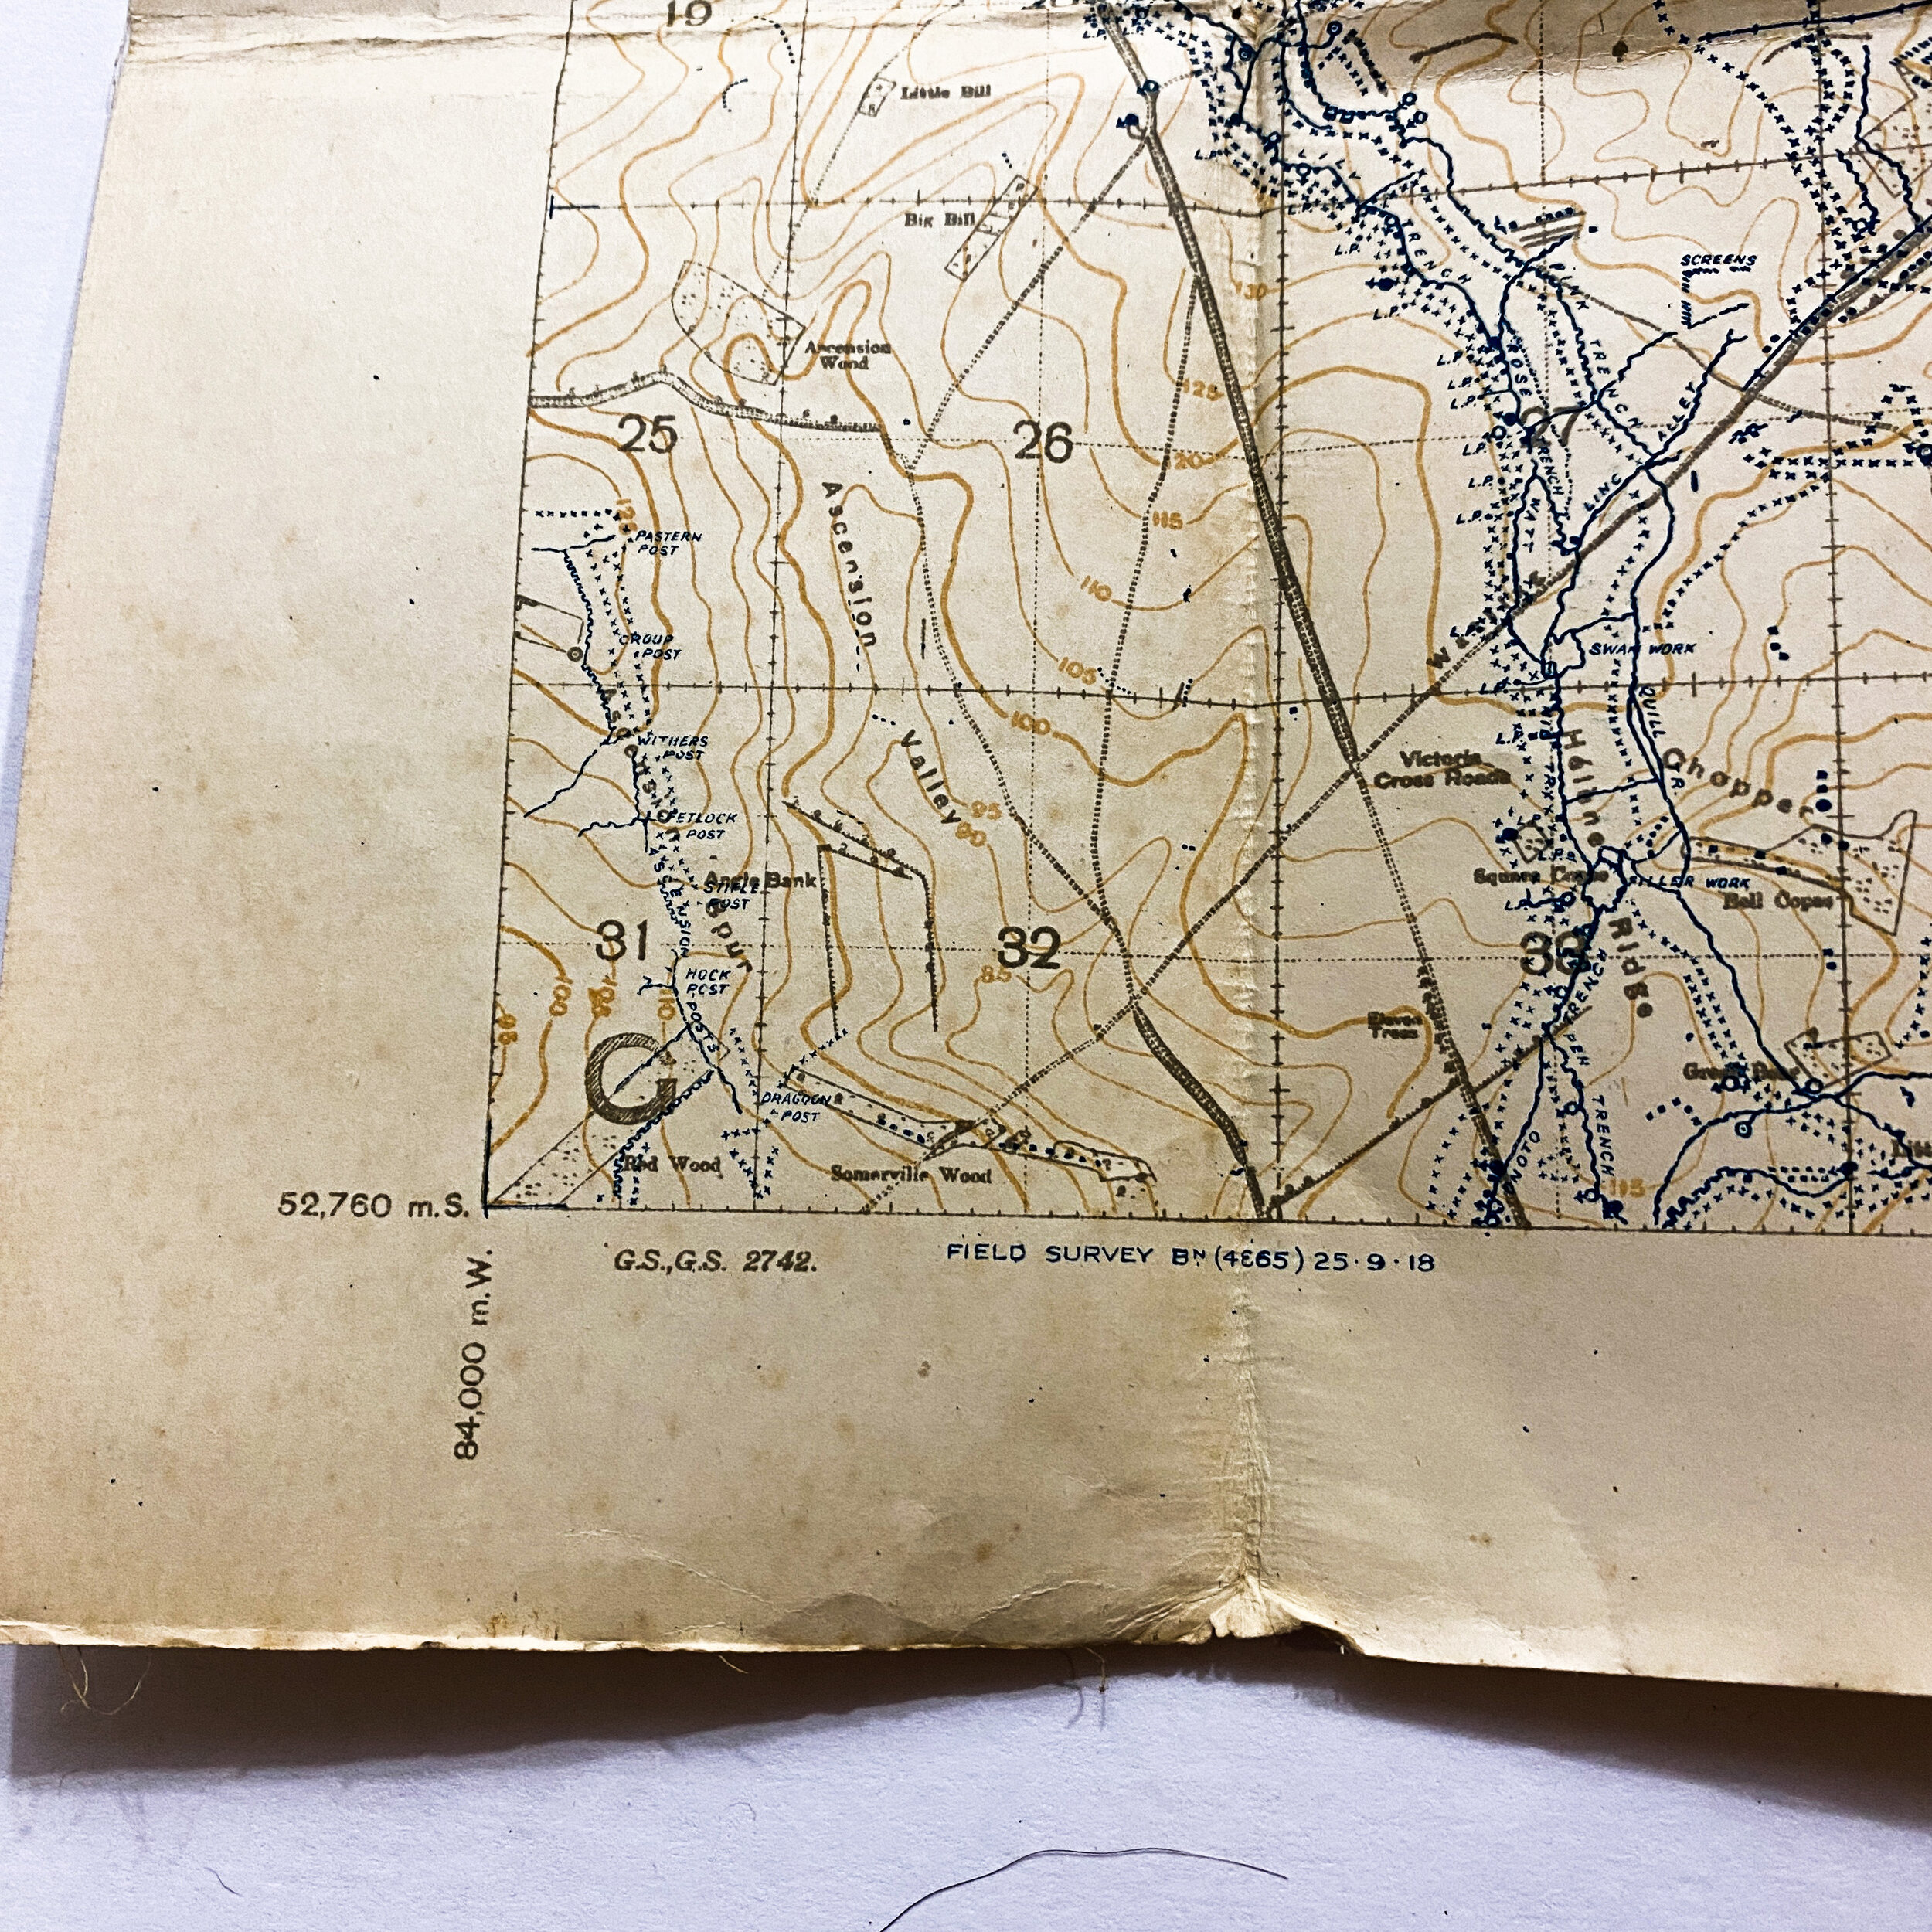
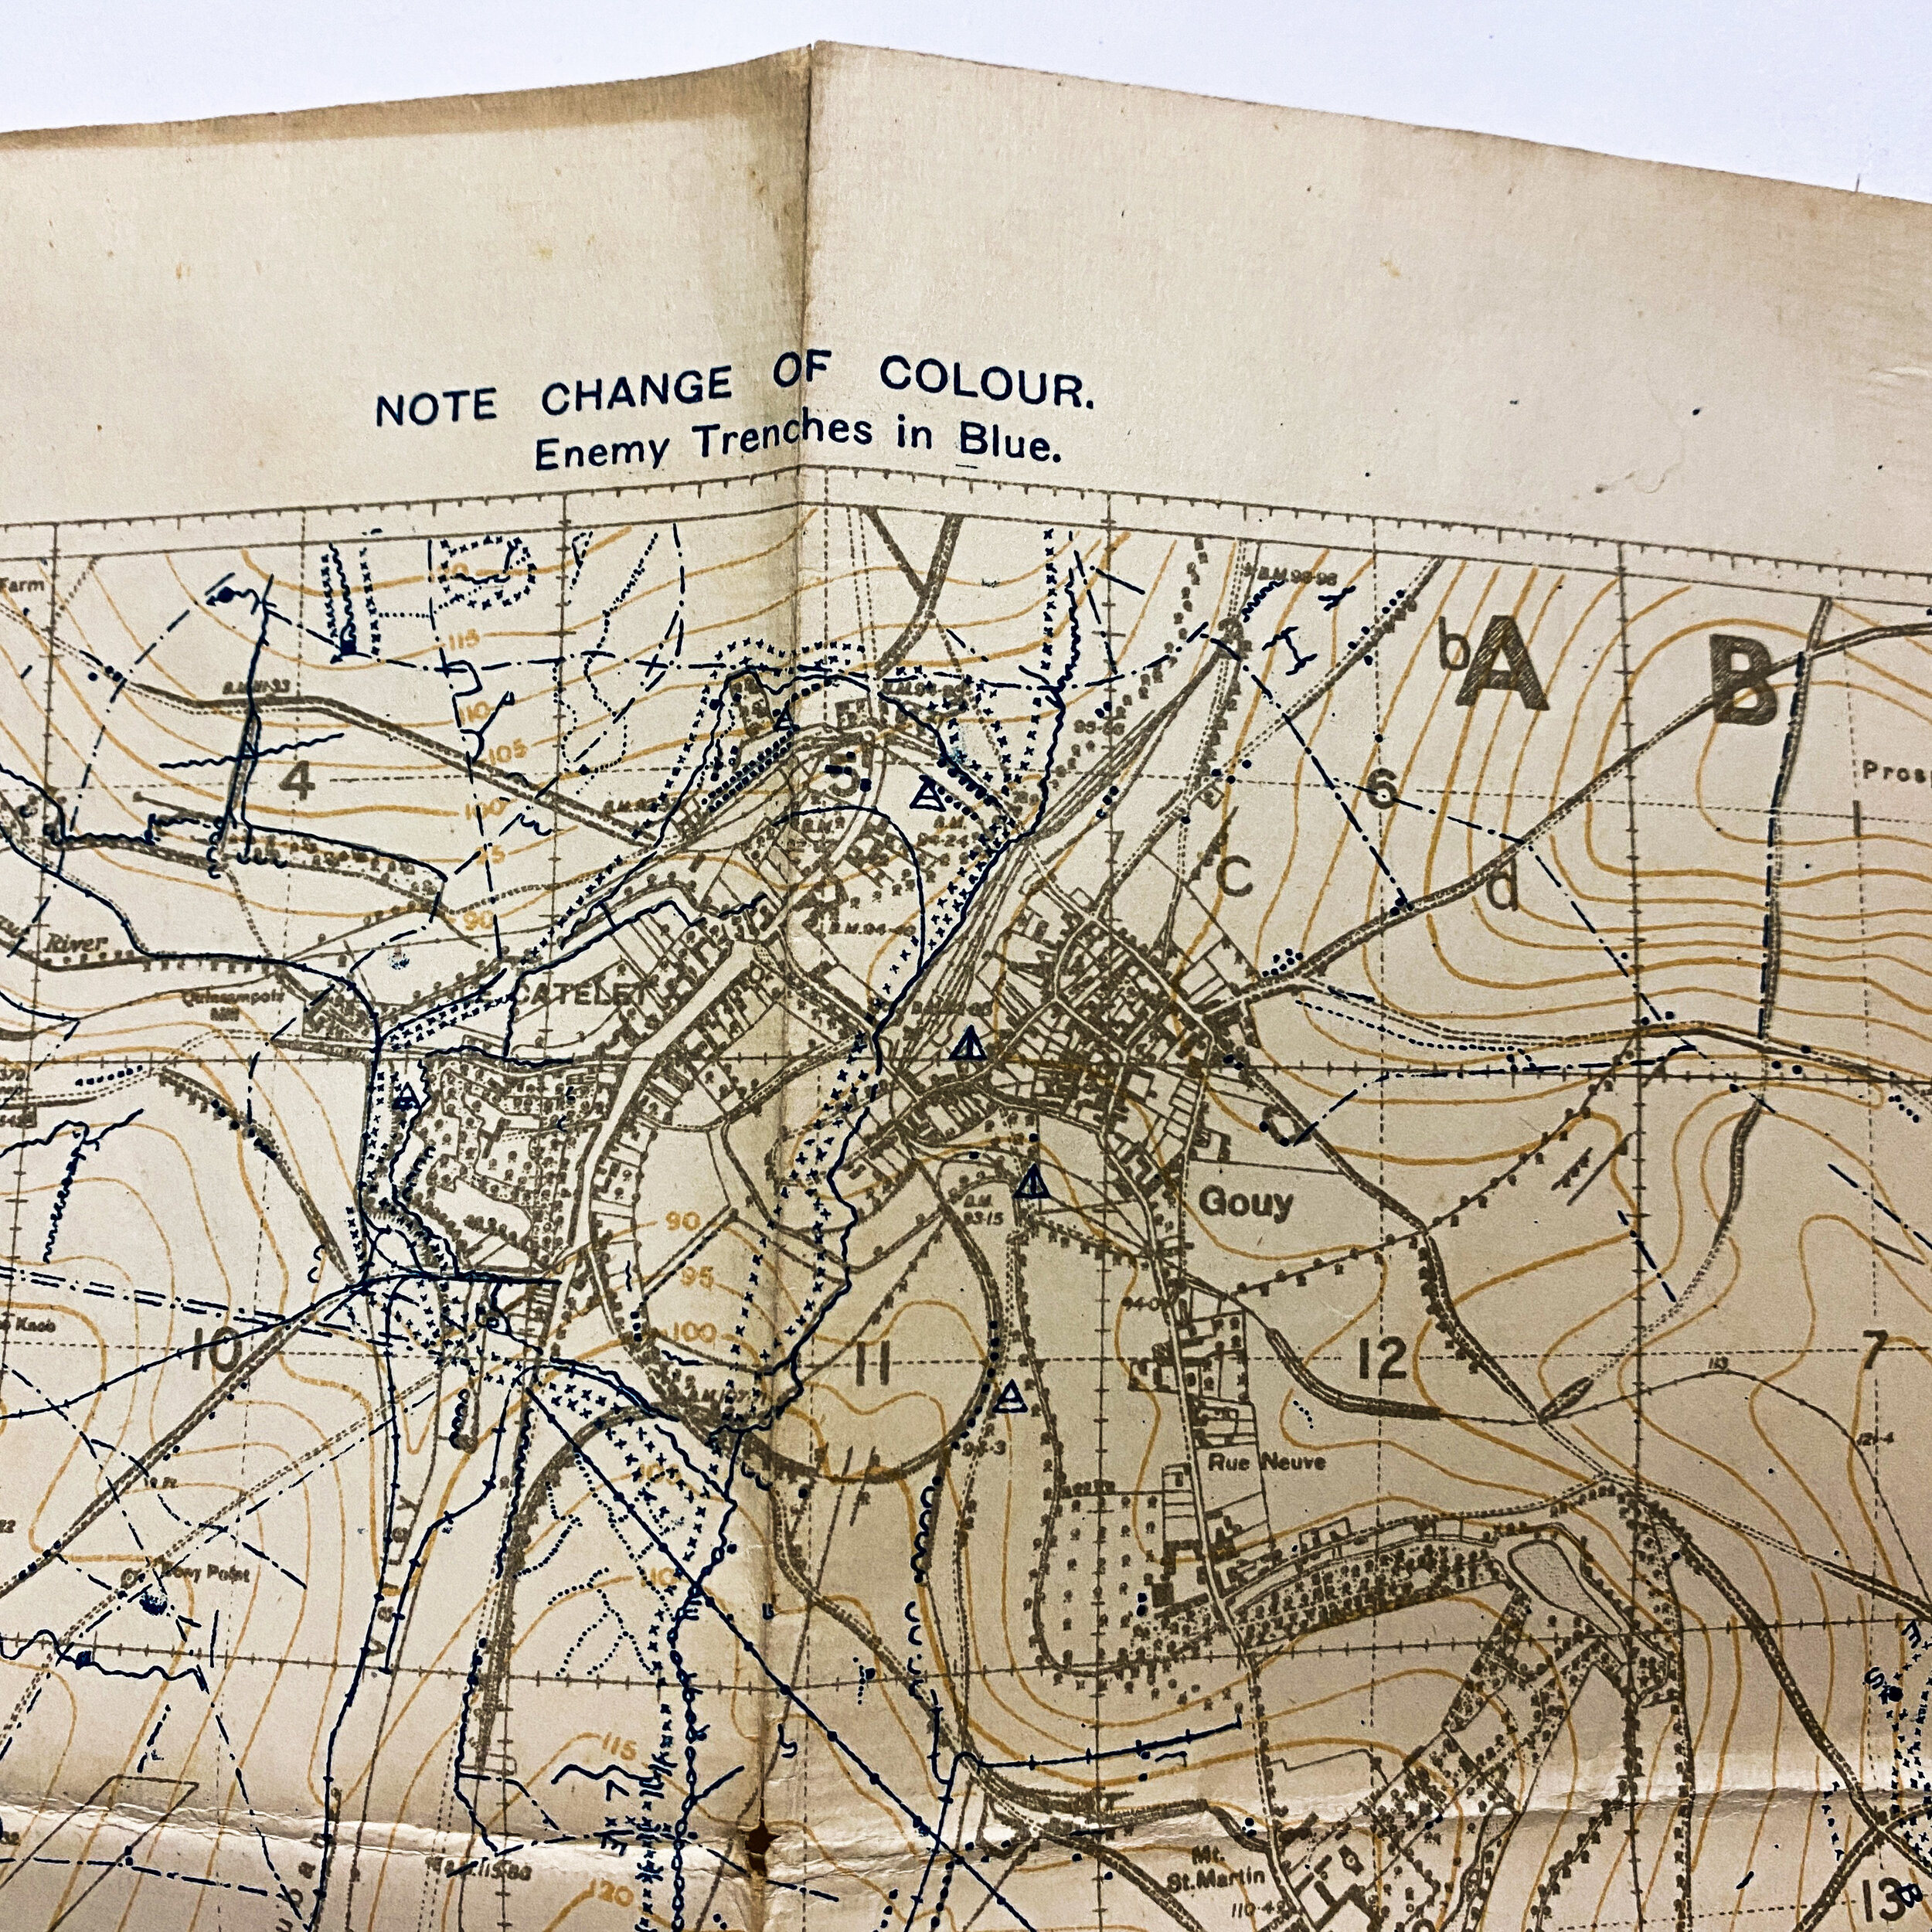
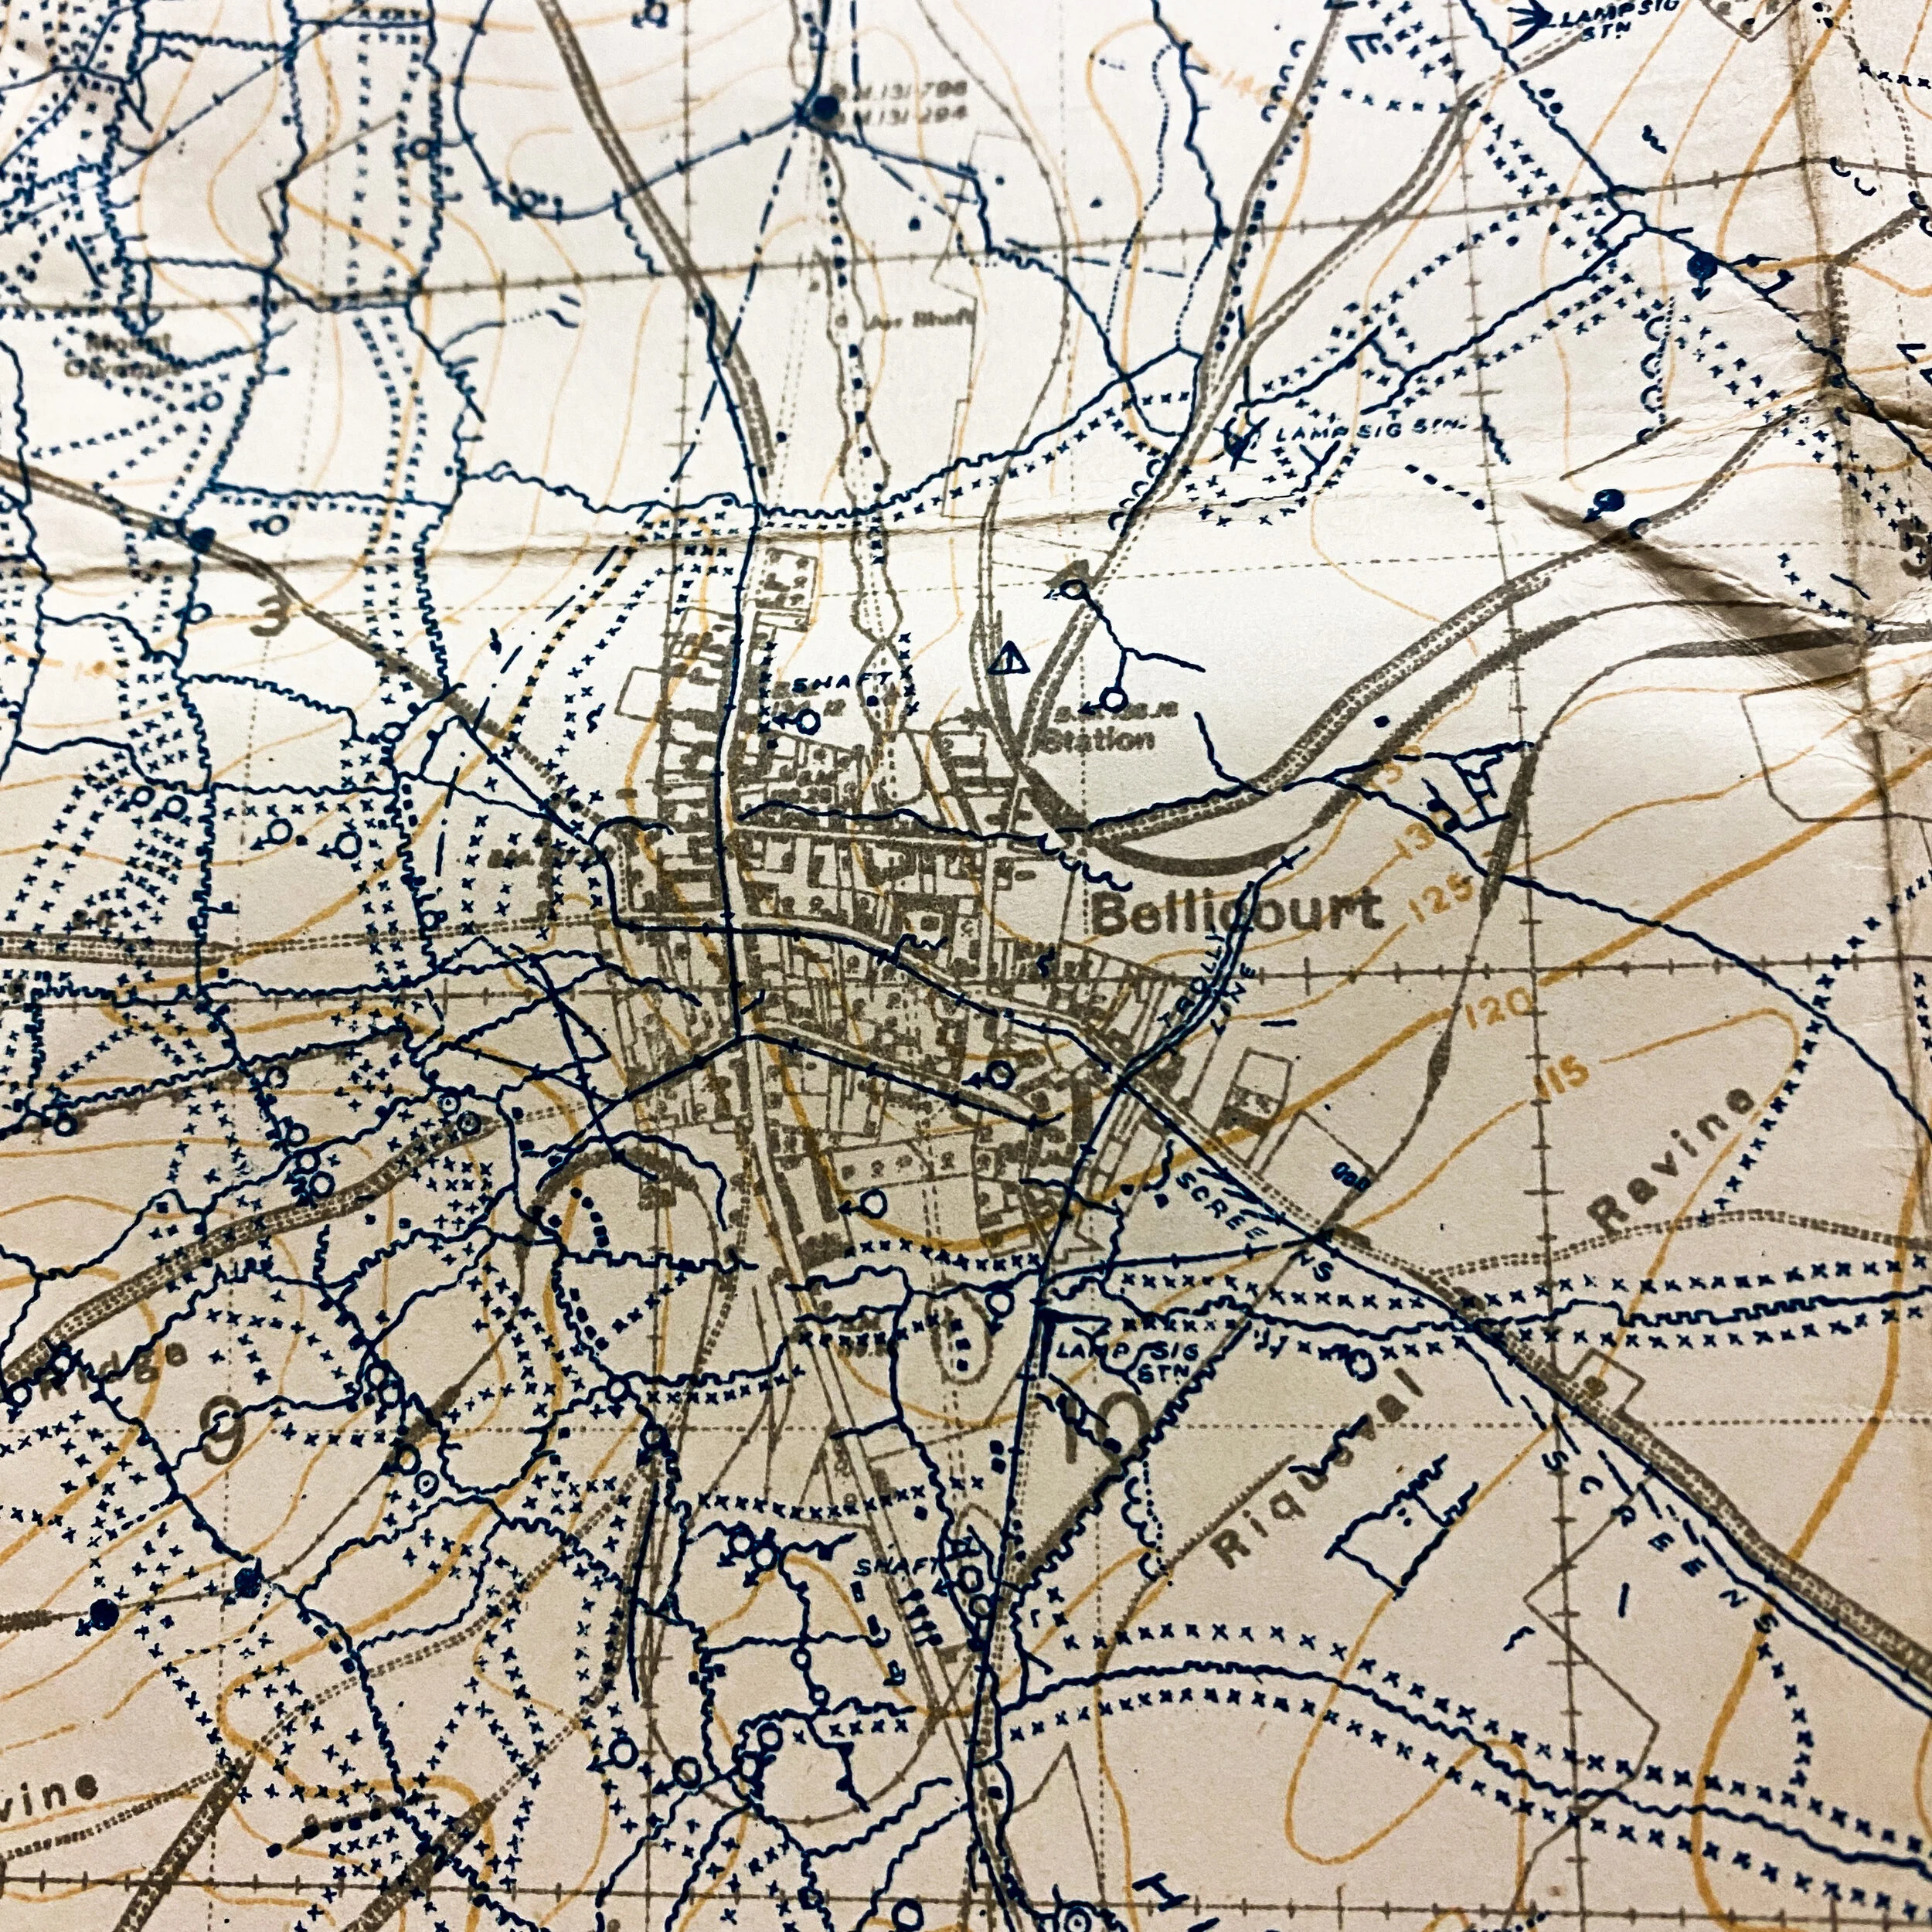
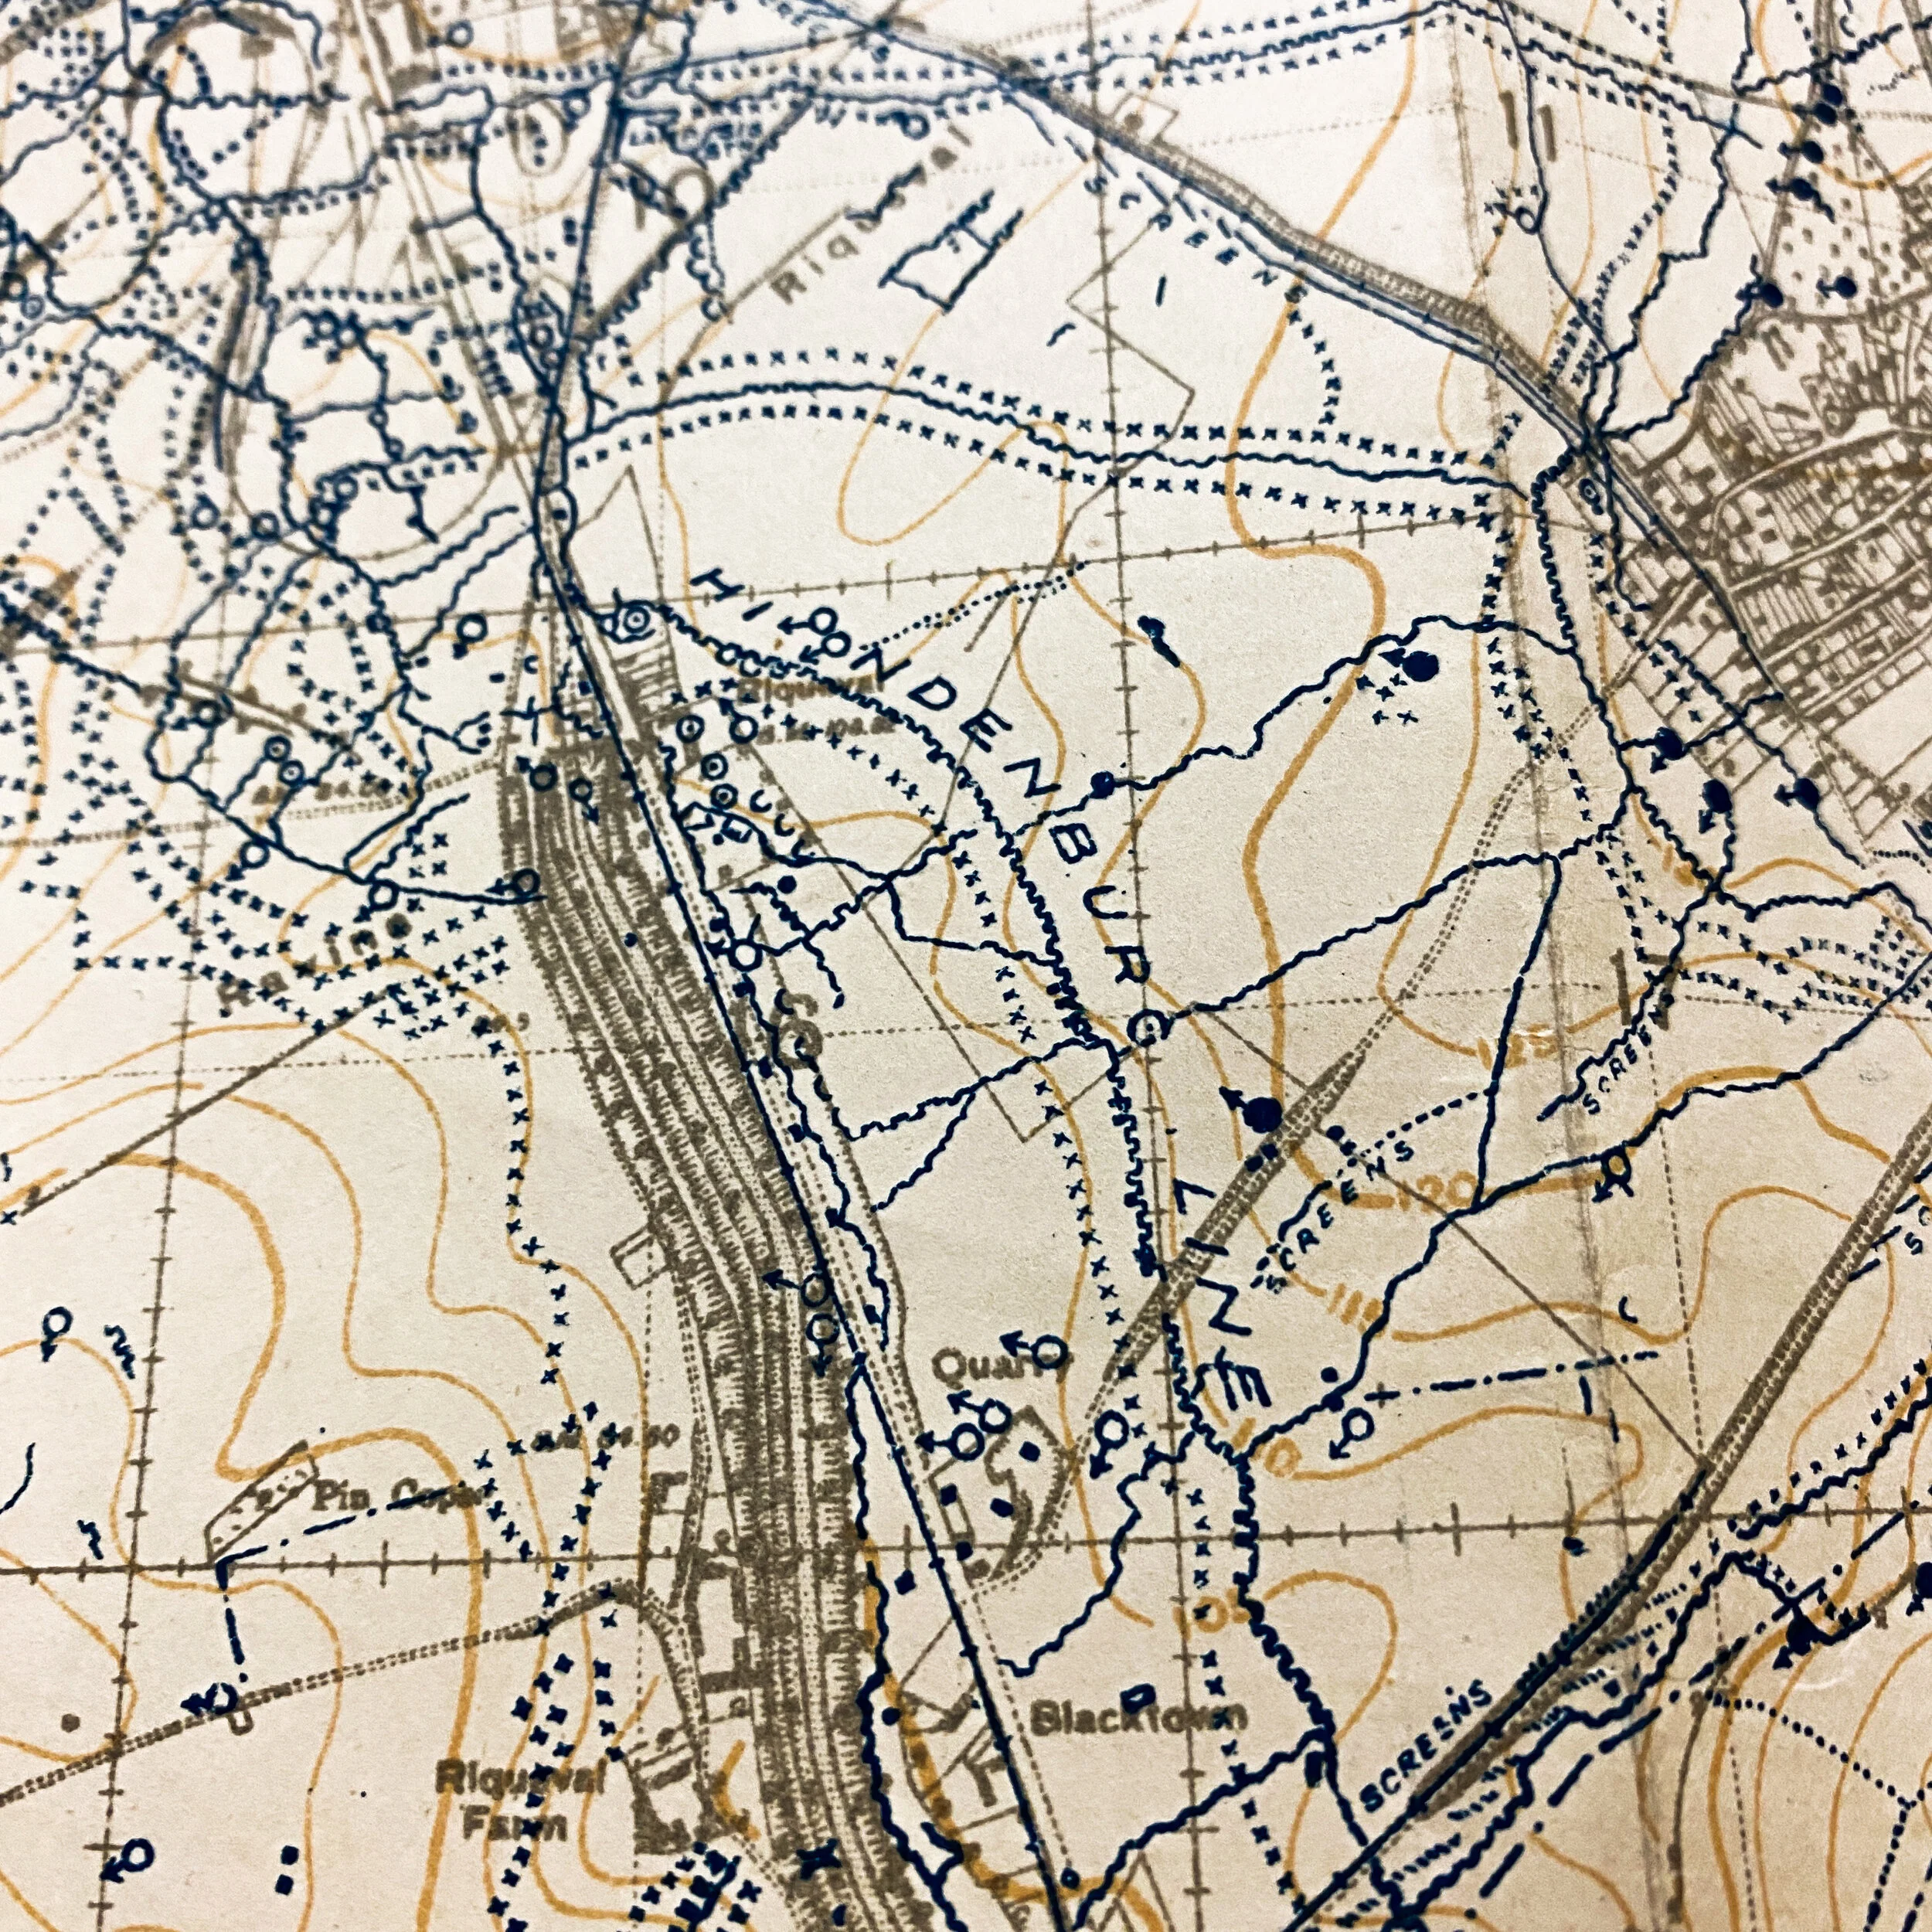
This map of the area directly over the St Quentin Canal and the Hindenburg Line includes numerous intriguing markings of German gun emplacements, observations posts, and trench positions corrected as of September 19th, 1918 days before the first initial Allied attack. The maps stretches to cover German positions from as town of Gouy (top left), Brancourt (far right), and the St Quentin Canal around the infamous town of Bellicourt as its main focus (far left).
After the German Spring Offensive, British Empire, French, and American counterattacks during the Hundred Days Offensive brought the Allies back up against the outposts of the Hindenburg Line by the autumn of 1918, close to the village of Bellicourt, where the Battle of Épehy was fought on 18 September 1918. Monash was tasked with drawing up the battle plan. He would use the Americans to breach the Hindenburg Line and the Australian 3rd and 5th Divisions to follow behind and then exploit the breakthrough. Monash intended to attack the Hindenburg Line south of Vendhuile where the St Quentin Canal runs underground for some 5,500 m (6,000 yd) through the Bellicourt Tunnel (which had been converted by the Germans into an integral part of the Hindenburg Line defensive system). The tunnel was the only location where tanks could cross the canal. Where the canal runs underground, the main Hindenburg Line trench system was sited to the west of the line of the canal. Two British corps, III and IX, would be deployed in support of the main assault. To Monash's plan Rawlinson made a very significant change: IX Corps would launch an assault directly across the deep canal cutting south of the Bellicourt Tunnel. This plan originated with Lieutenant-General Sir Walter Braithwaite, commander of IX Corps. Monash felt such an assault to be doomed to failure and would never have planned for it himself, believing it to be too risky. This view was shared by many in the 46th (North Midland) Division of IX Corps, which was tasked with spearheading the assault. The Germans believed the canal cutting to be impregnable.
Bellicourt and the Battle of St Quentin Canal main assault of 29 September:
The battle was preceded by the greatest British artillery bombardment of the war. Some 1,600 guns were deployed (1,044 field guns and 593 heavy guns and howitzers), firing almost one million shells over a comparatively short period of time. Included in these were more than 30,000 mustard gas shells (the first use of a British-made version of this weapon). These were specifically targeted at headquarters and groups of batteries. Many of the high explosive shells fired had special fuses which made them very effective in destroying the German barbed wire. The British were greatly helped by the fact that they were in possession of highly detailed captured plans of the enemy defenses (especially useful for the IX Corps sector). Monash's battle plan for 29 September envisaged breaking through the main Hindenburg Line defenses, crossing the canal tunnel mound, breaching the fortified Le Catelet–Nauroy Line beyond that, and reaching the Beaurevoir Line (the final fortified line) beyond that as the objective on the first day. Monash had originally intended to capture the Beaurevoir Line on 29 September, but Rawlinson removed this as a first day objective, considering it overly ambitious.
On 29 September, the two American divisions attacked followed by the two Australian divisions, with approximately 150 tanks of the 4th and 5th Tank Brigades of the British Tank Corps (including the newly trained American 301st Heavy Tank Battalion, which was equipped with British tanks) in support of the four divisions. The objective of the Americans was the Le Catelet-Nauroy Line, a defensive line east of the canal. Here the Australian 3rd Division (behind the U.S. 27th) and 5th Division (behind the U.S. 30th) were intended to "leapfrog" through the American forces and press on towards the Beaurevoir Line. Australian 2nd Division was in reserve.