VERY RARE! WWII D-Day Operation Overlord Omaha Beach U.S. 1st & 29th Infantry Division “VIERVILLE–COLLEVILLE SECTORS” Combat Assault Map

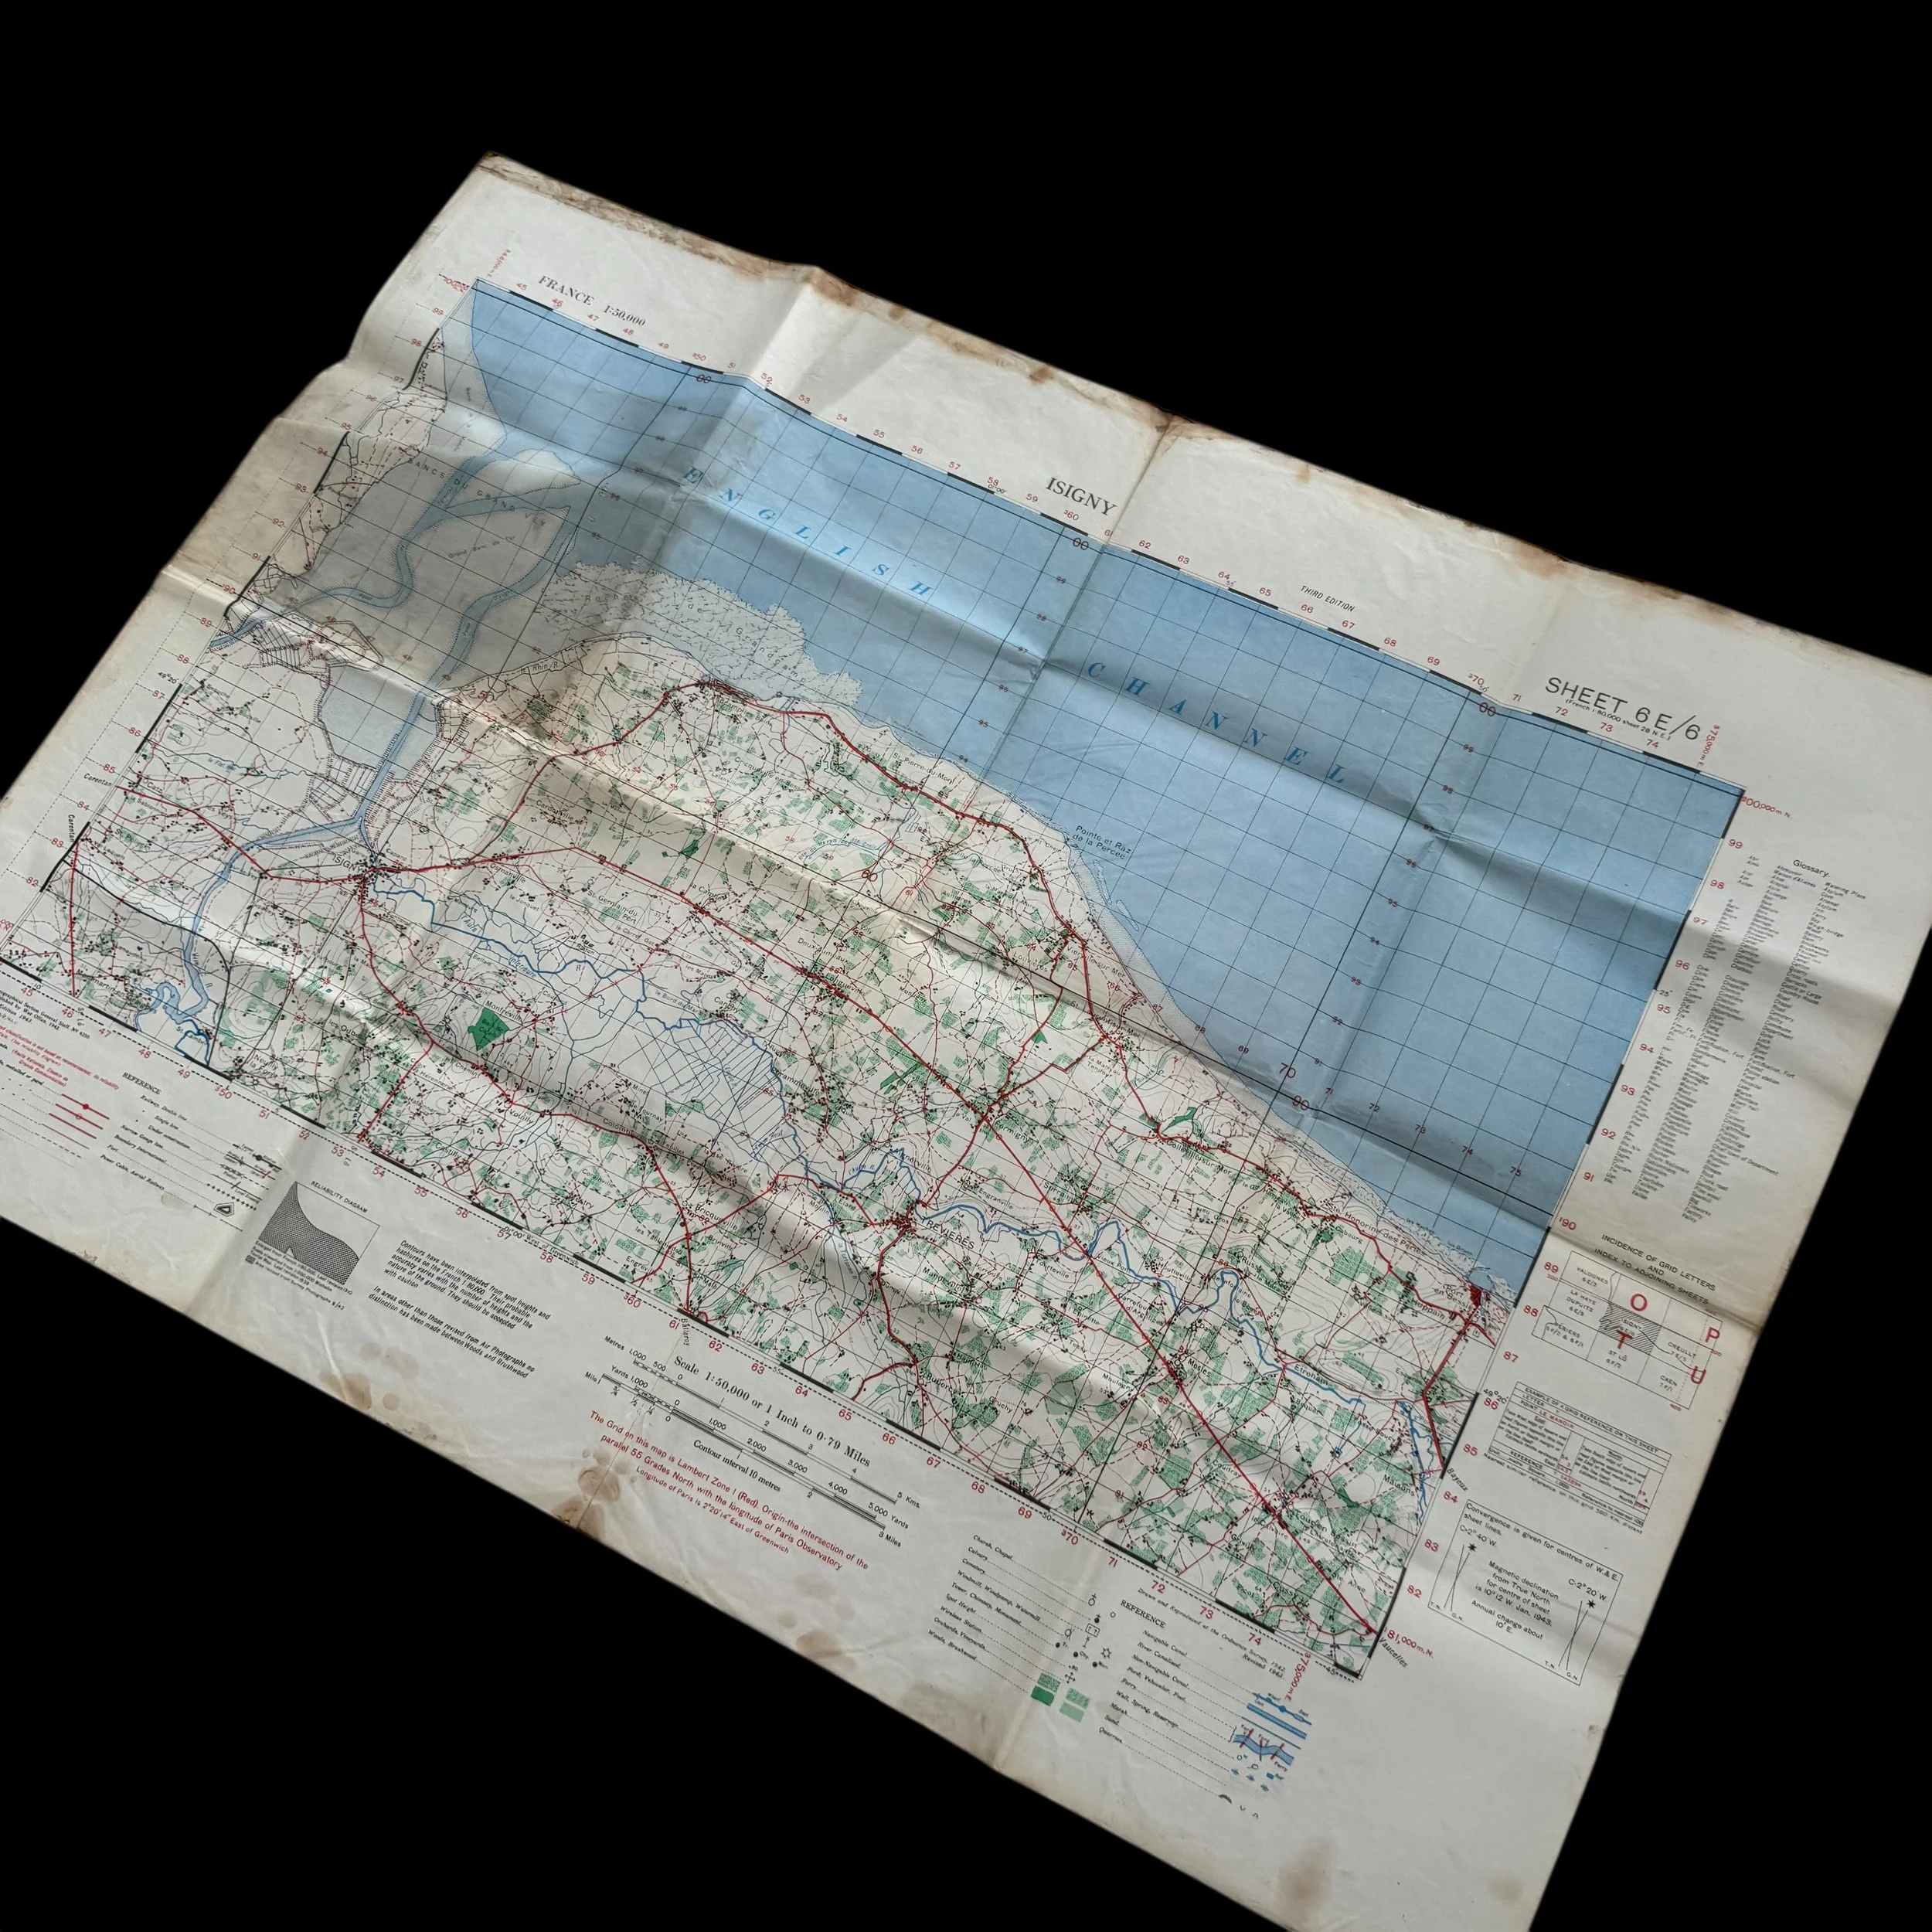

VERY RARE! WWII D-Day Operation Overlord Omaha Beach U.S. 1st & 29th Infantry Division “VIERVILLE–COLLEVILLE SECTORS” Combat Assault Map
Comes with a Hand-Signed Certificate of Authenticity
Omaha Beach – 1st Infantry Division & 29th Infantry Division Assault Sector
SHOWS ALL OMAHA BEACH LANDING SECTORS
Size: 22 × 30 inches
Omaha Beach – U.S. 1st Infantry Division “Big Red One” & 29th Infantry Division “Blue and Grey” (U.S. Army)
1st Infantry Division Commander: Major General Clarence R. Huebner
29th Infantry Division Commander: Major General Charles H. Gerhardt
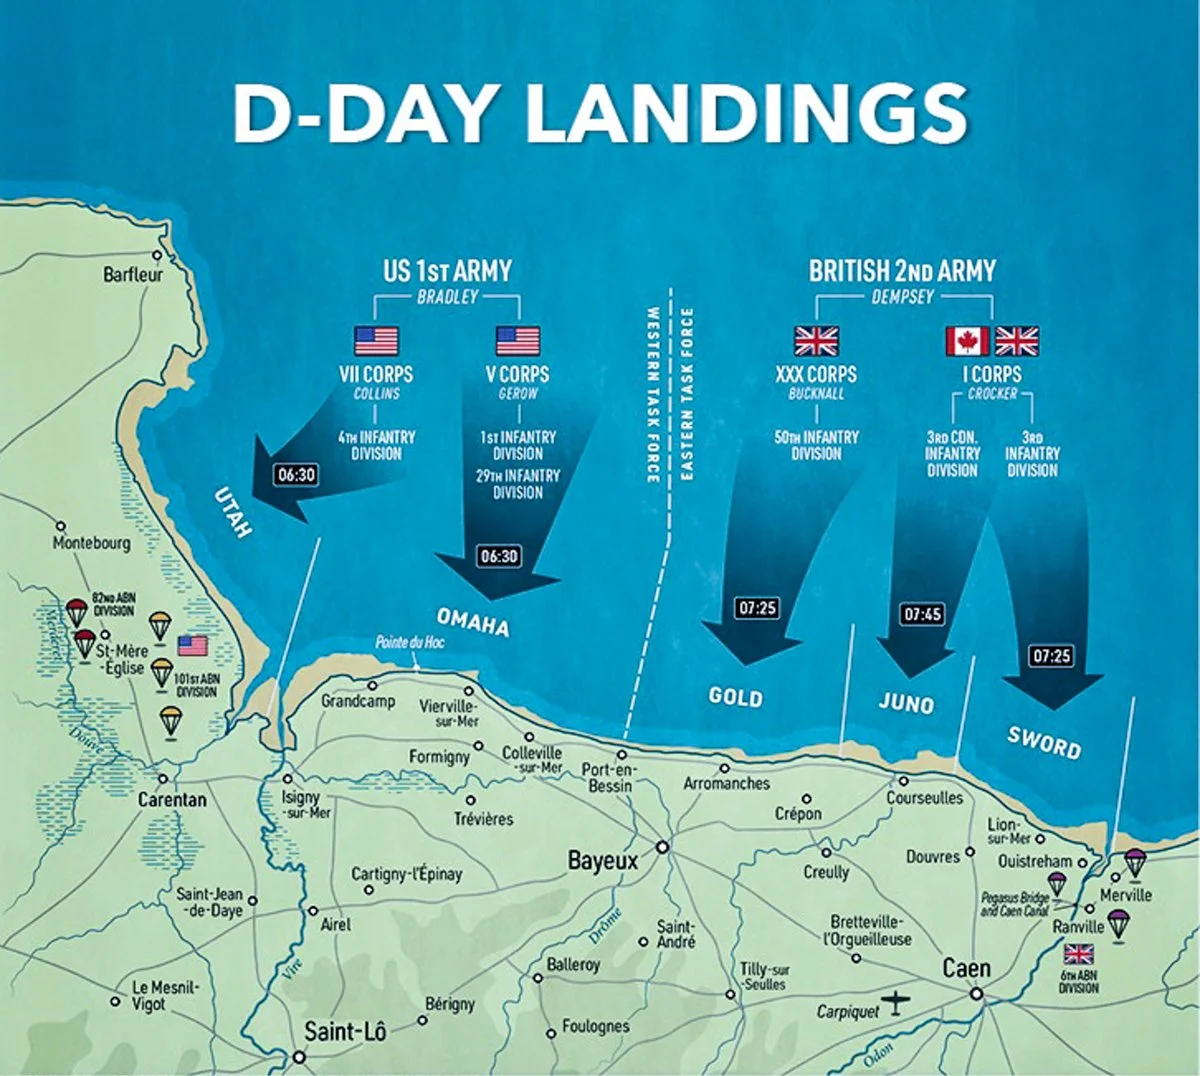
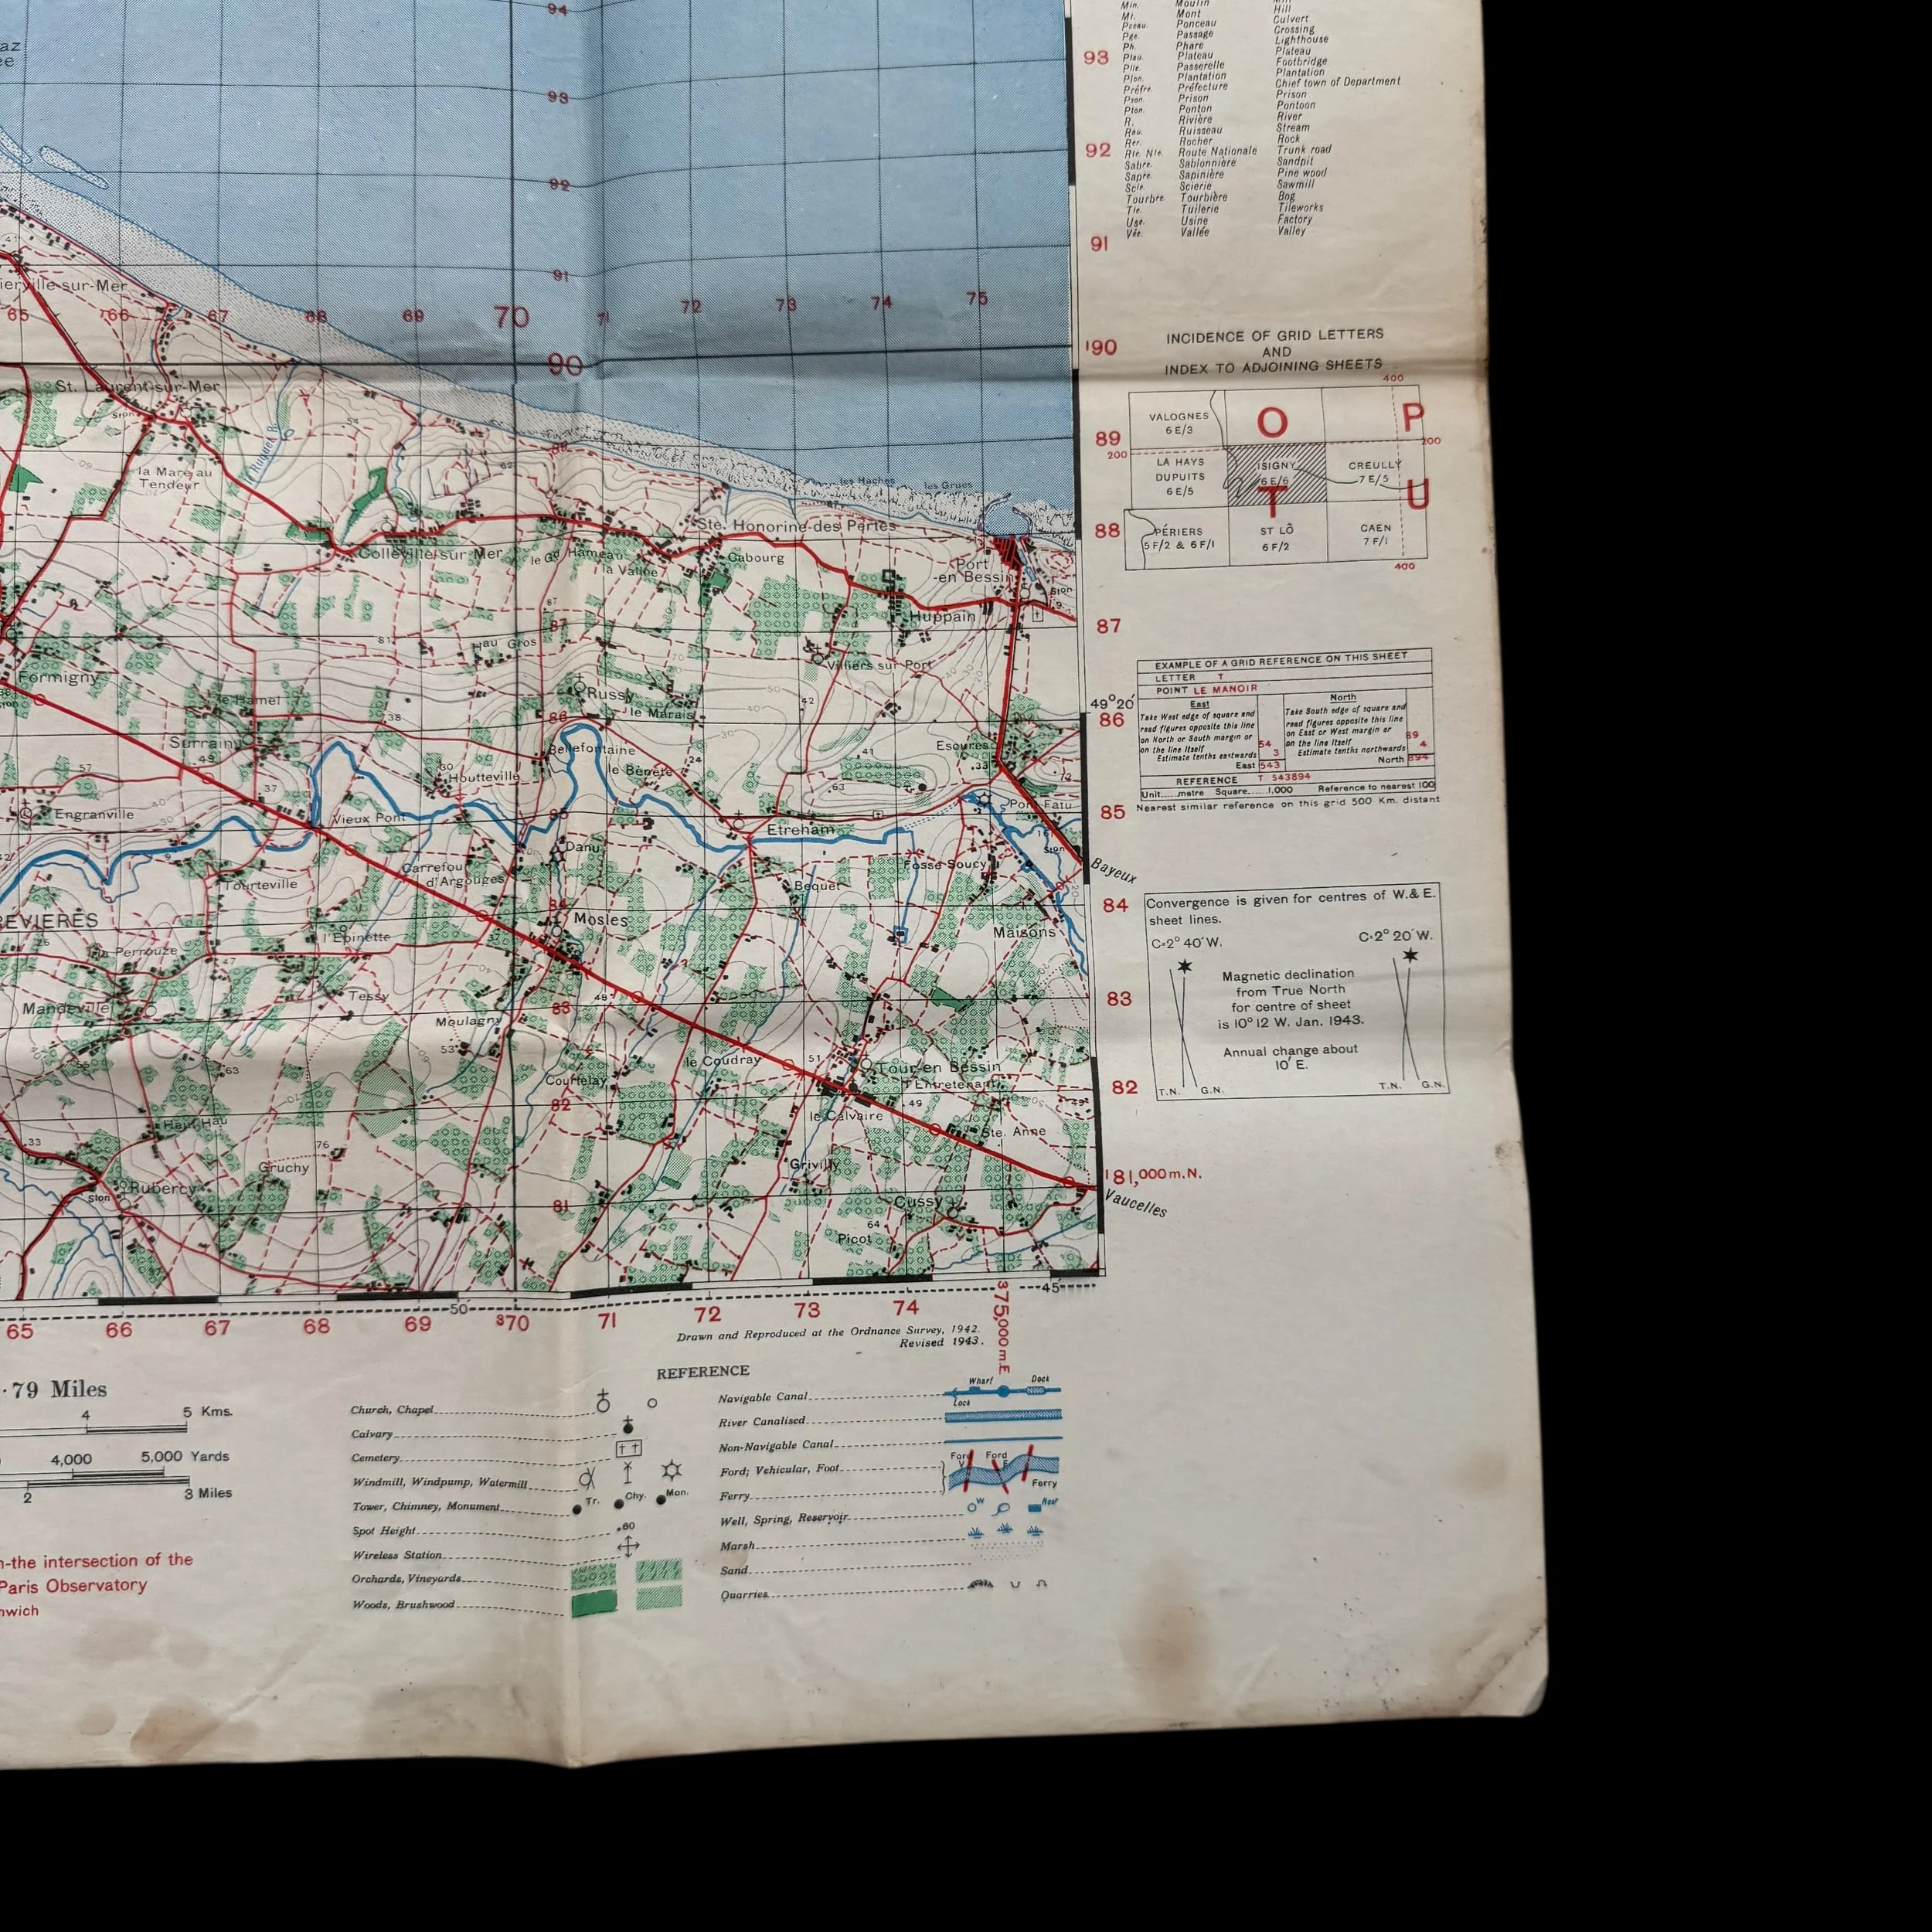
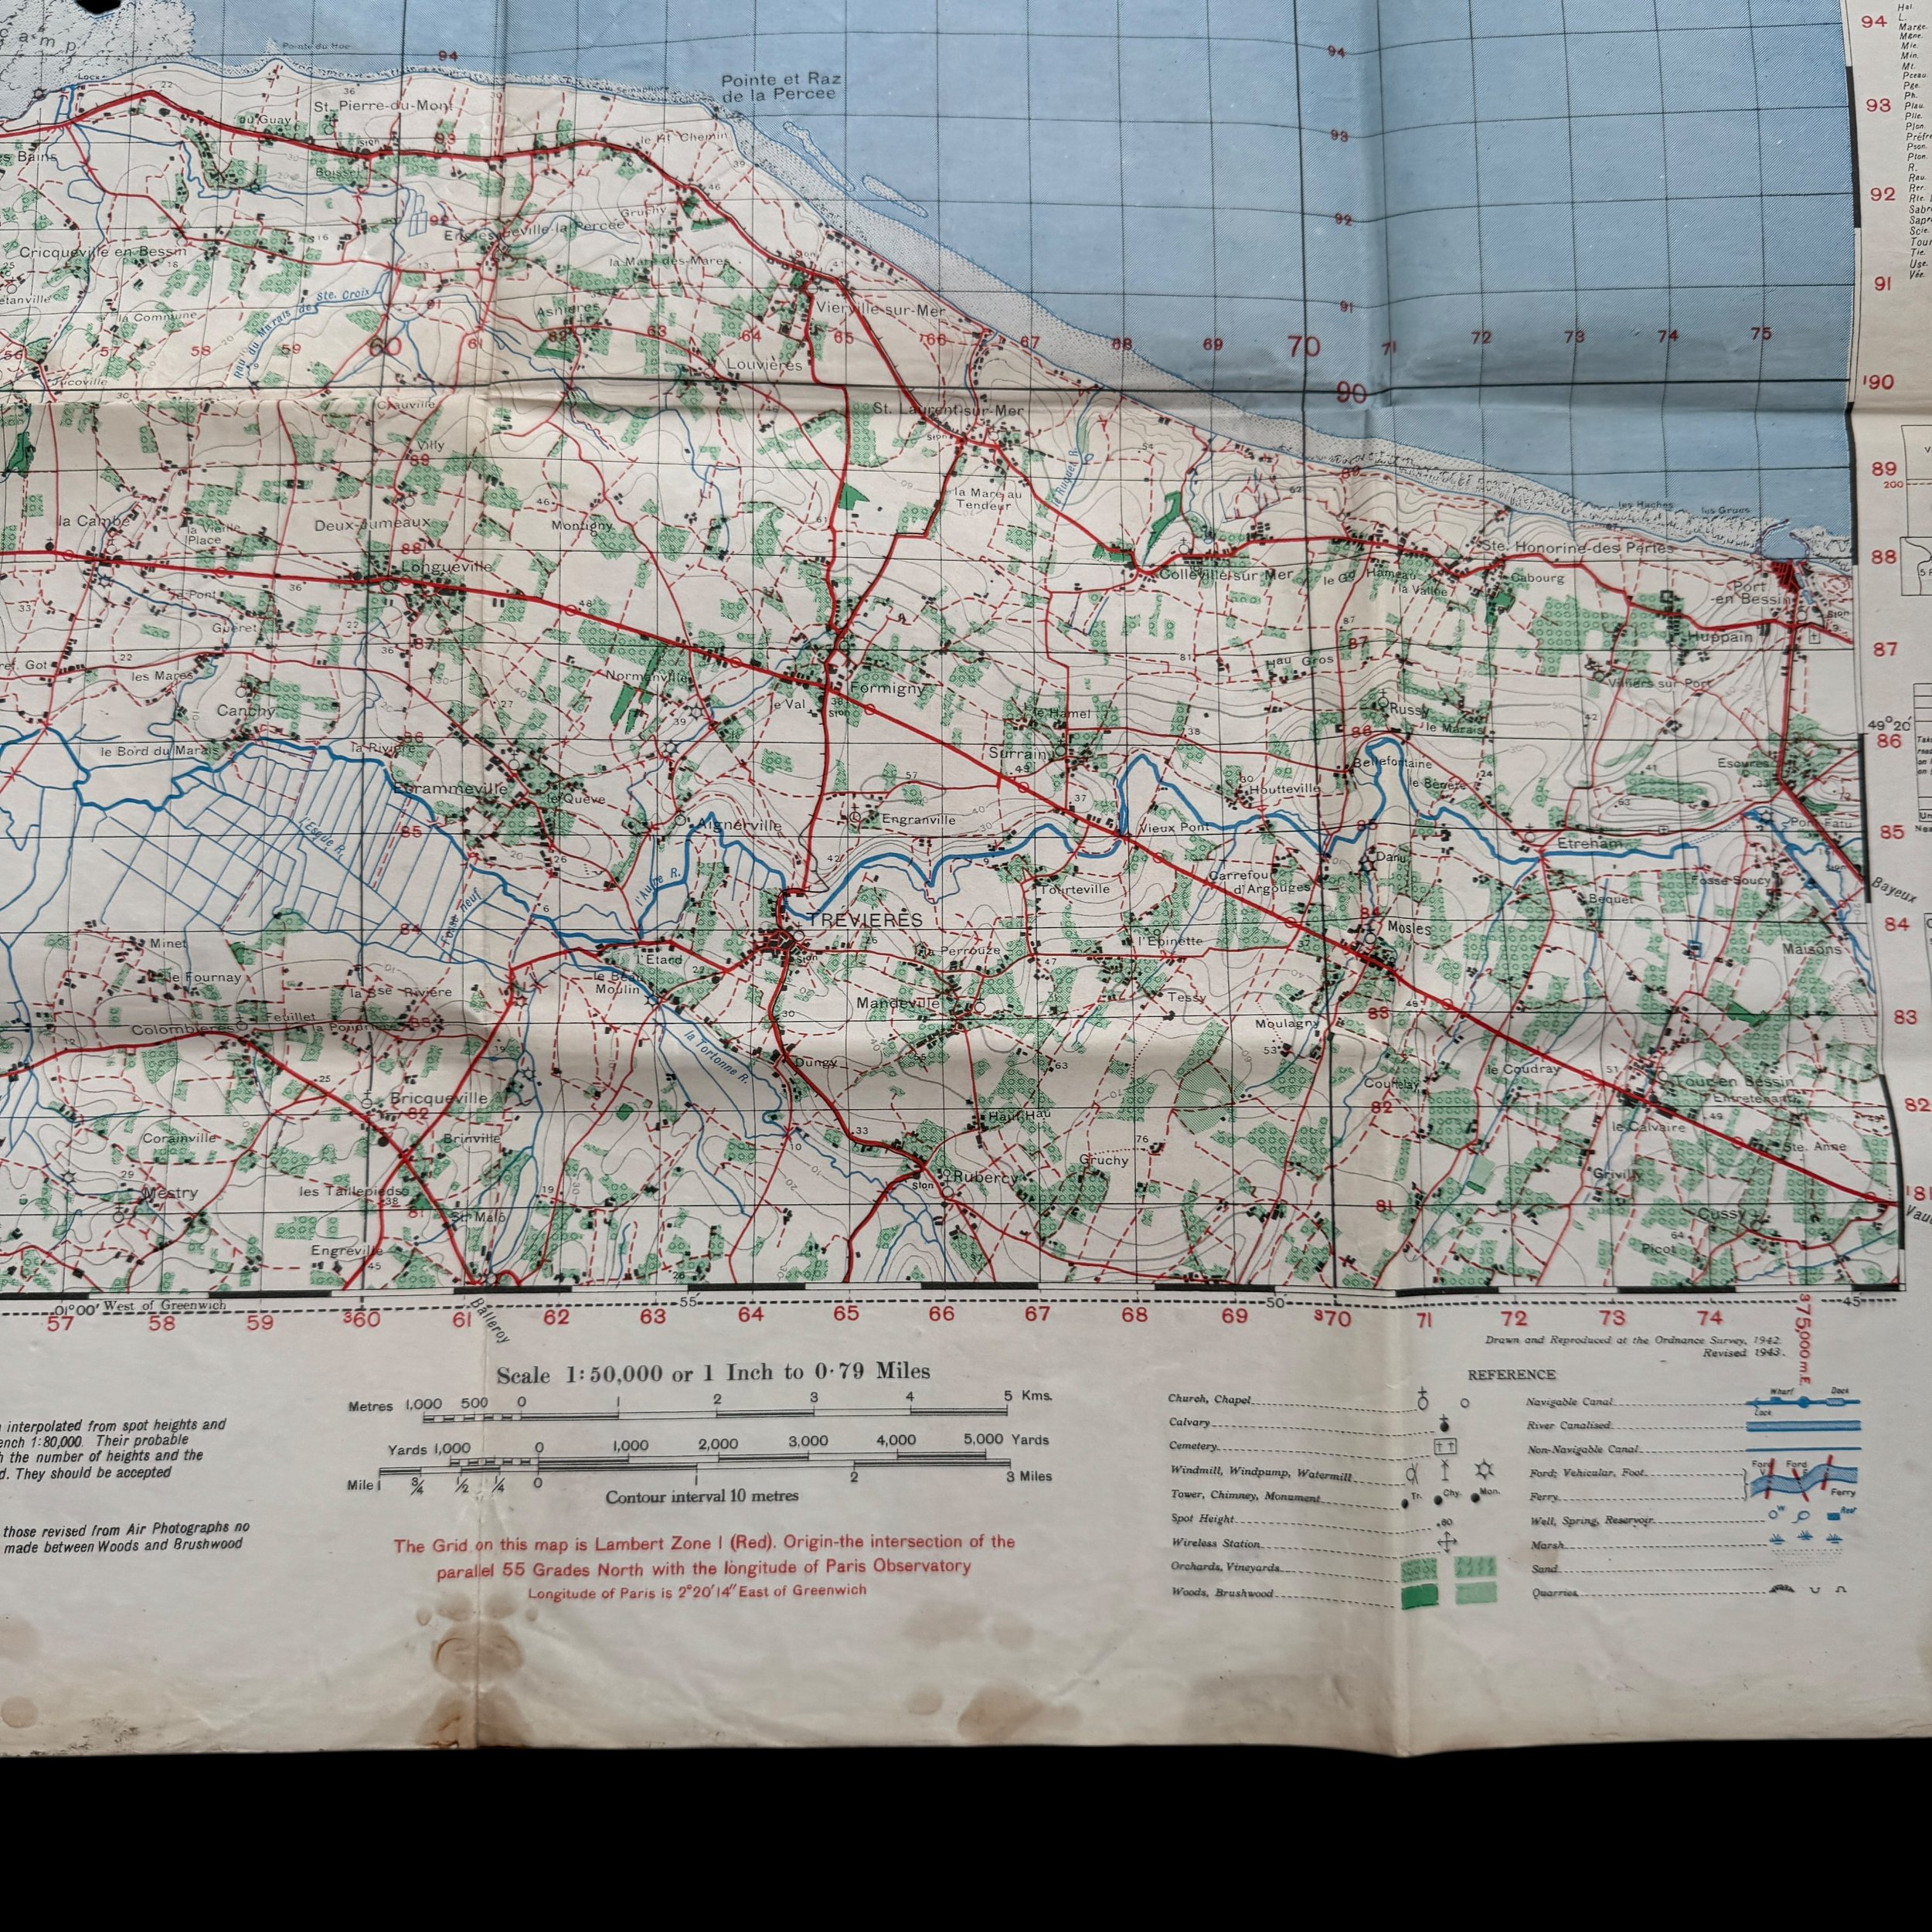
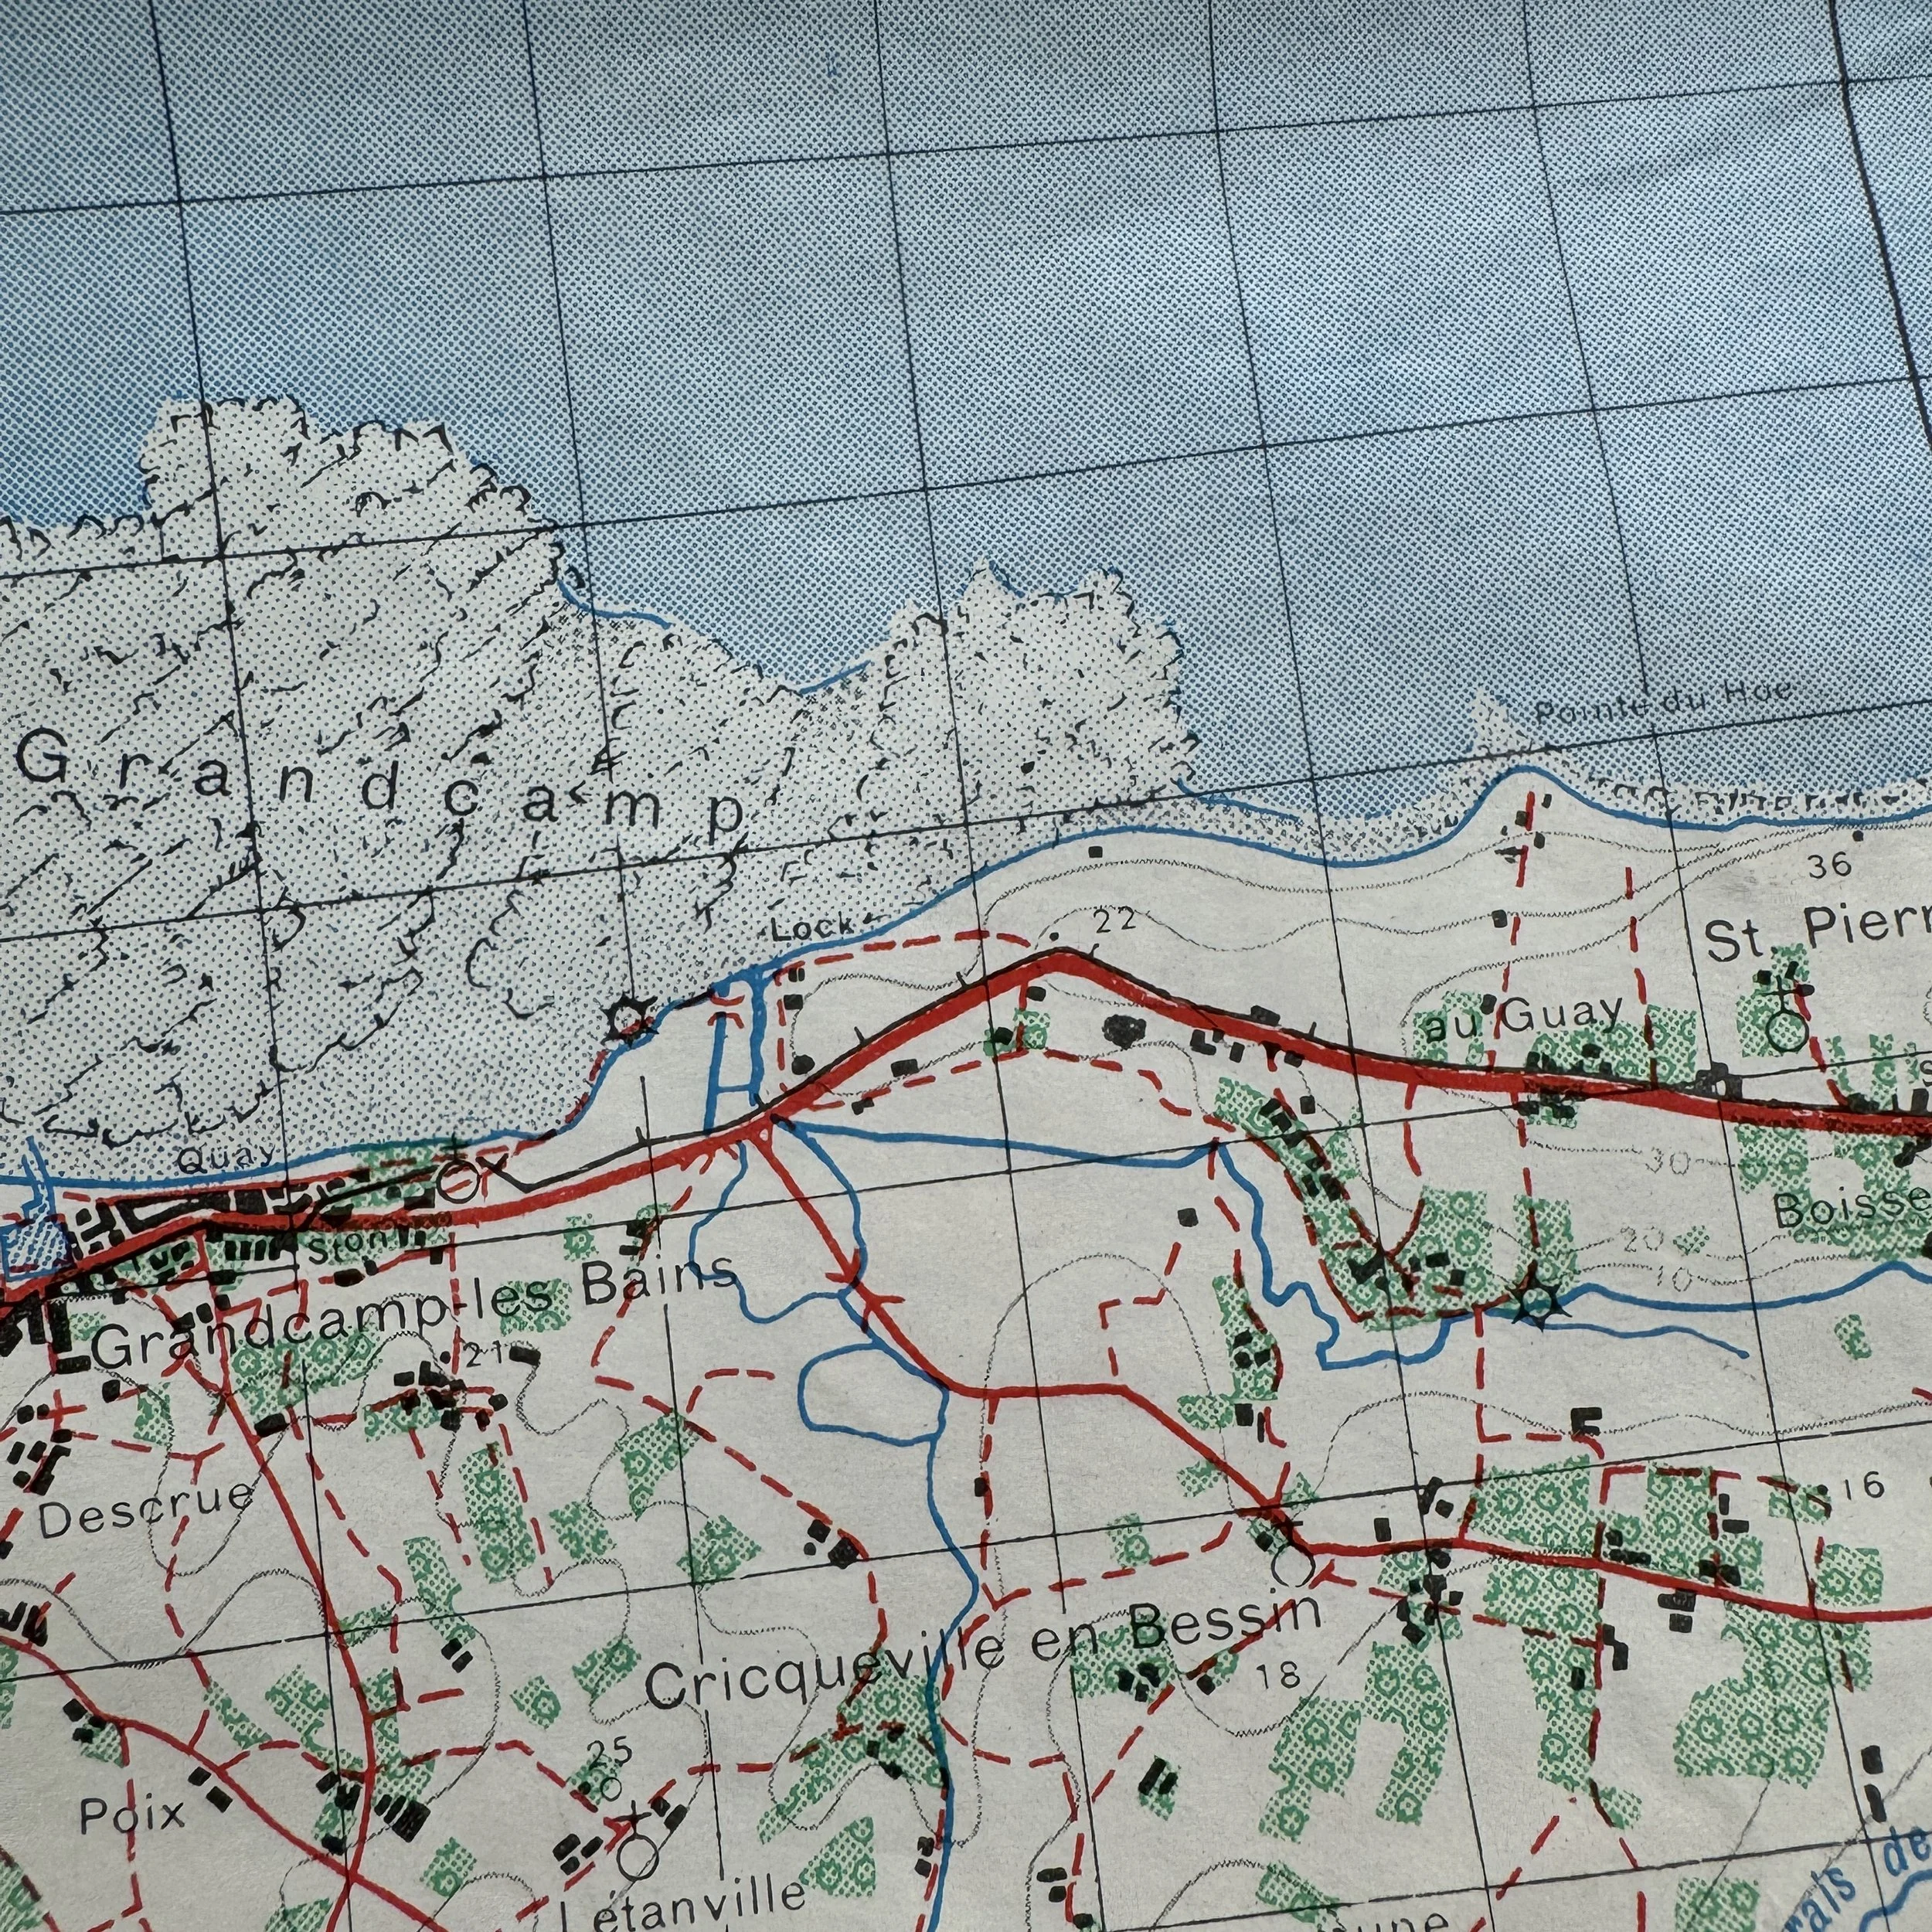
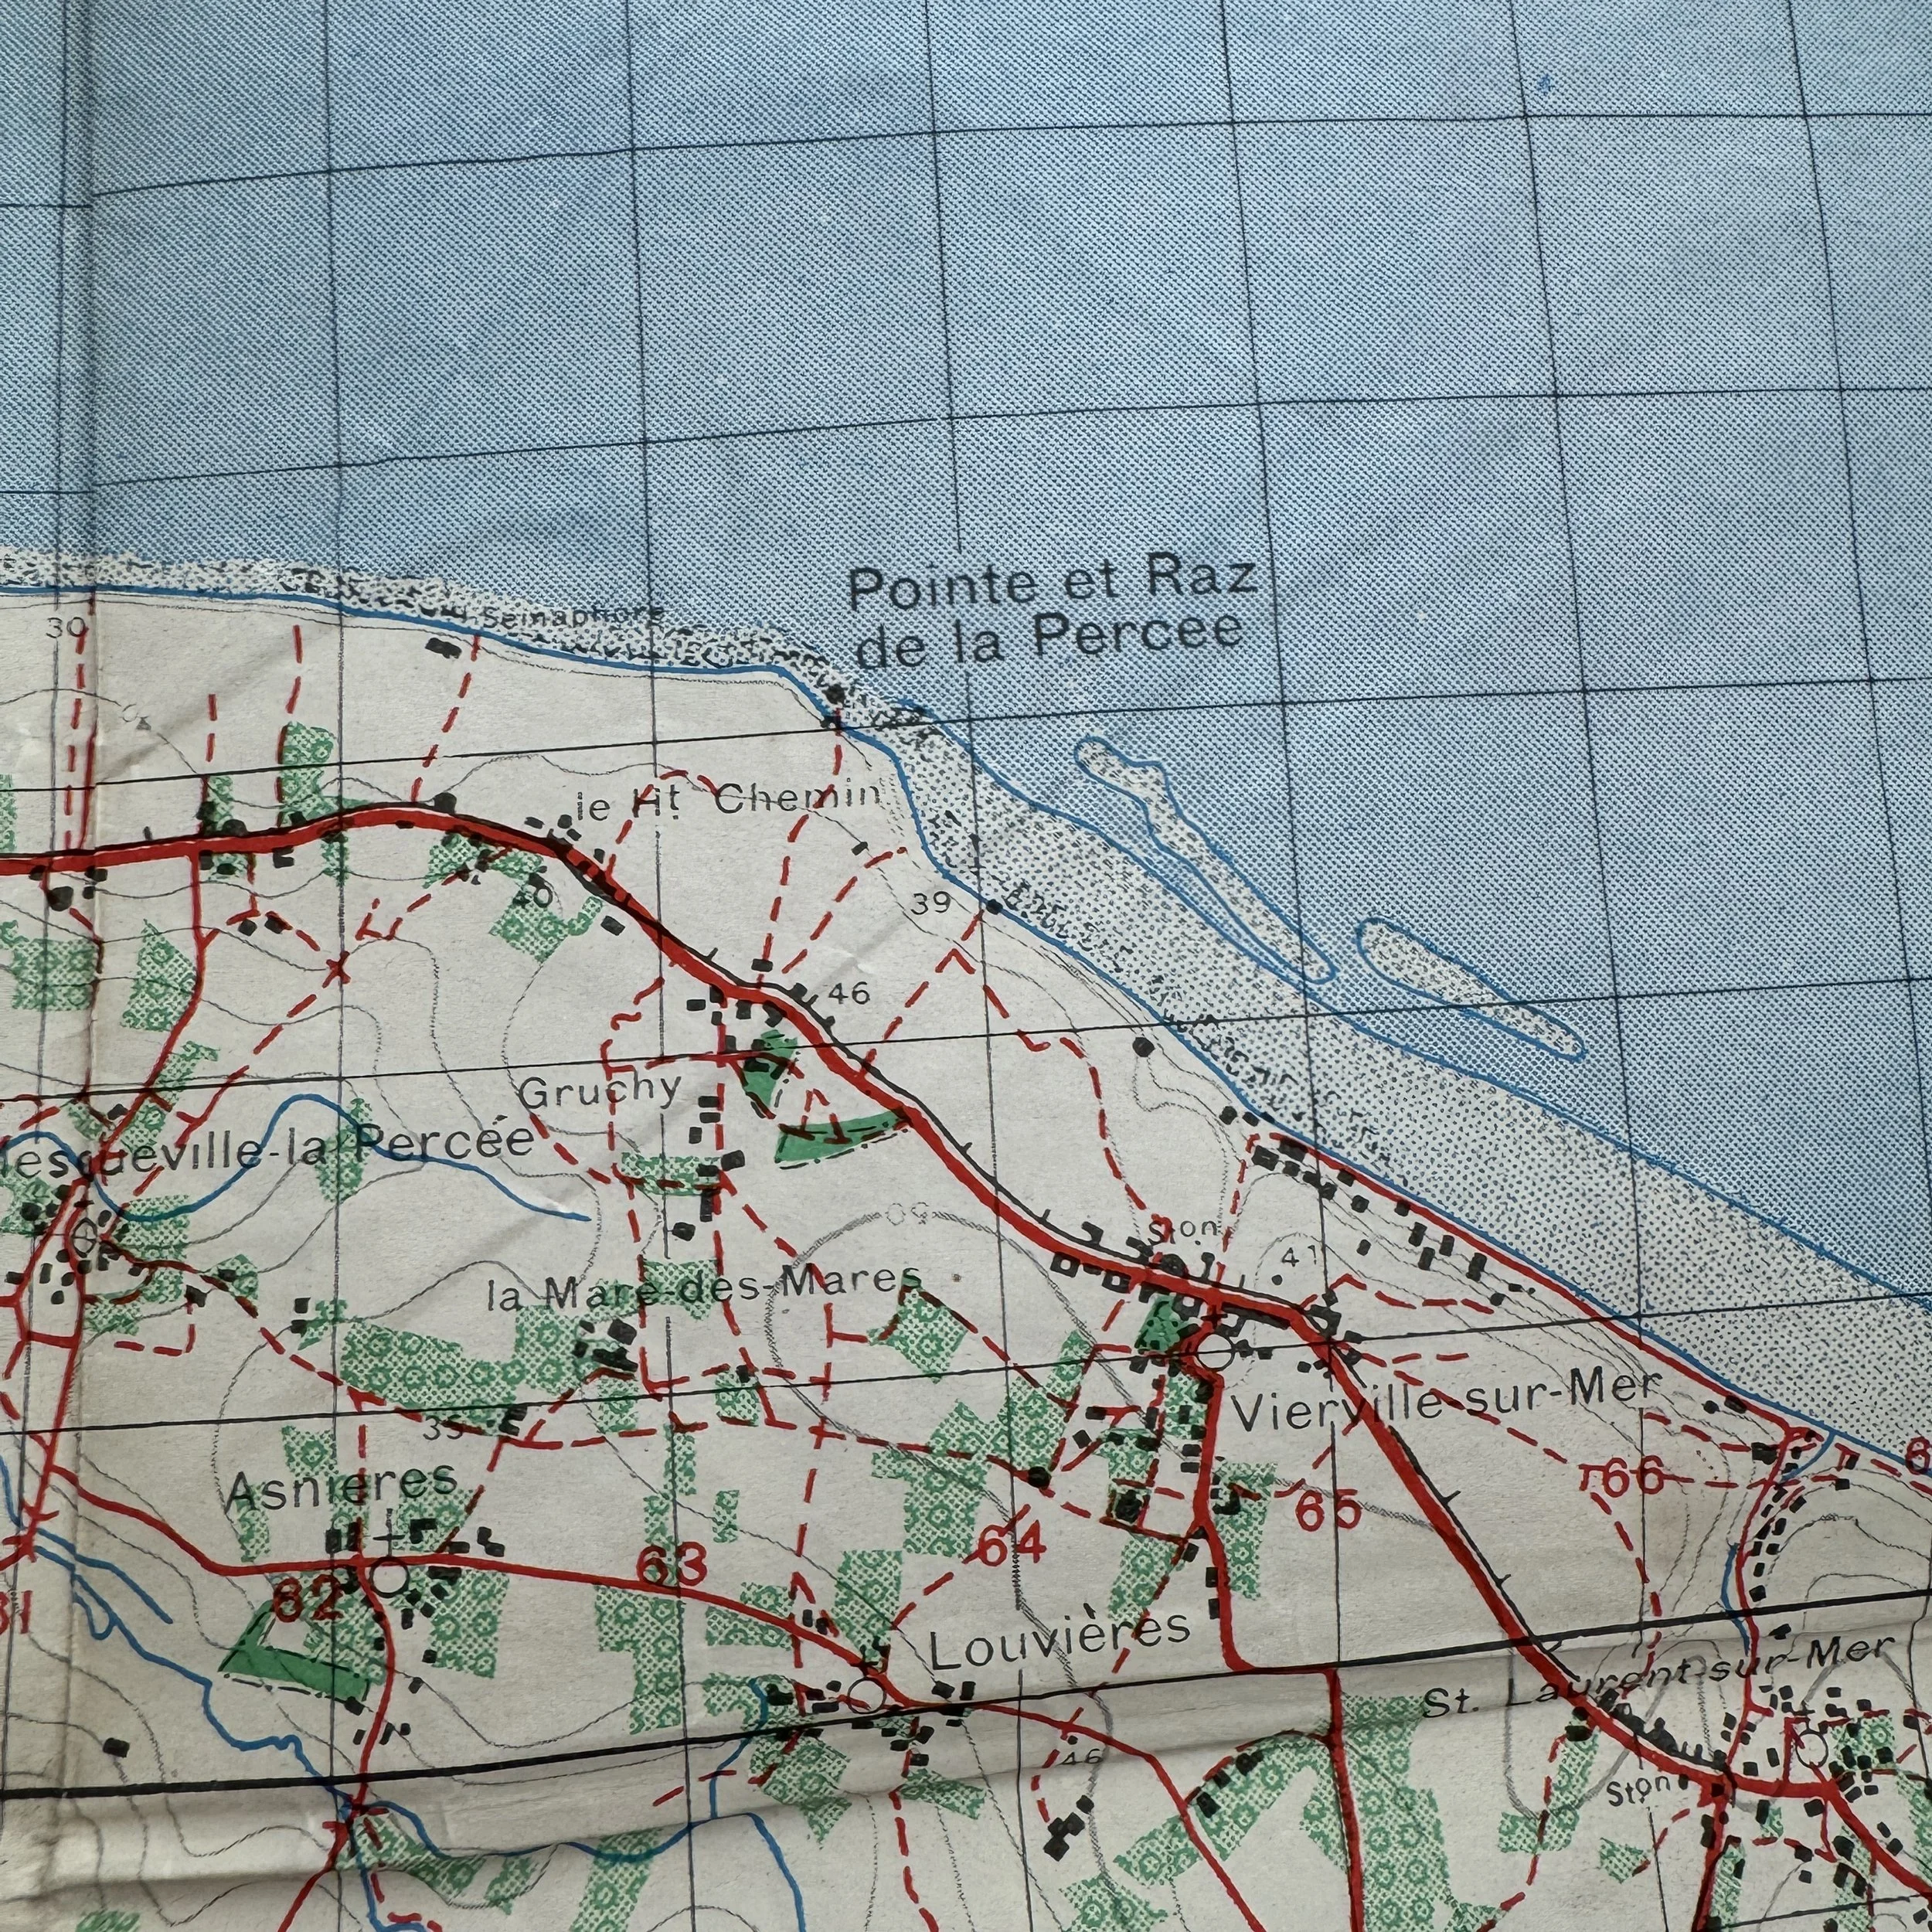
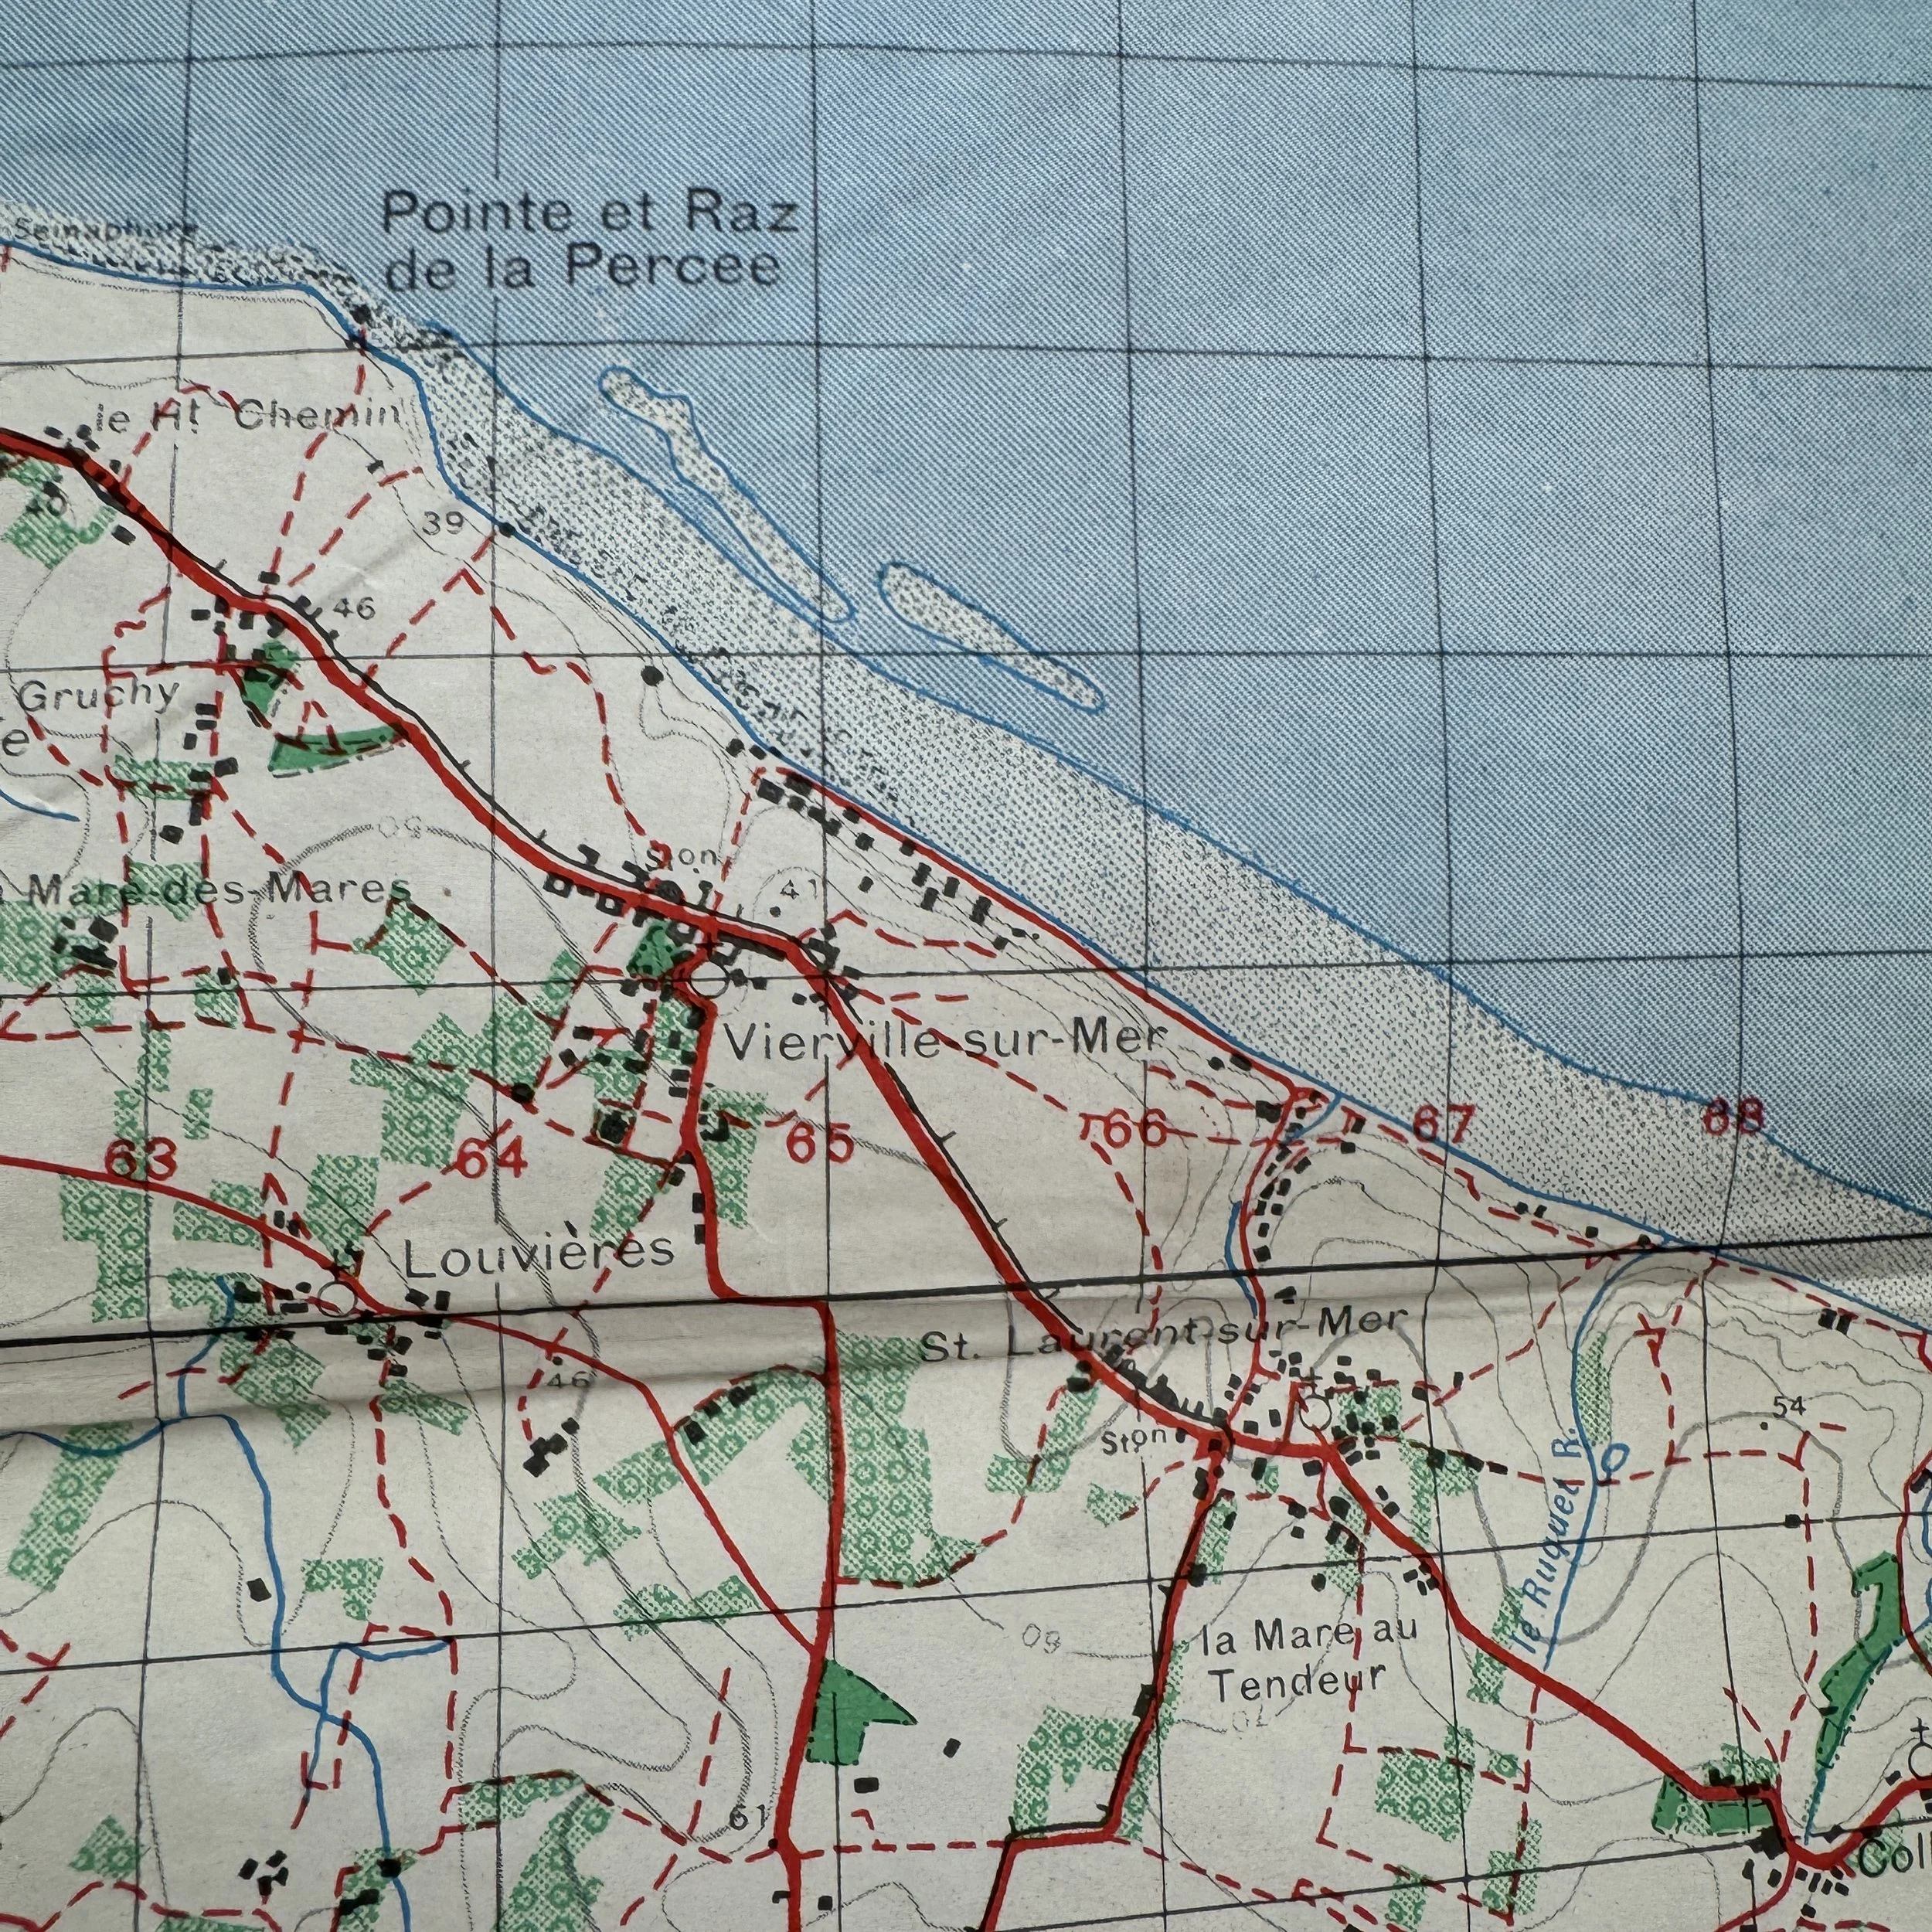
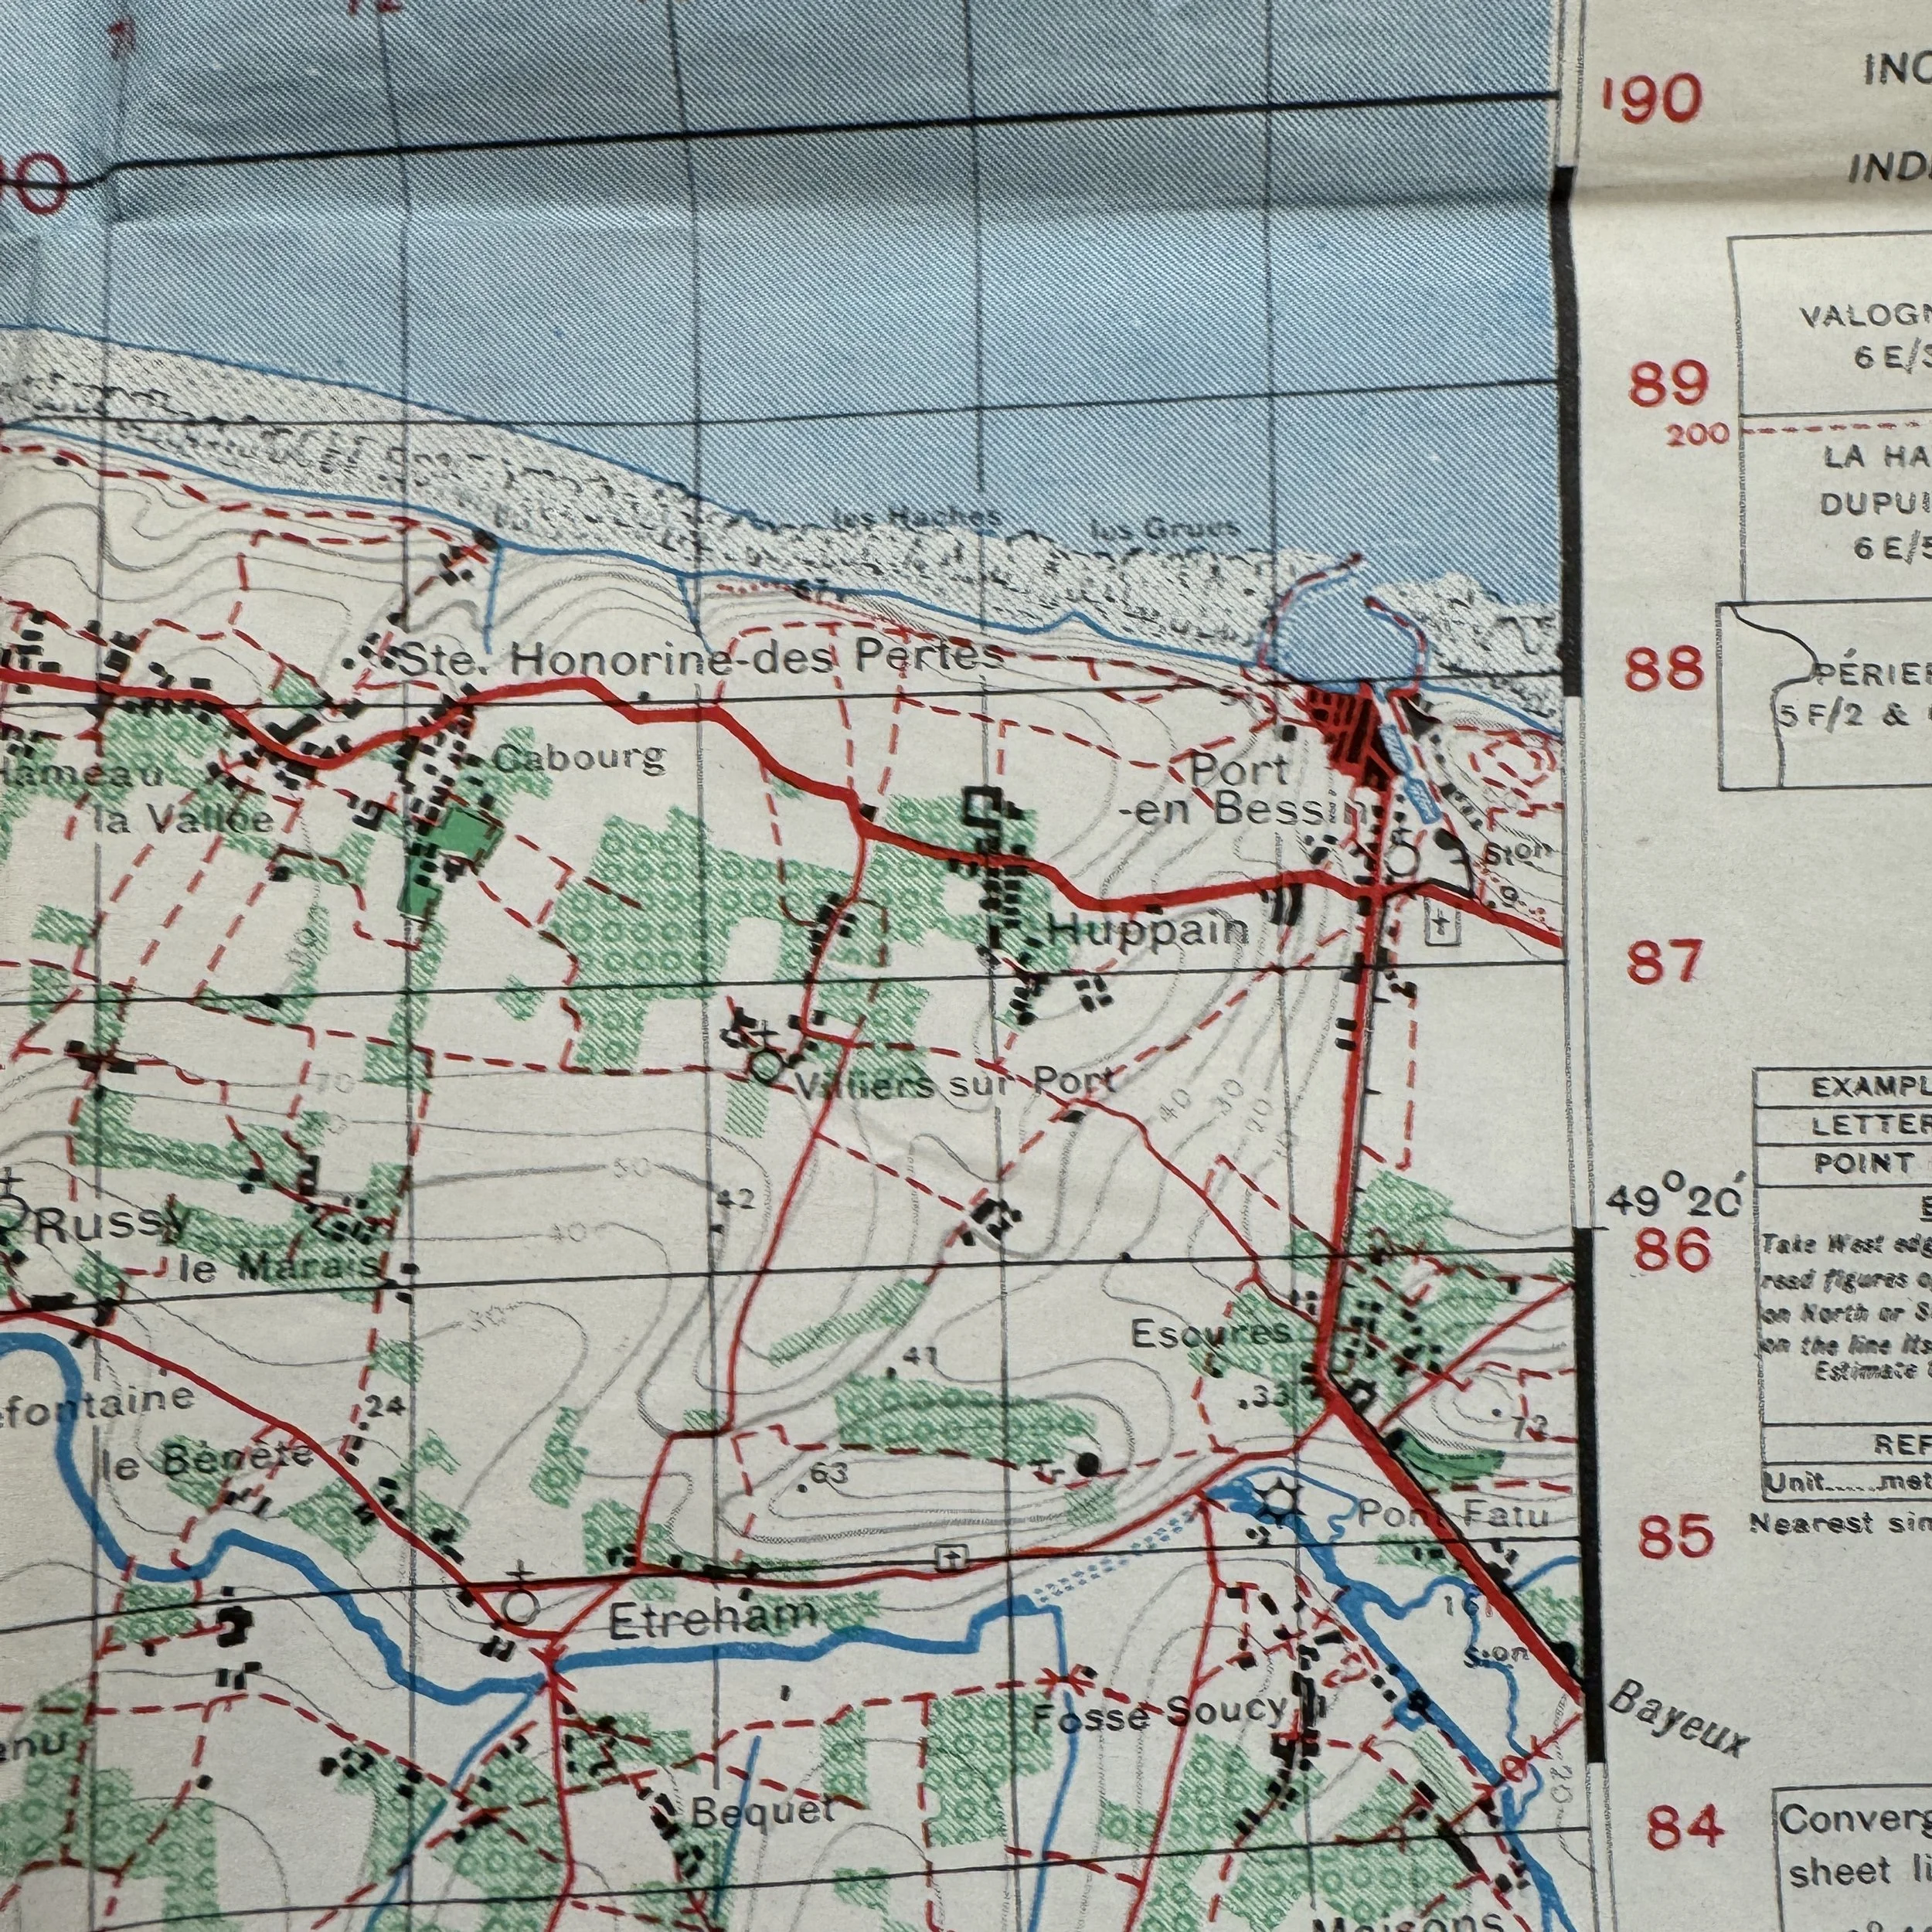
Landing Area: The most heavily defended of the five designated D-Day beaches, stretching four miles along the Normandy coast from Vierville-sur-Mer to Colleville-sur-Mer.
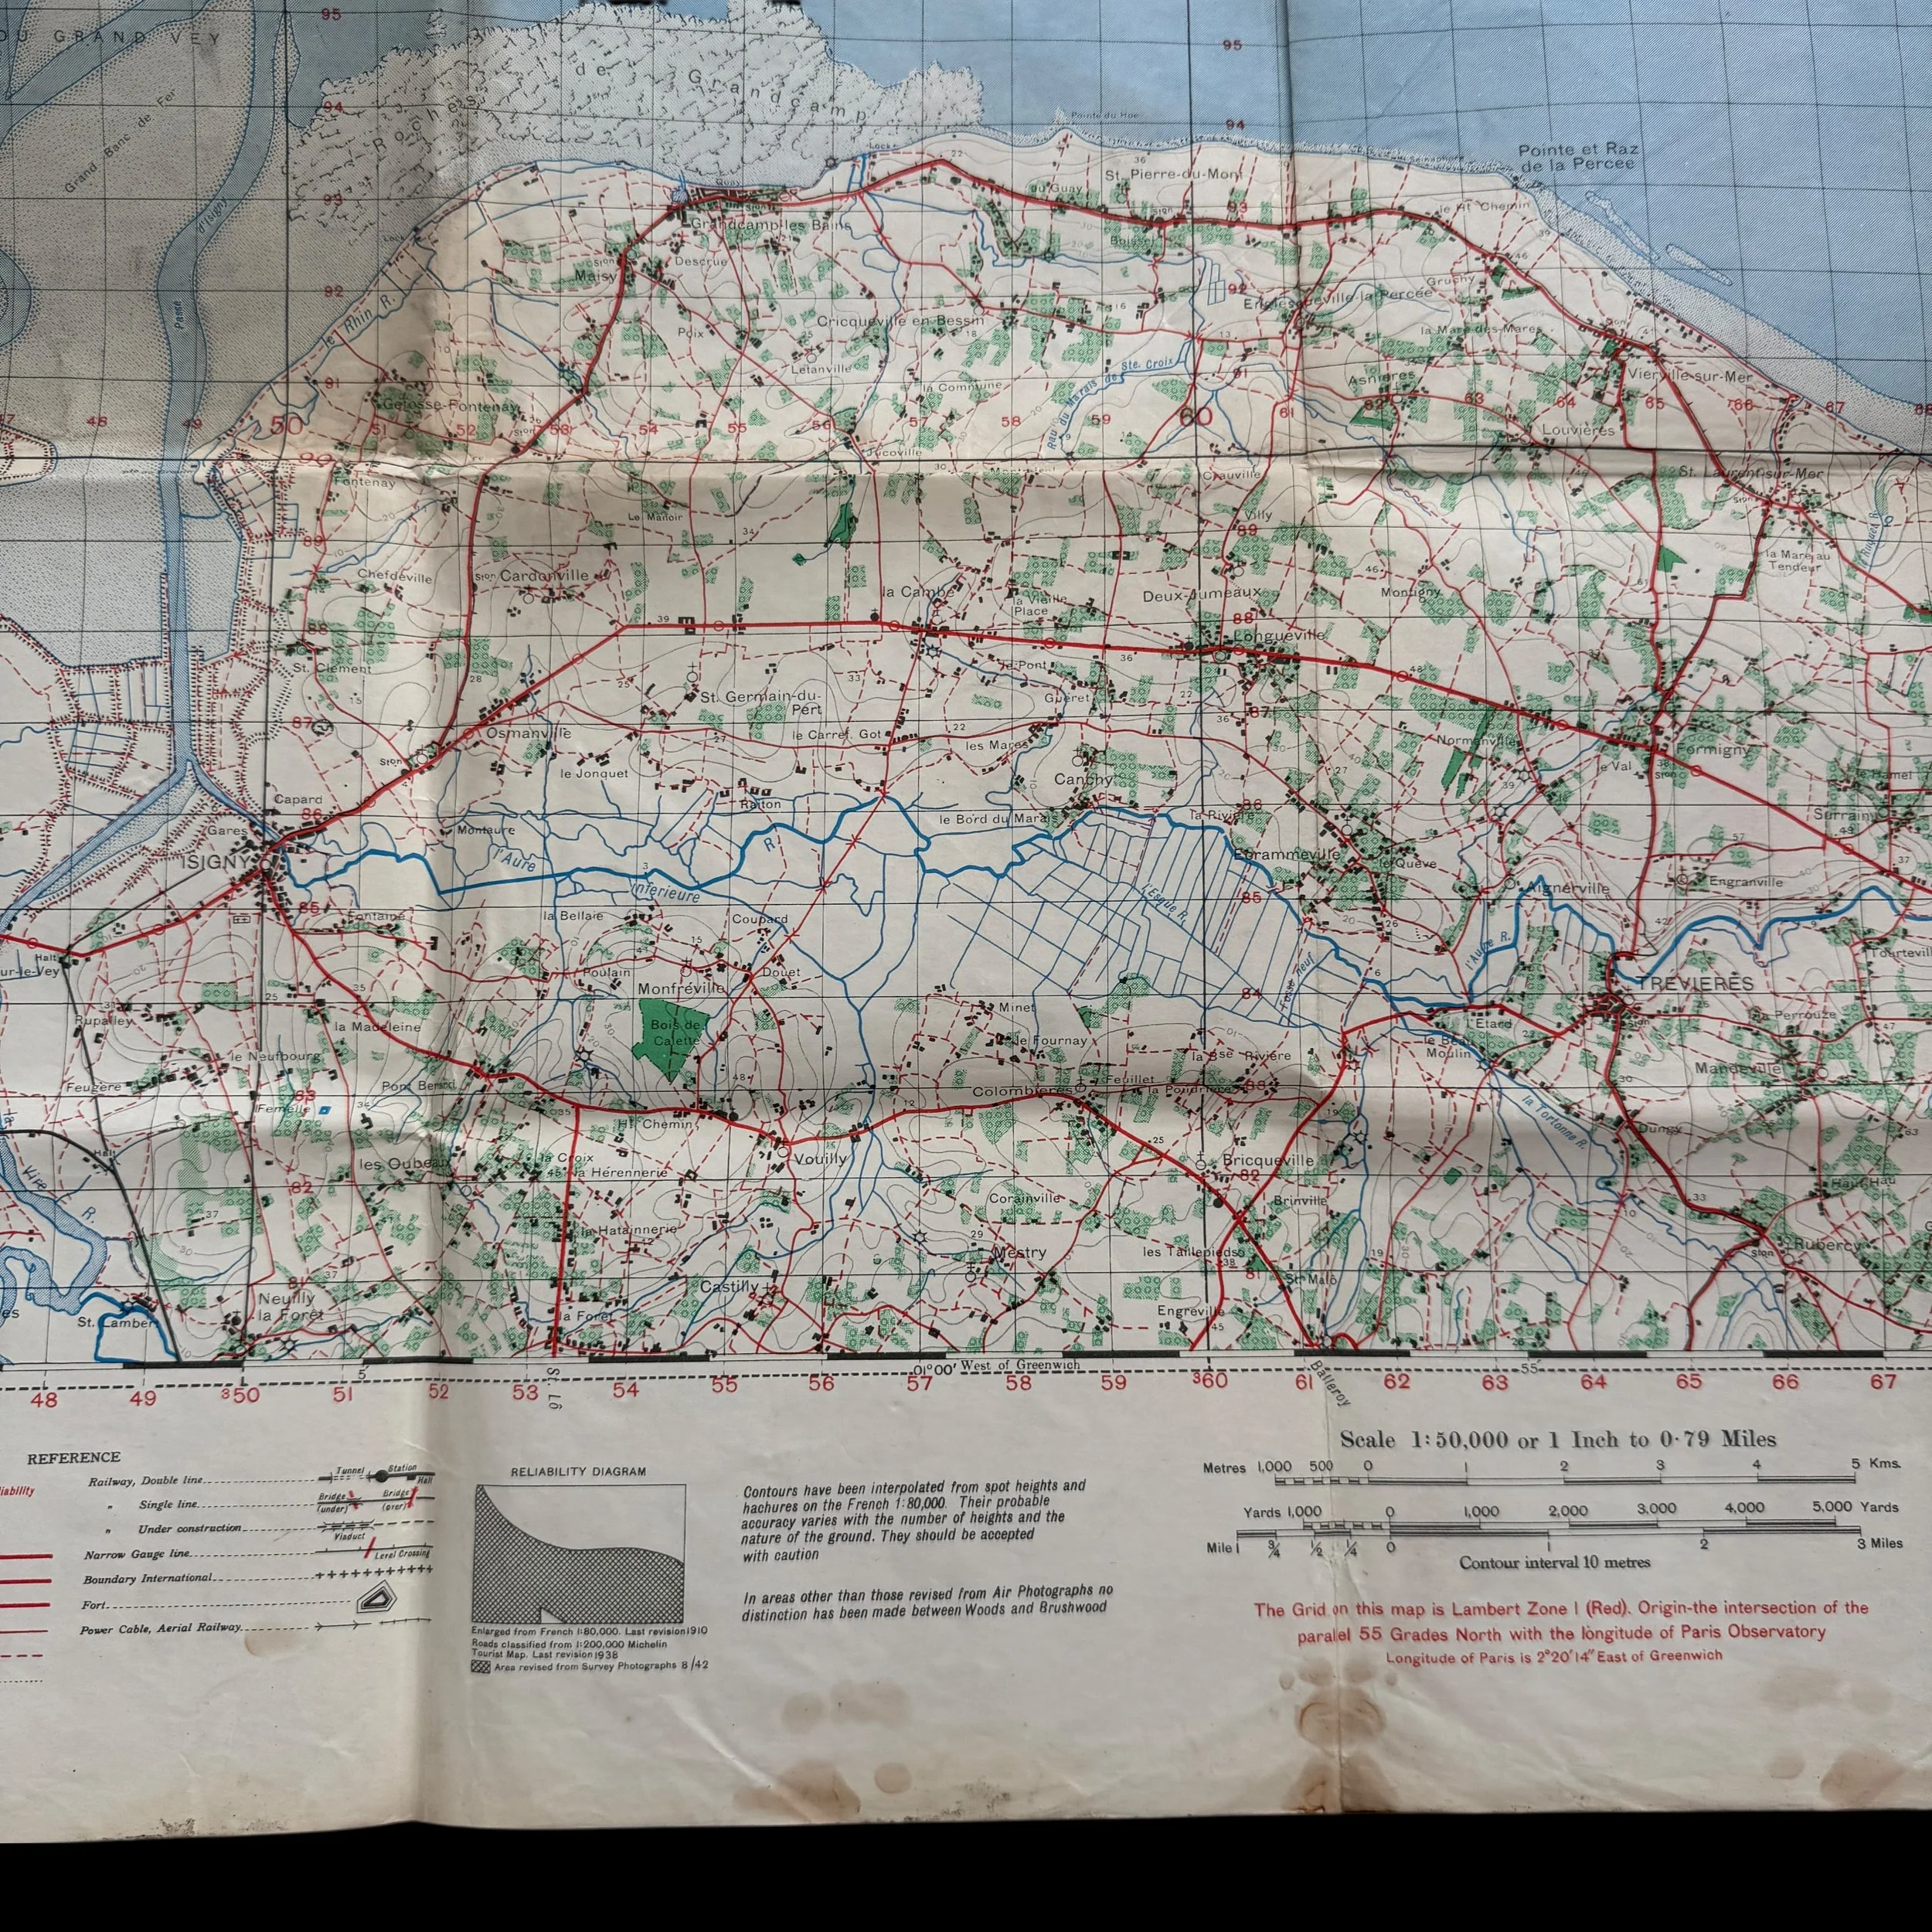
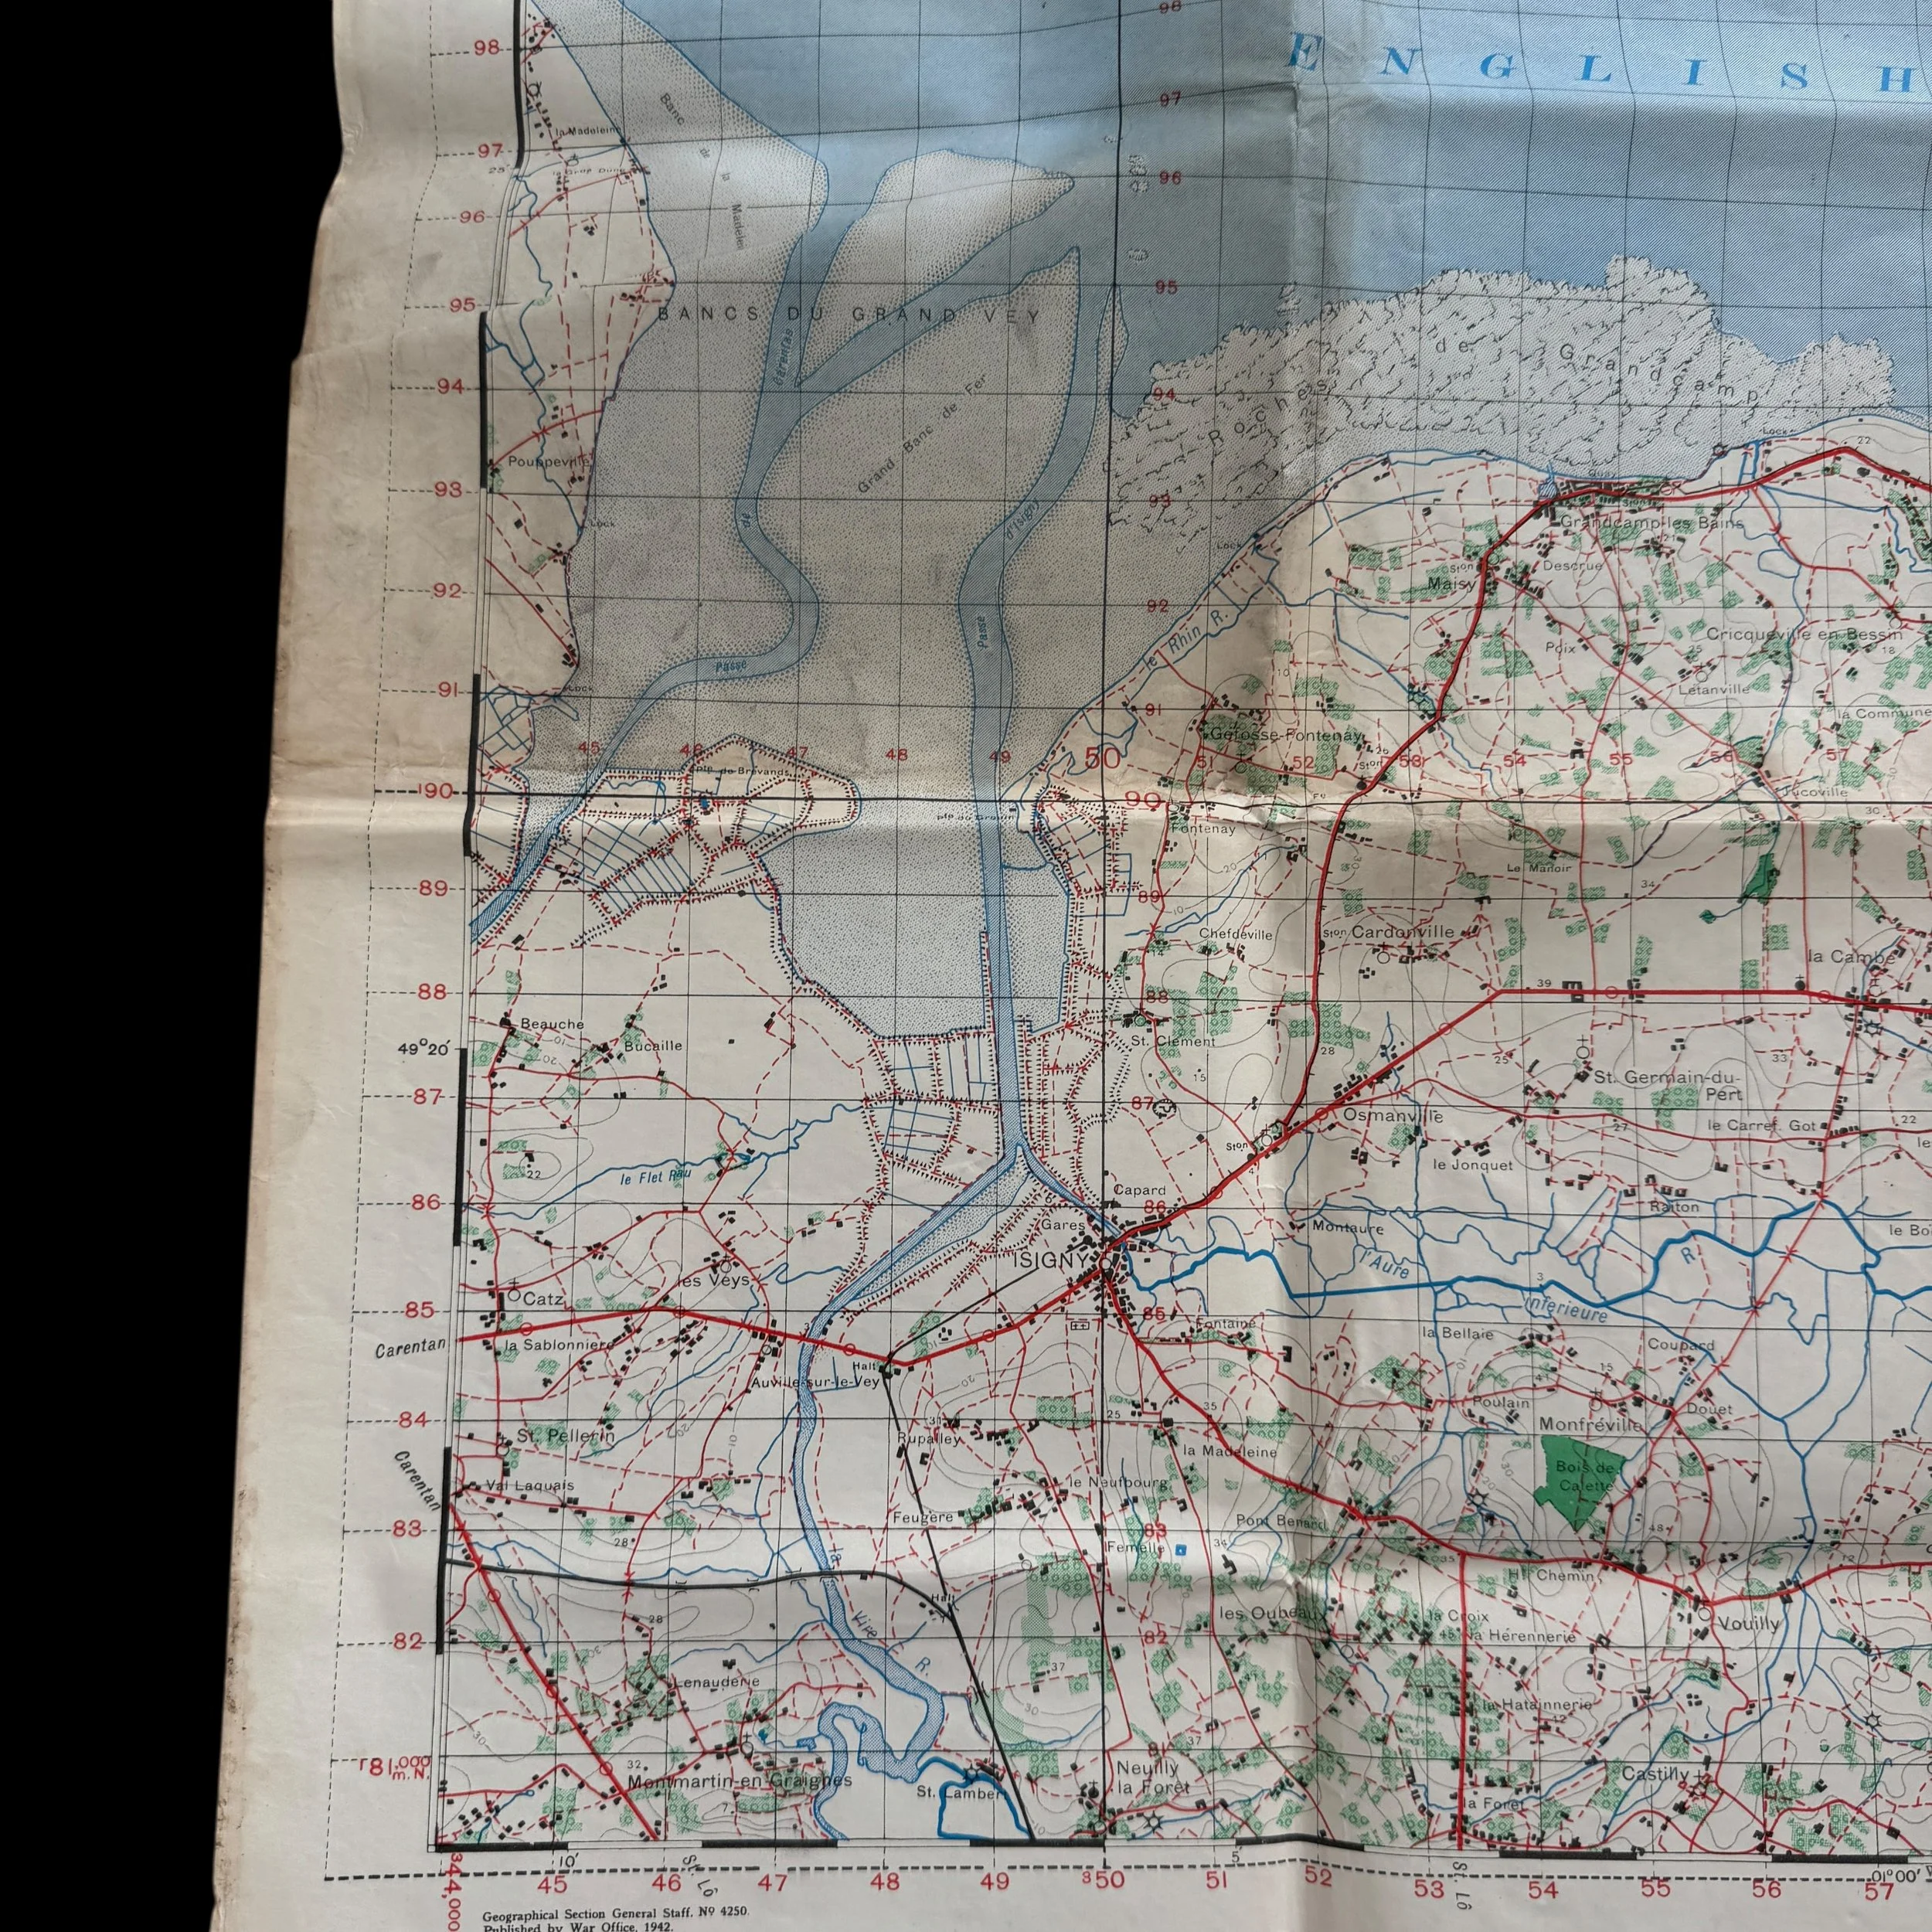
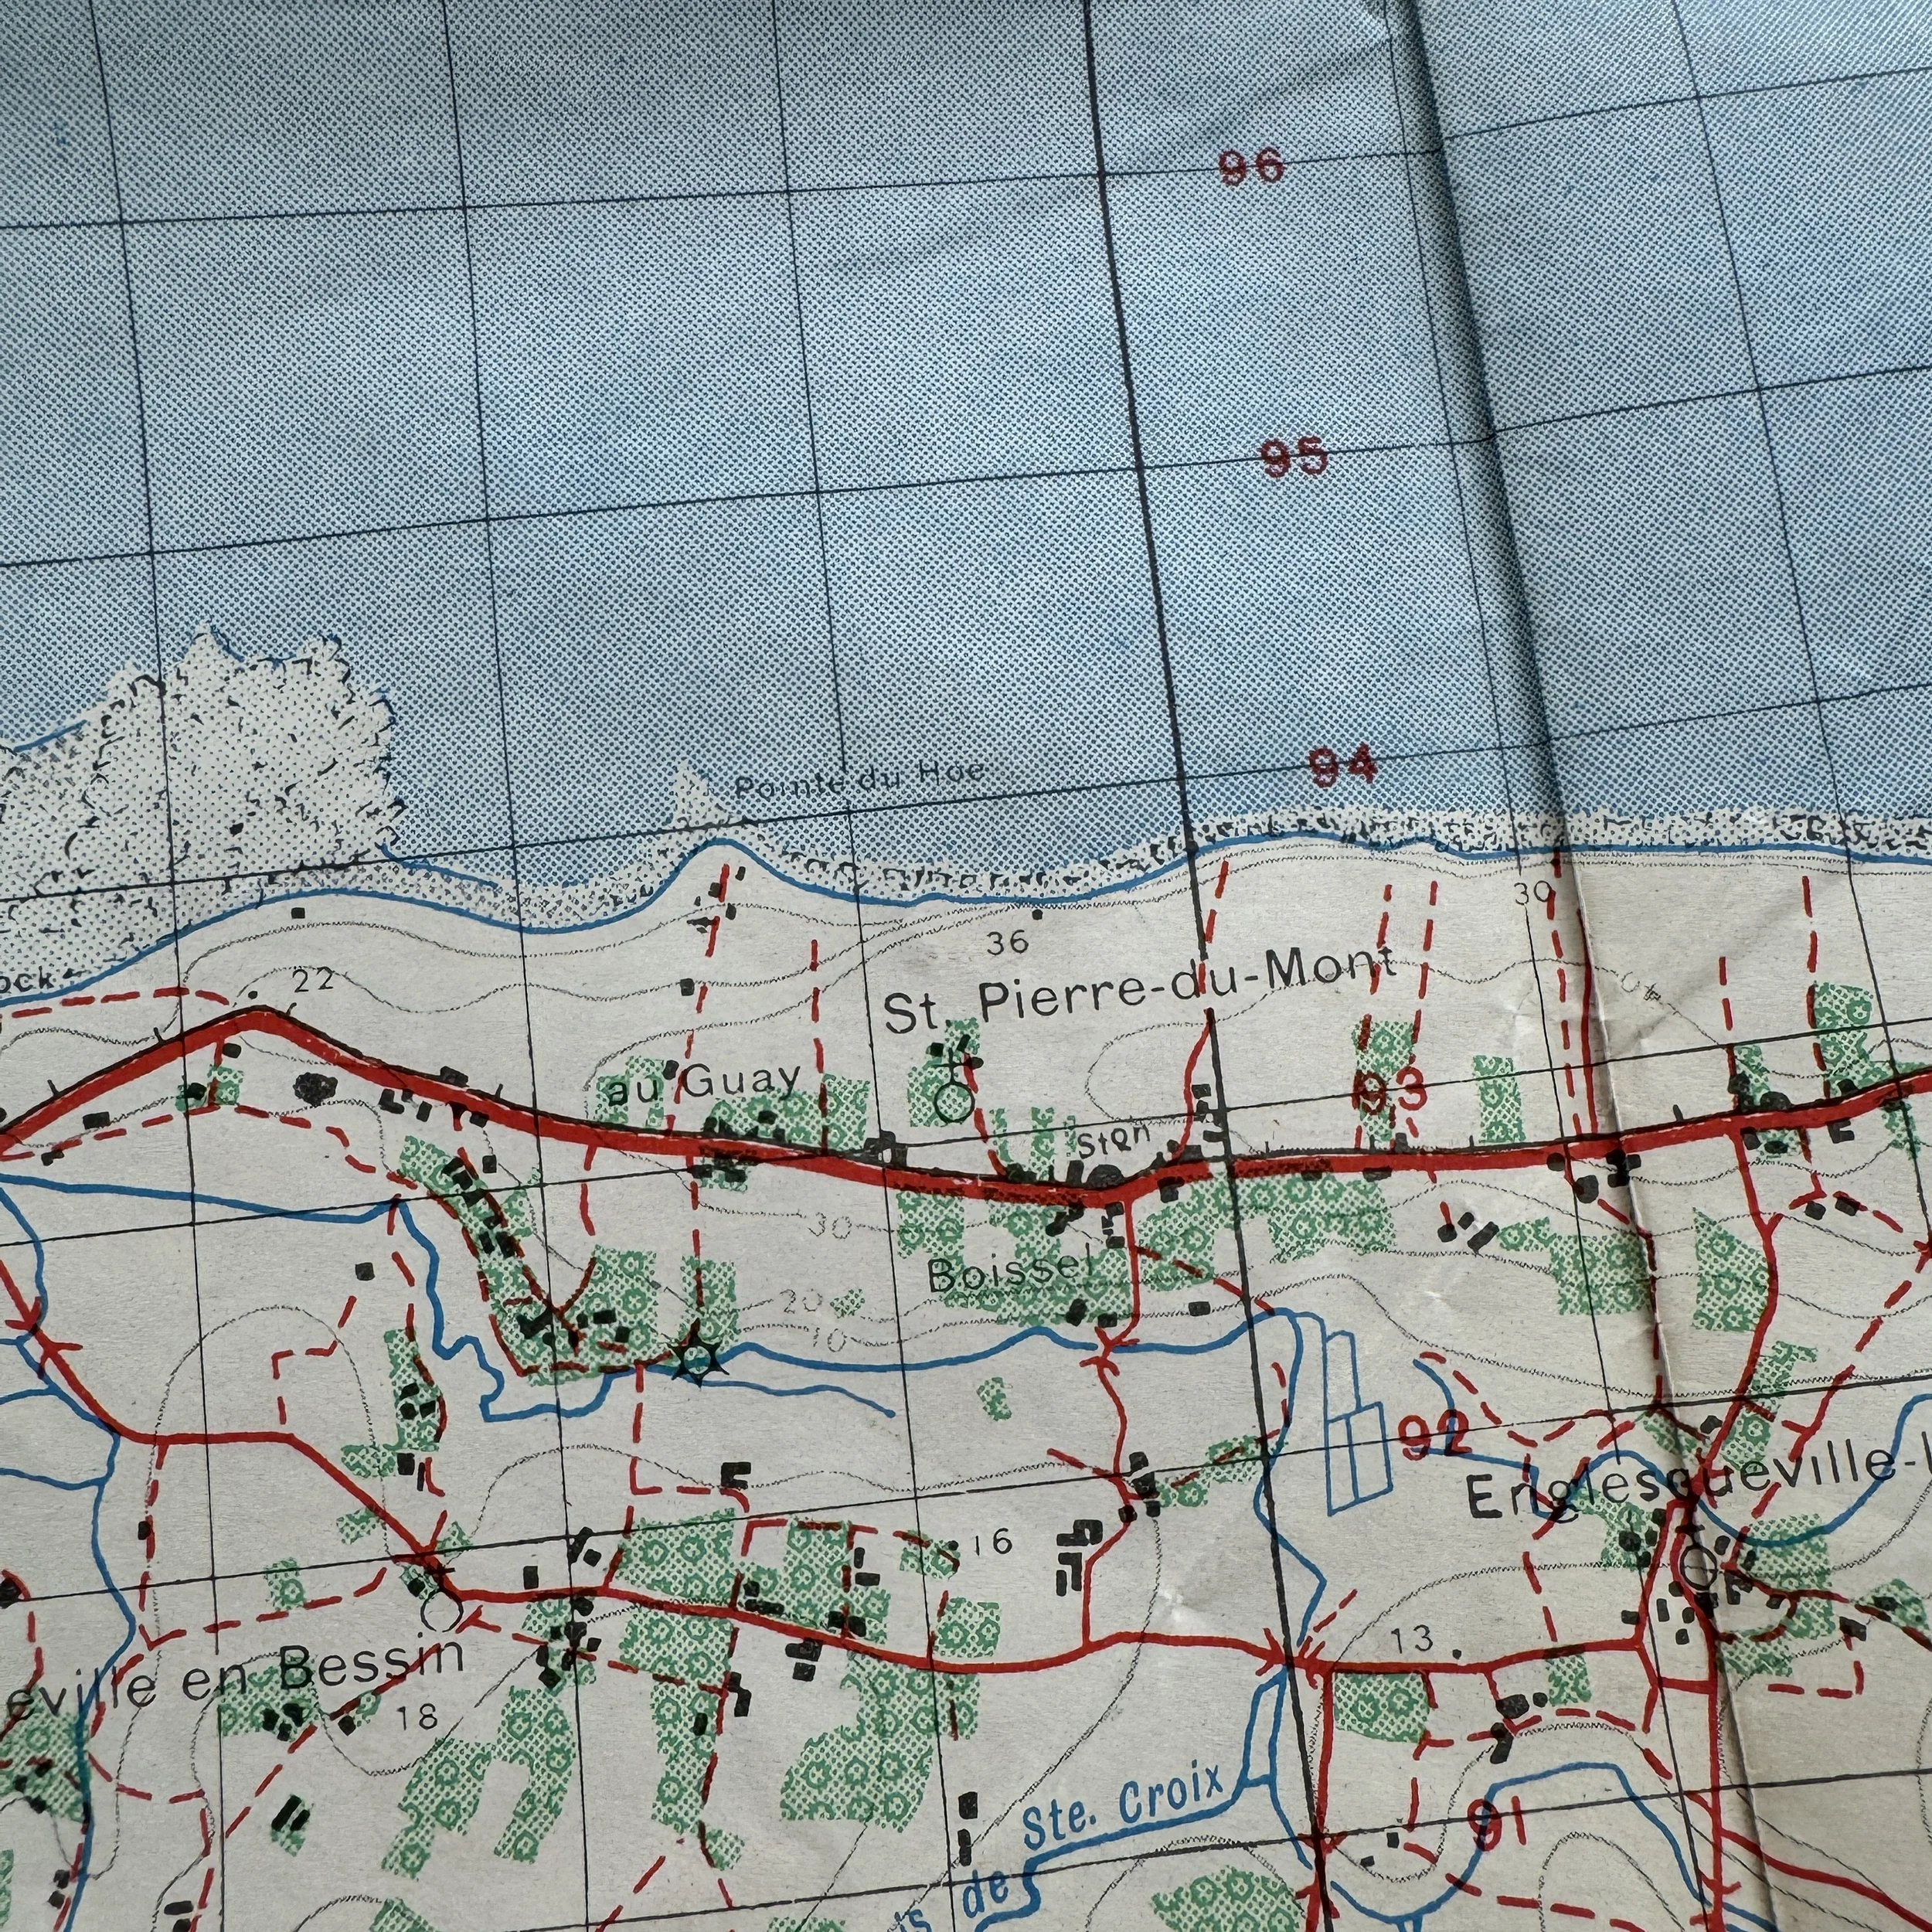
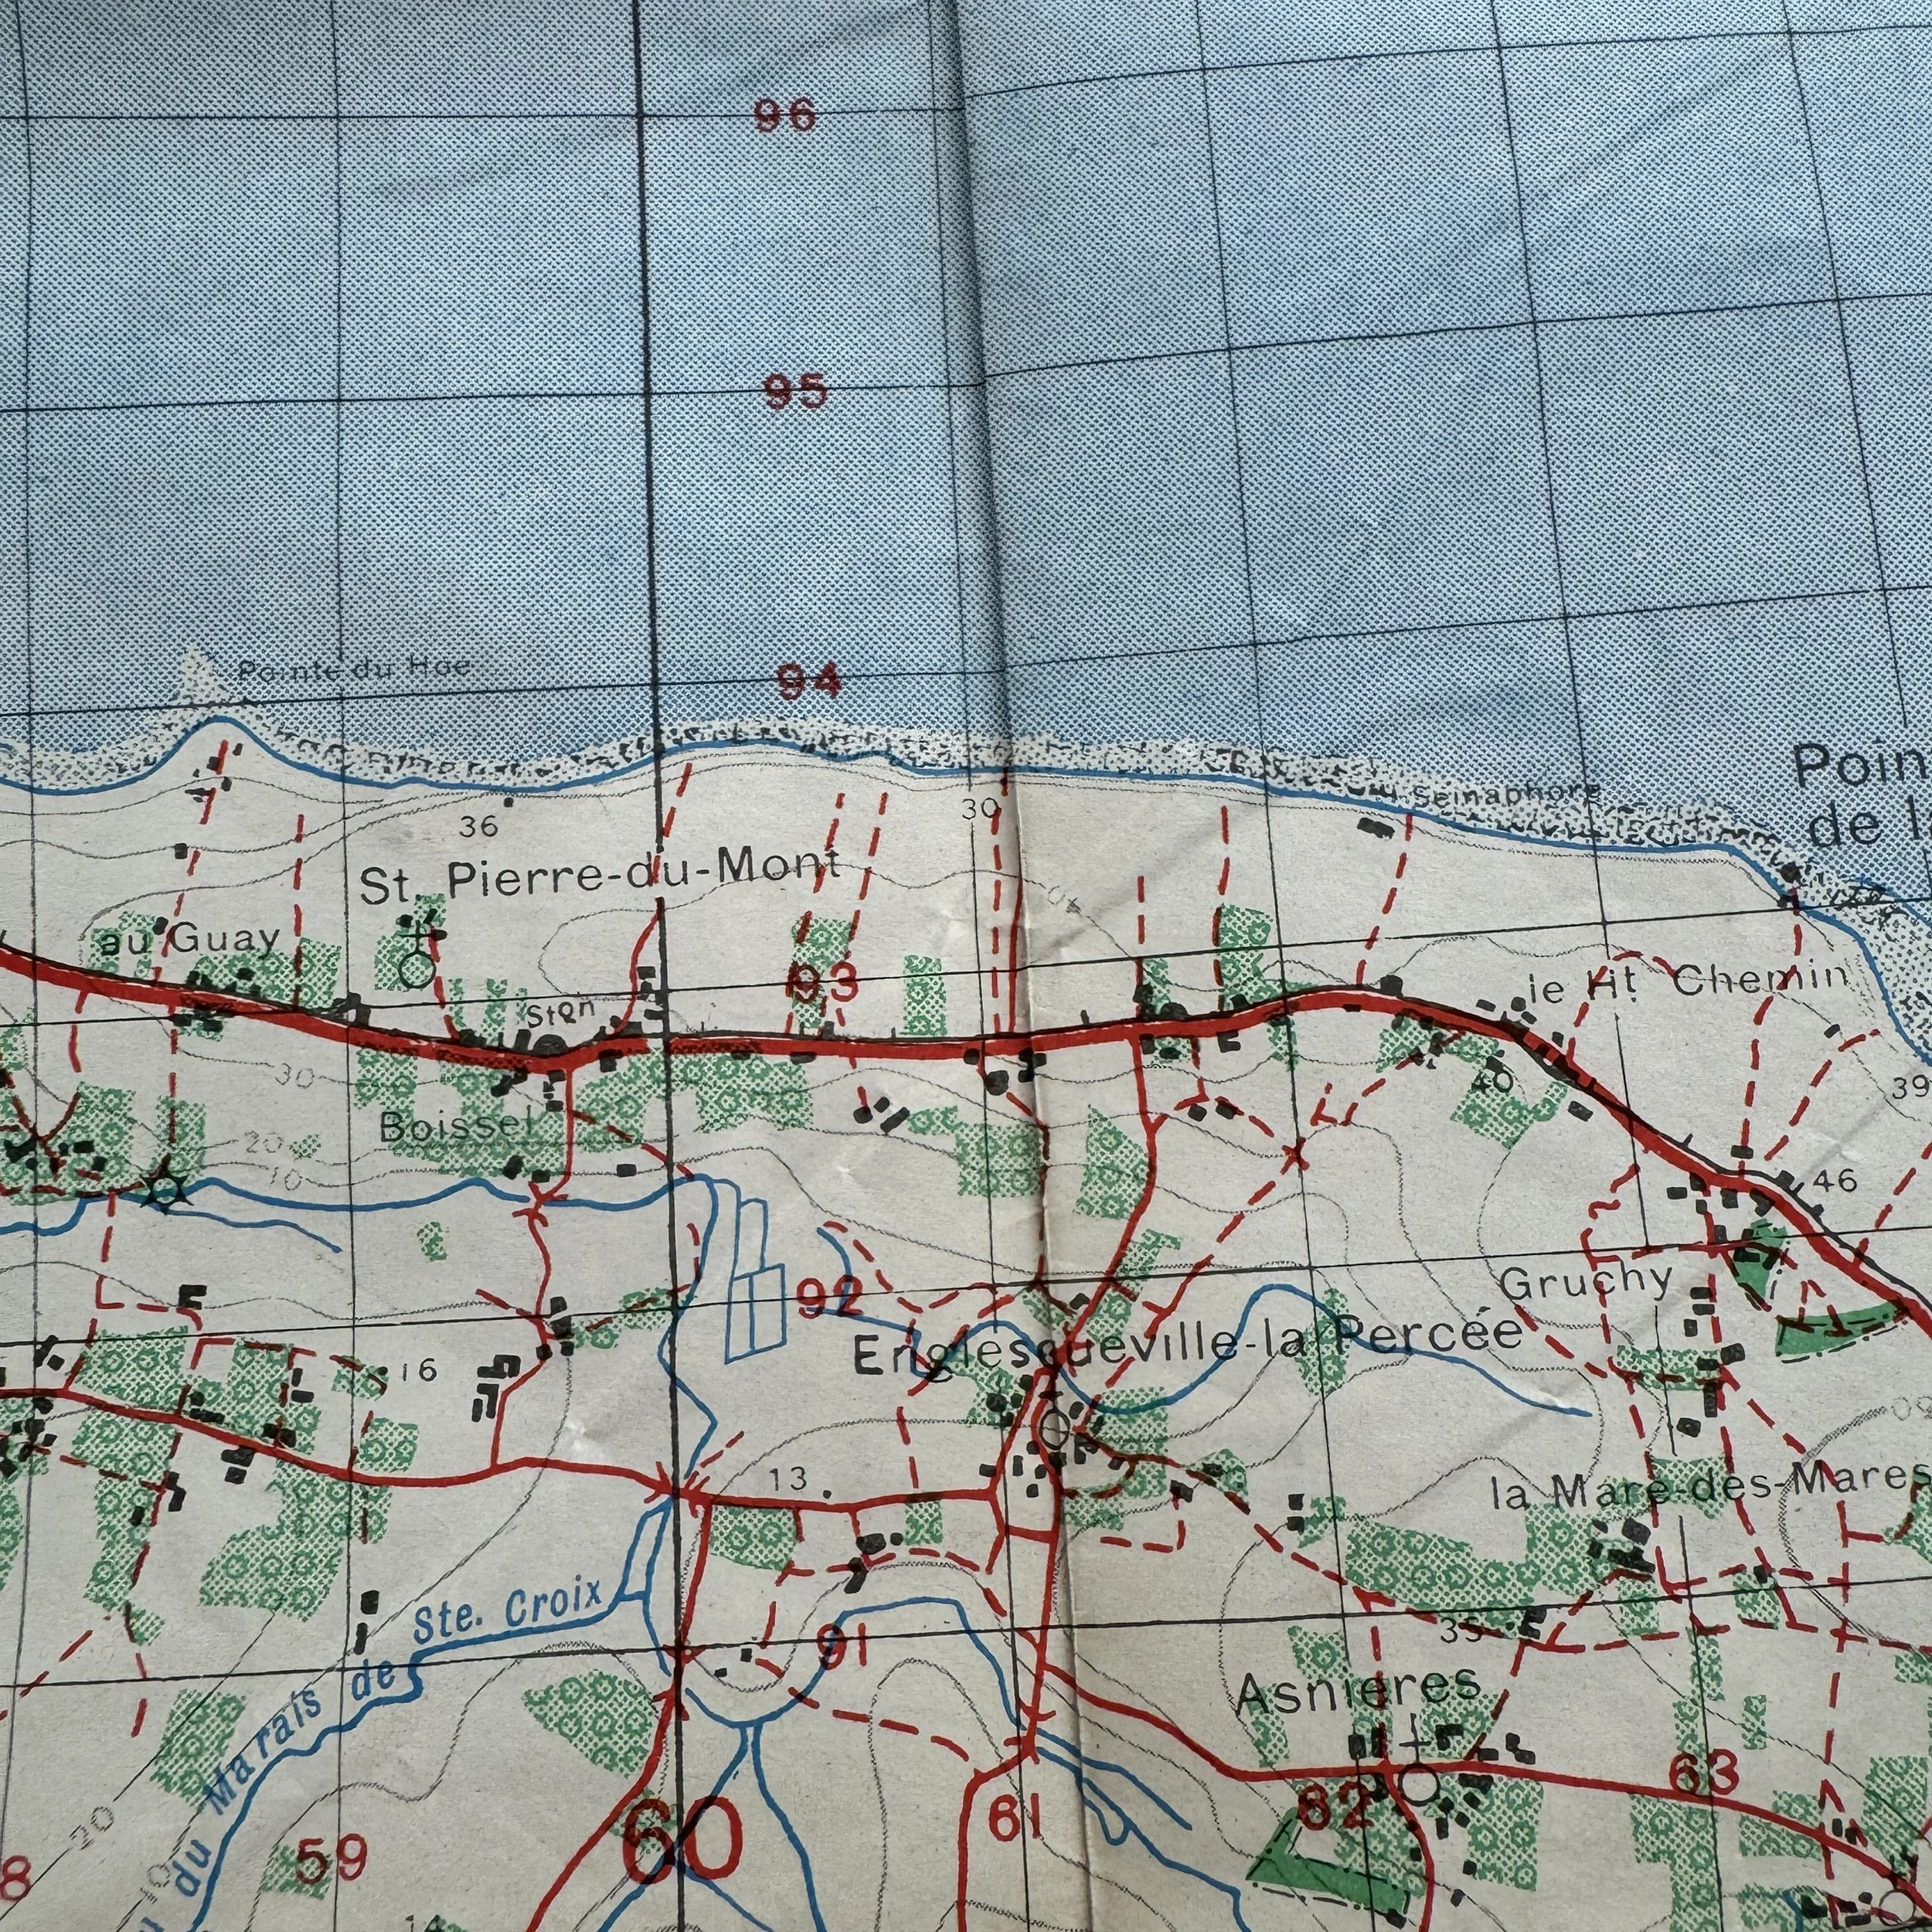
Mission: Secure Omaha Beach, break through the German Atlantic Wall defenses manned by the 352nd Infantry Division, open the Vierville and Colleville draws, and push inland to link with the U.S. Rangers at Pointe du Hoc and the British forces landing to the east at Gold Beach.
Omaha Beach Landing Sectors
Charlie Sector
Located at the far western end of Omaha Beach.
Town/Village: Vierville-sur-Mer.
Covered by German strongpoints WN 71 and WN 72 guarding the Vierville Draw.
Dog Green Sector
Immediately east of Charlie Sector.
Town/Village: Vierville-sur-Mer (main draw/exit road led here).
Site of A Company, 116th Infantry Regiment (29th Division) landing—one of the bloodiest zones on D-Day.
Dog White Sector
Center-west portion of Omaha Beach.
Town/Village: Still within the Vierville-sur-Mer commune but closer to the border with Les Moulins.
Contained German bunkers overlooking the draw leading inland.
Dog Red Sector
Just east of Dog White.
Town/Village: Les Moulins (commune between Vierville-sur-Mer and Saint-Laurent-sur-Mer).
Exit routes here were critical for vehicles and armor moving inland.
Easy Green Sector
Western portion of the “Easy” sectors.
Town/Village: Saint-Laurent-sur-Mer.
One of the heavily contested draws inland from the beach, leading toward the village.
Easy Red Sector
Central Omaha Beach.
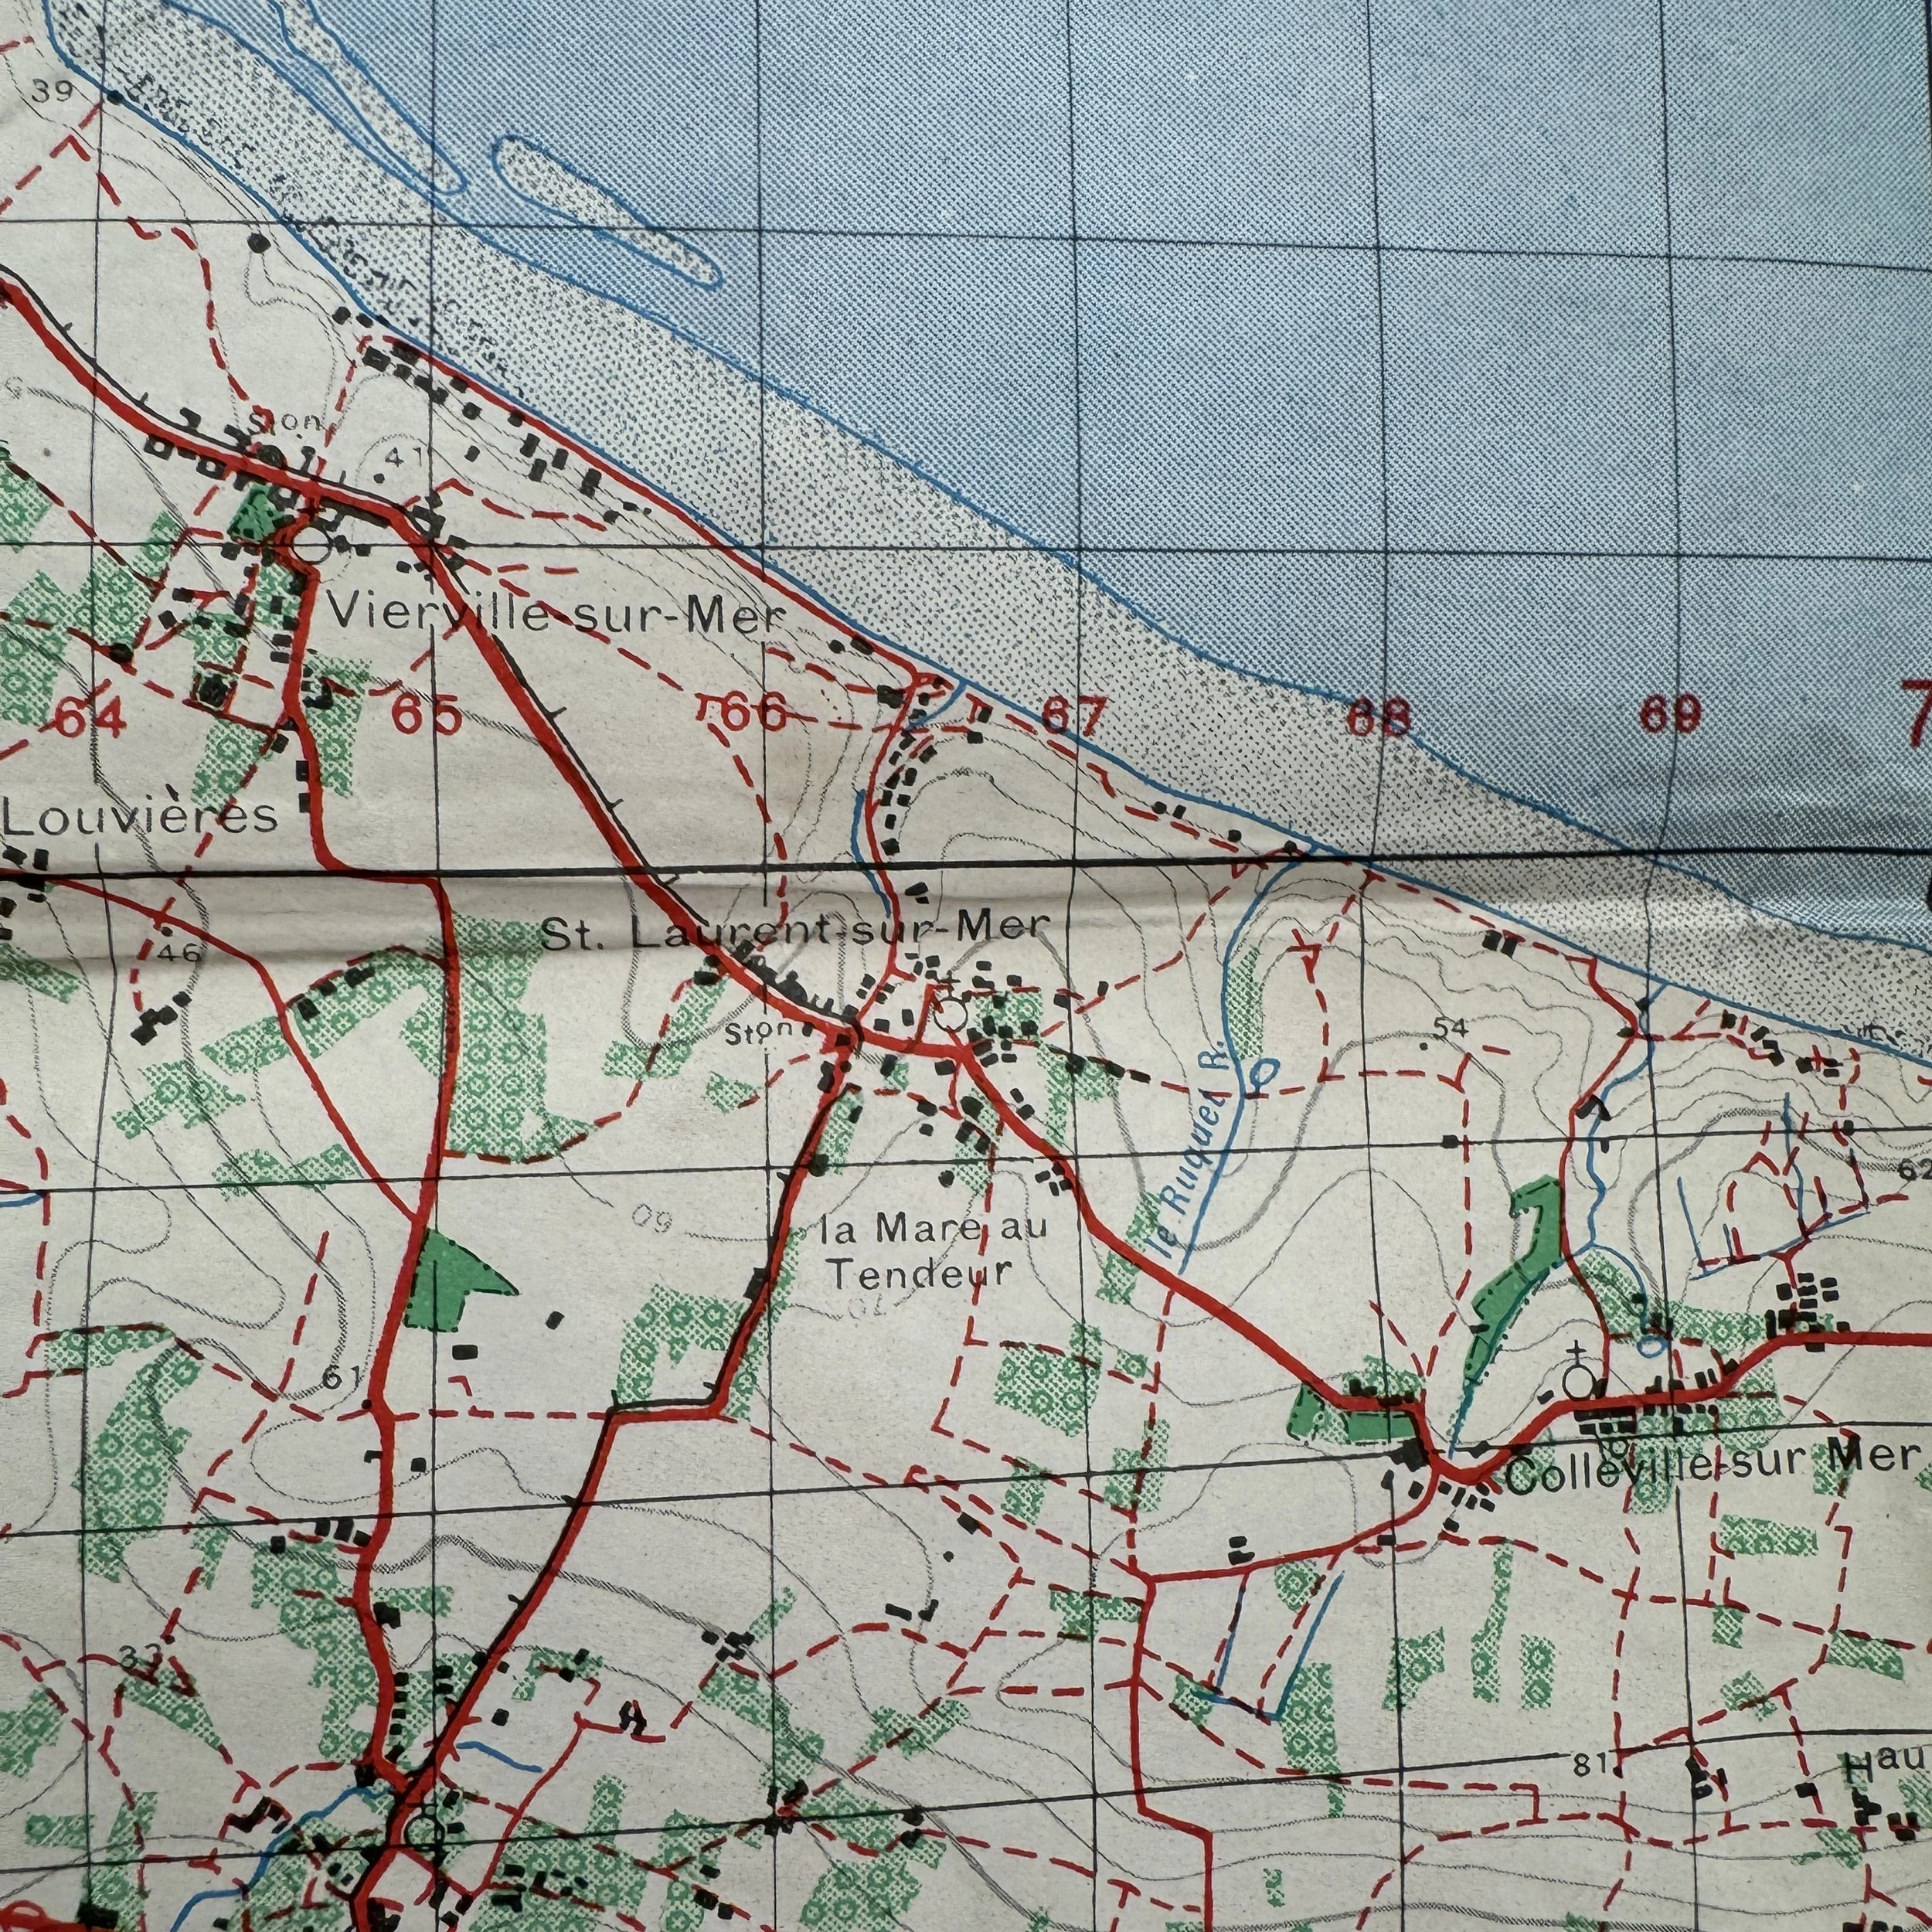
Town/Village: Saint-Laurent-sur-Mer.
Key strongpoints included WN 64 and WN 65; intense fighting to clear the bluff defenses.
Fox Green Sector
Eastern end of Omaha Beach.
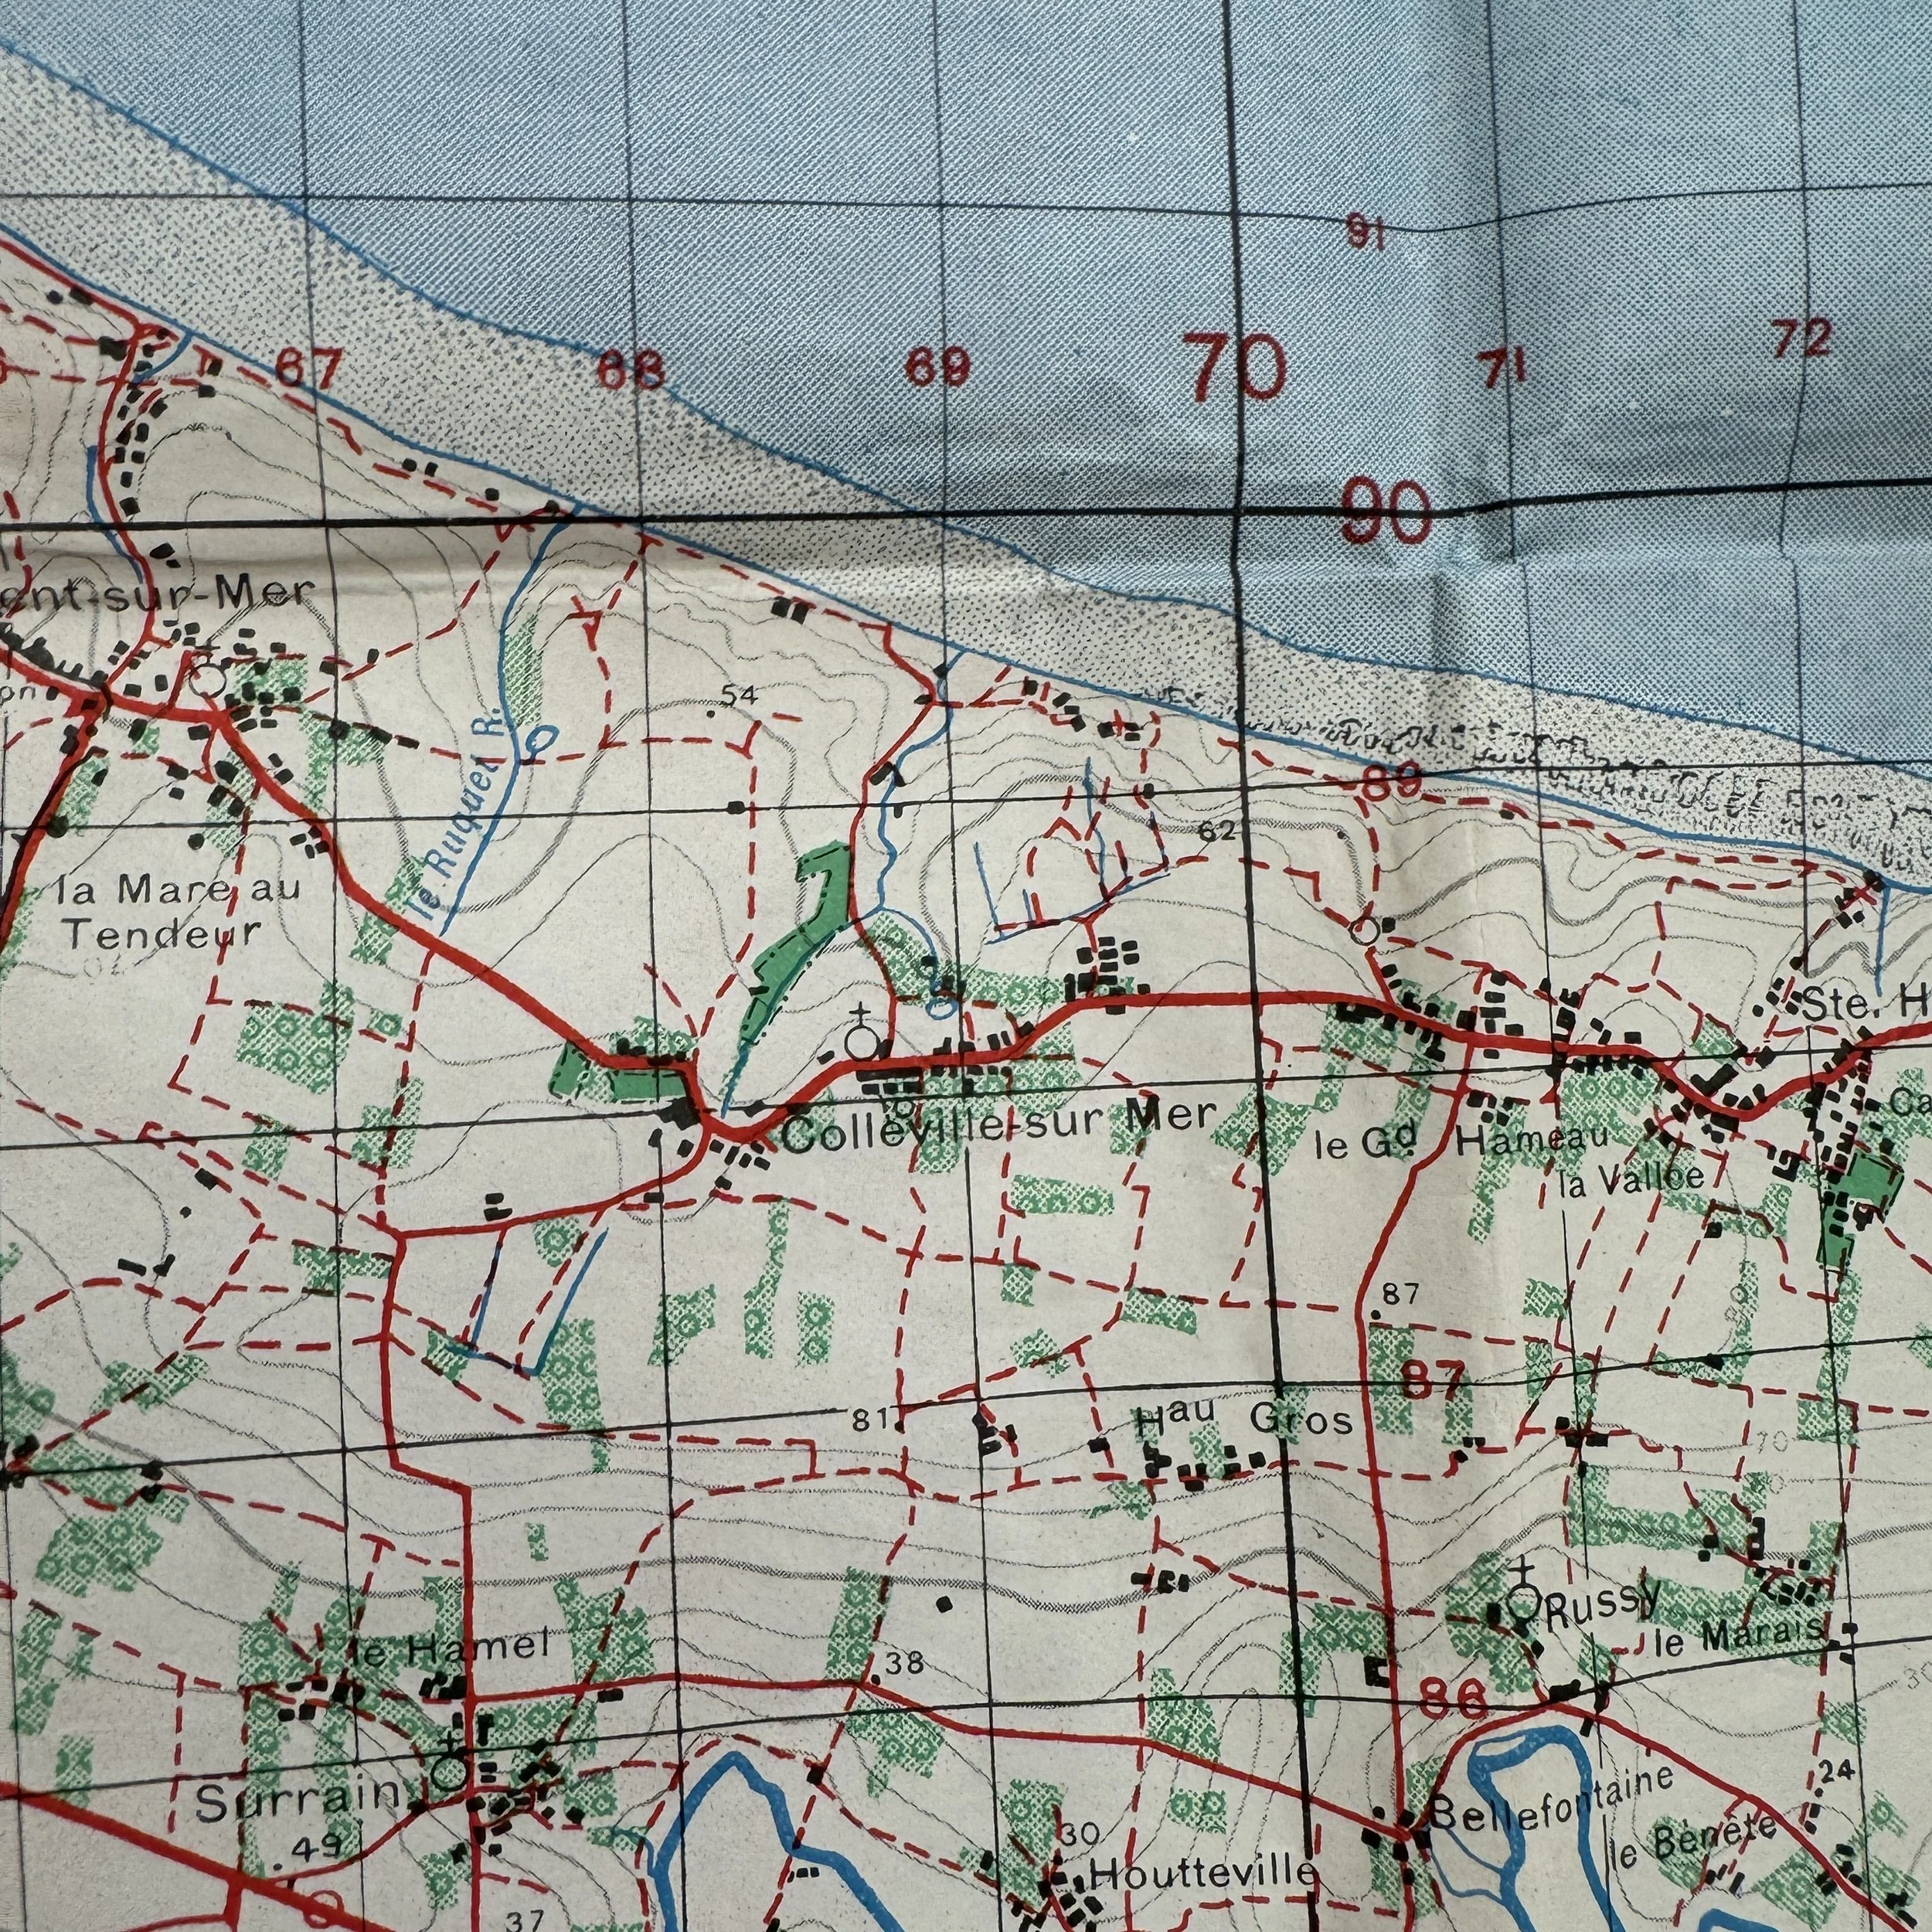
Town/Village: Colleville-sur-Mer.
Site of intense fighting by the 16th Infantry Regiment (1st Division); one of the eventual breakthrough areas.
Fox Red Sector
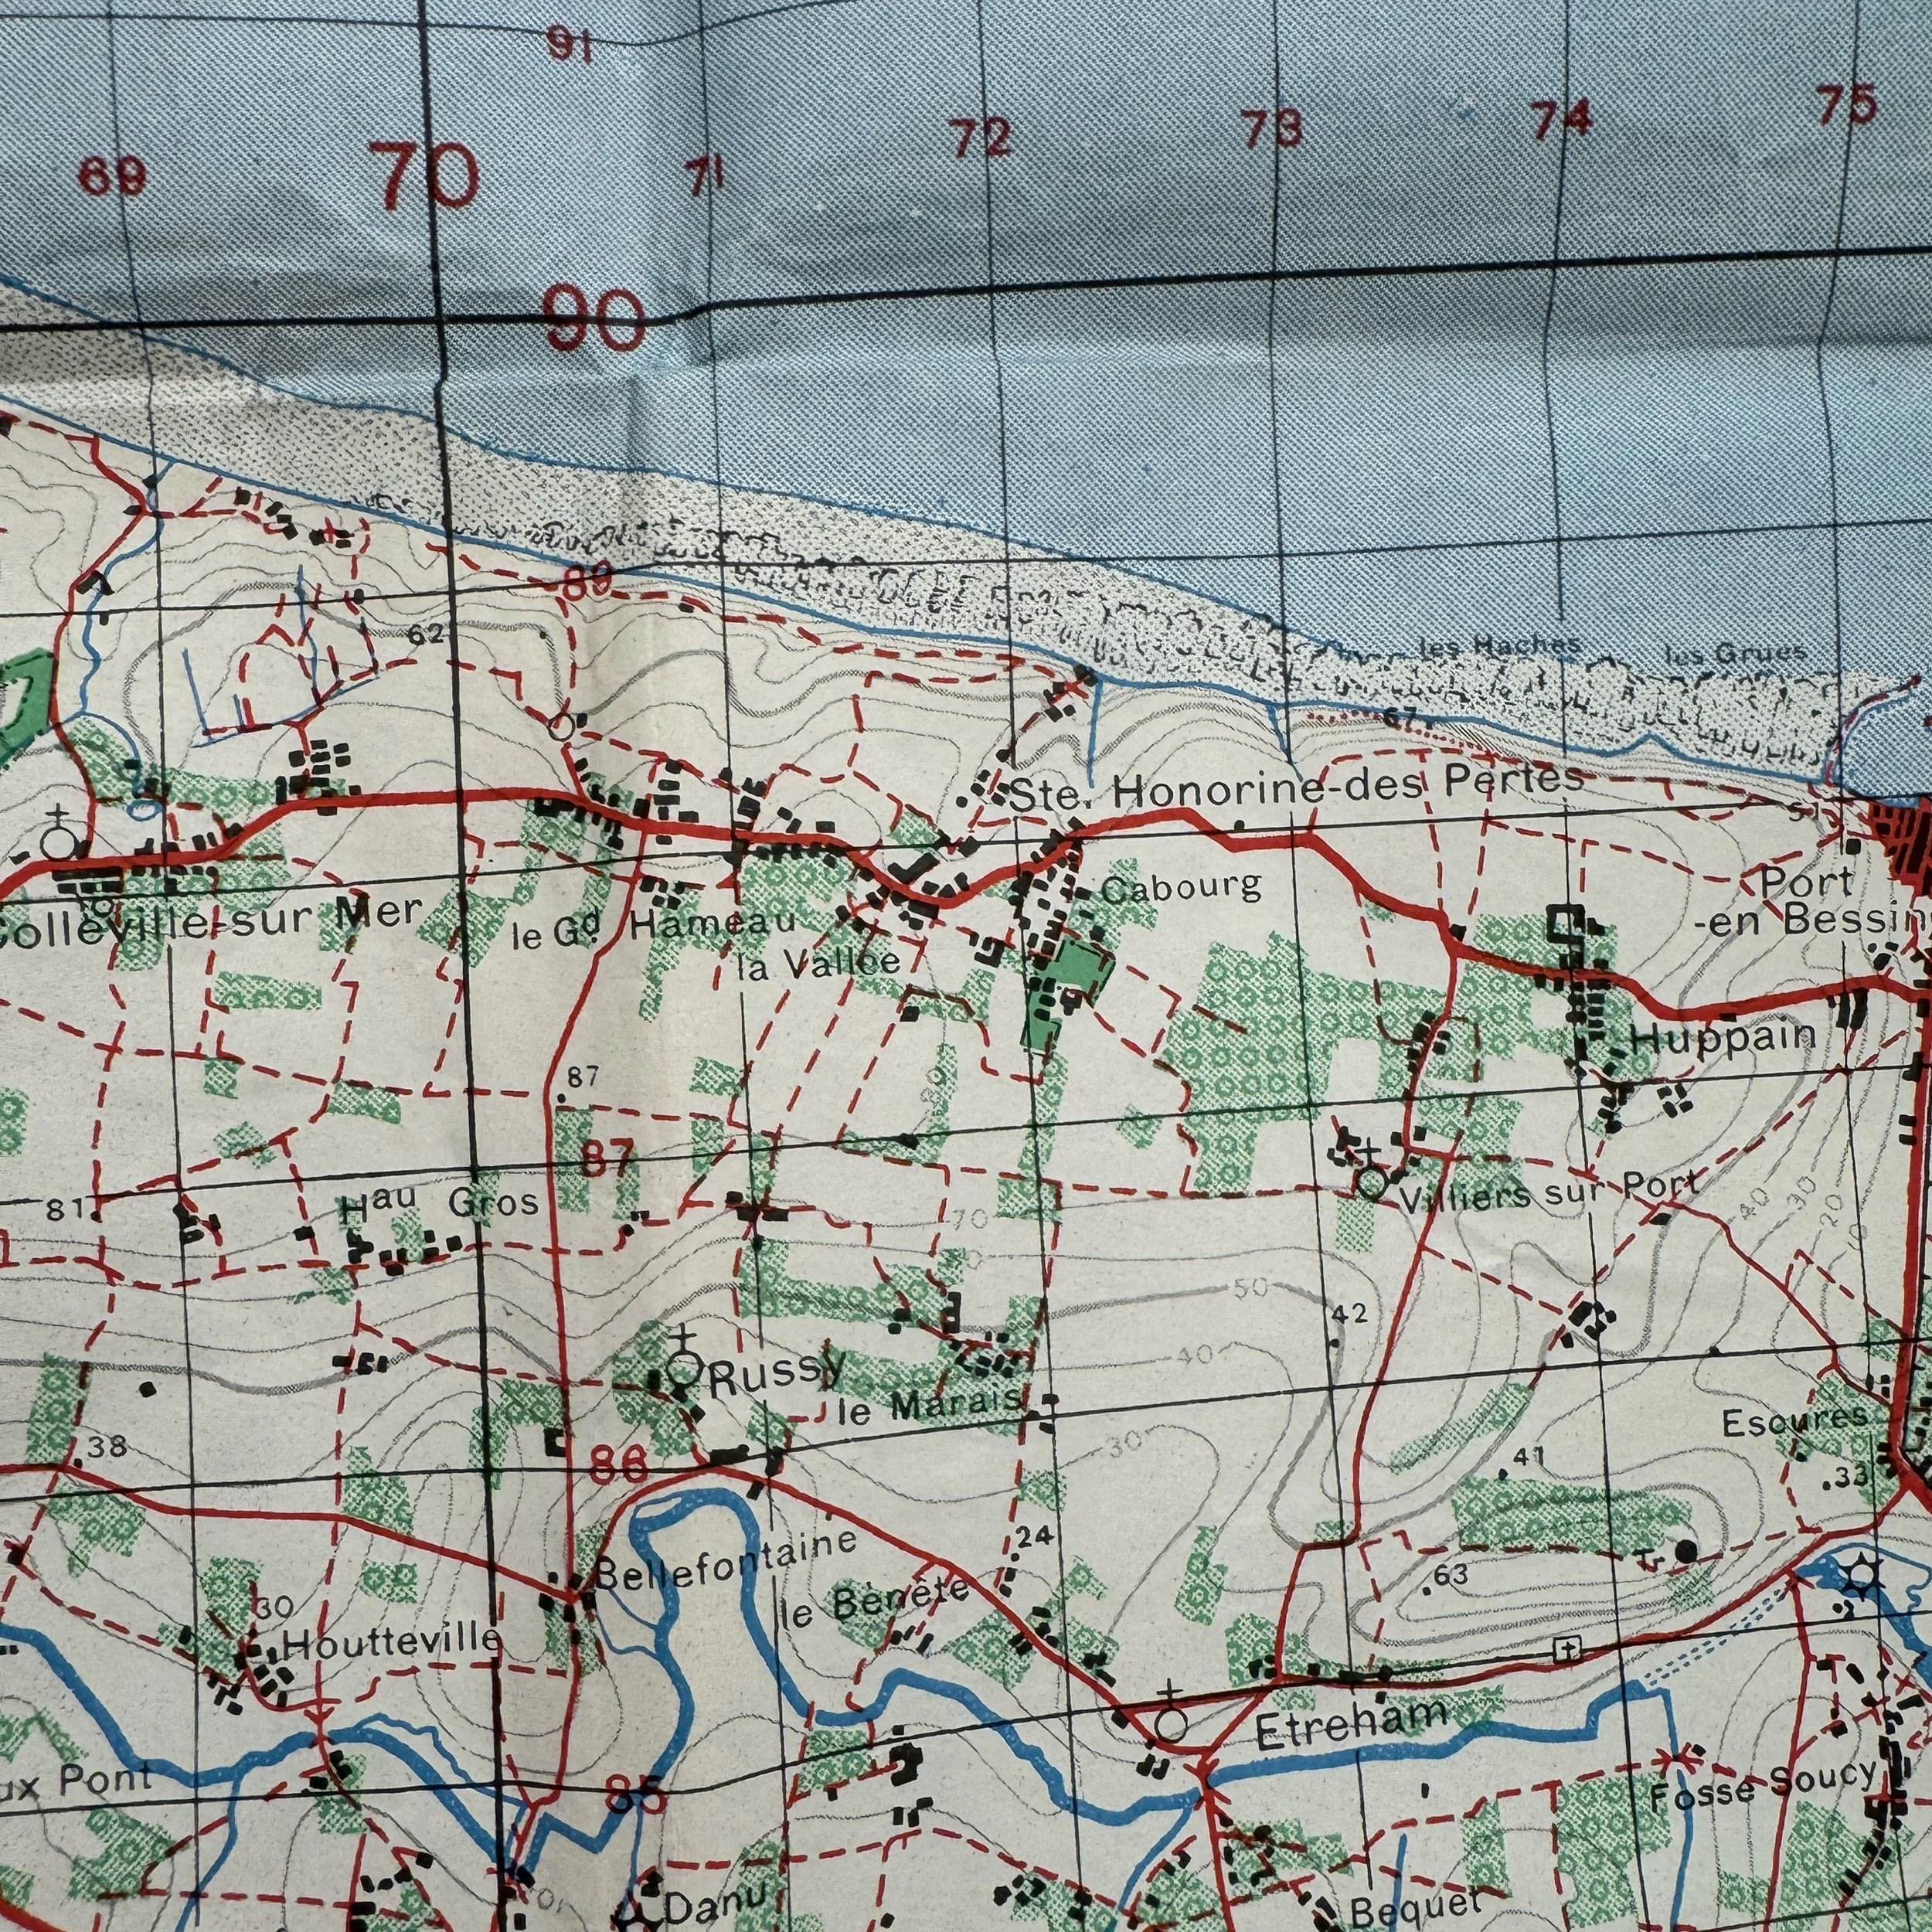
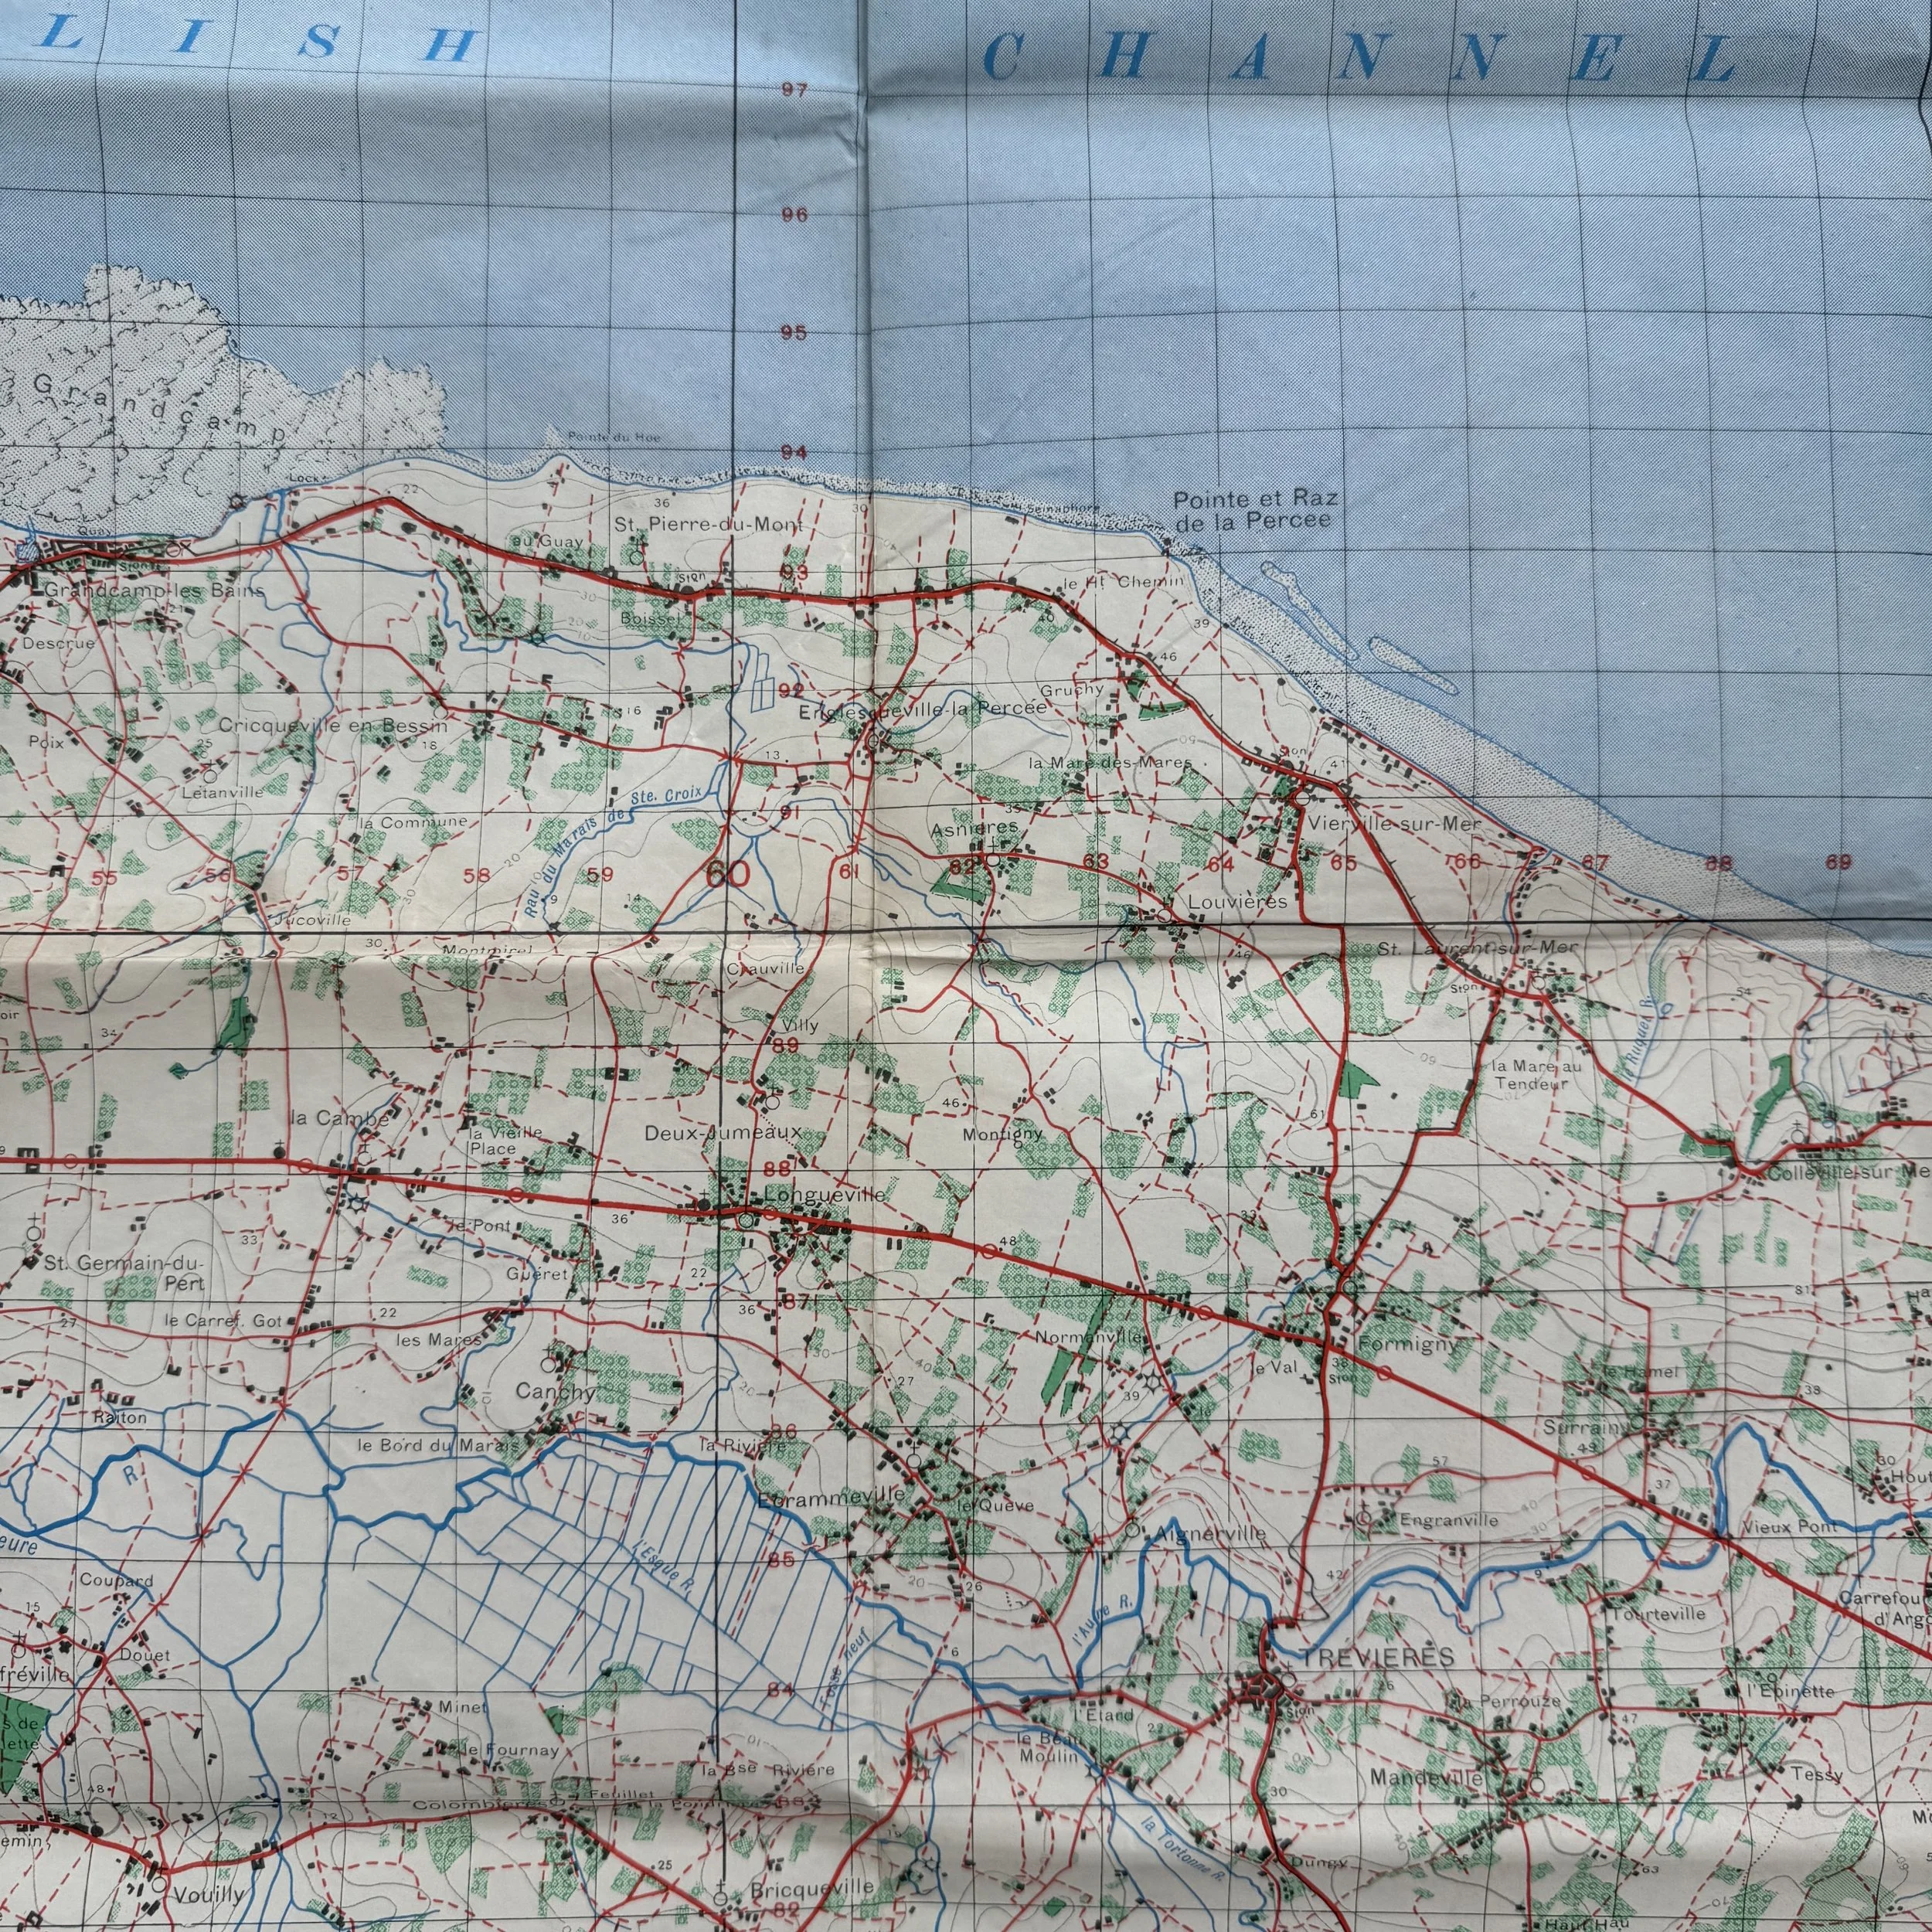
Extreme eastern tip of Omaha Beach, next to Pointe de la Percée and close to Gold Beach.
Town/Village: Colleville-sur-Mer.
Marked the boundary between U.S. Omaha landings and the British Gold Beach assault zone.
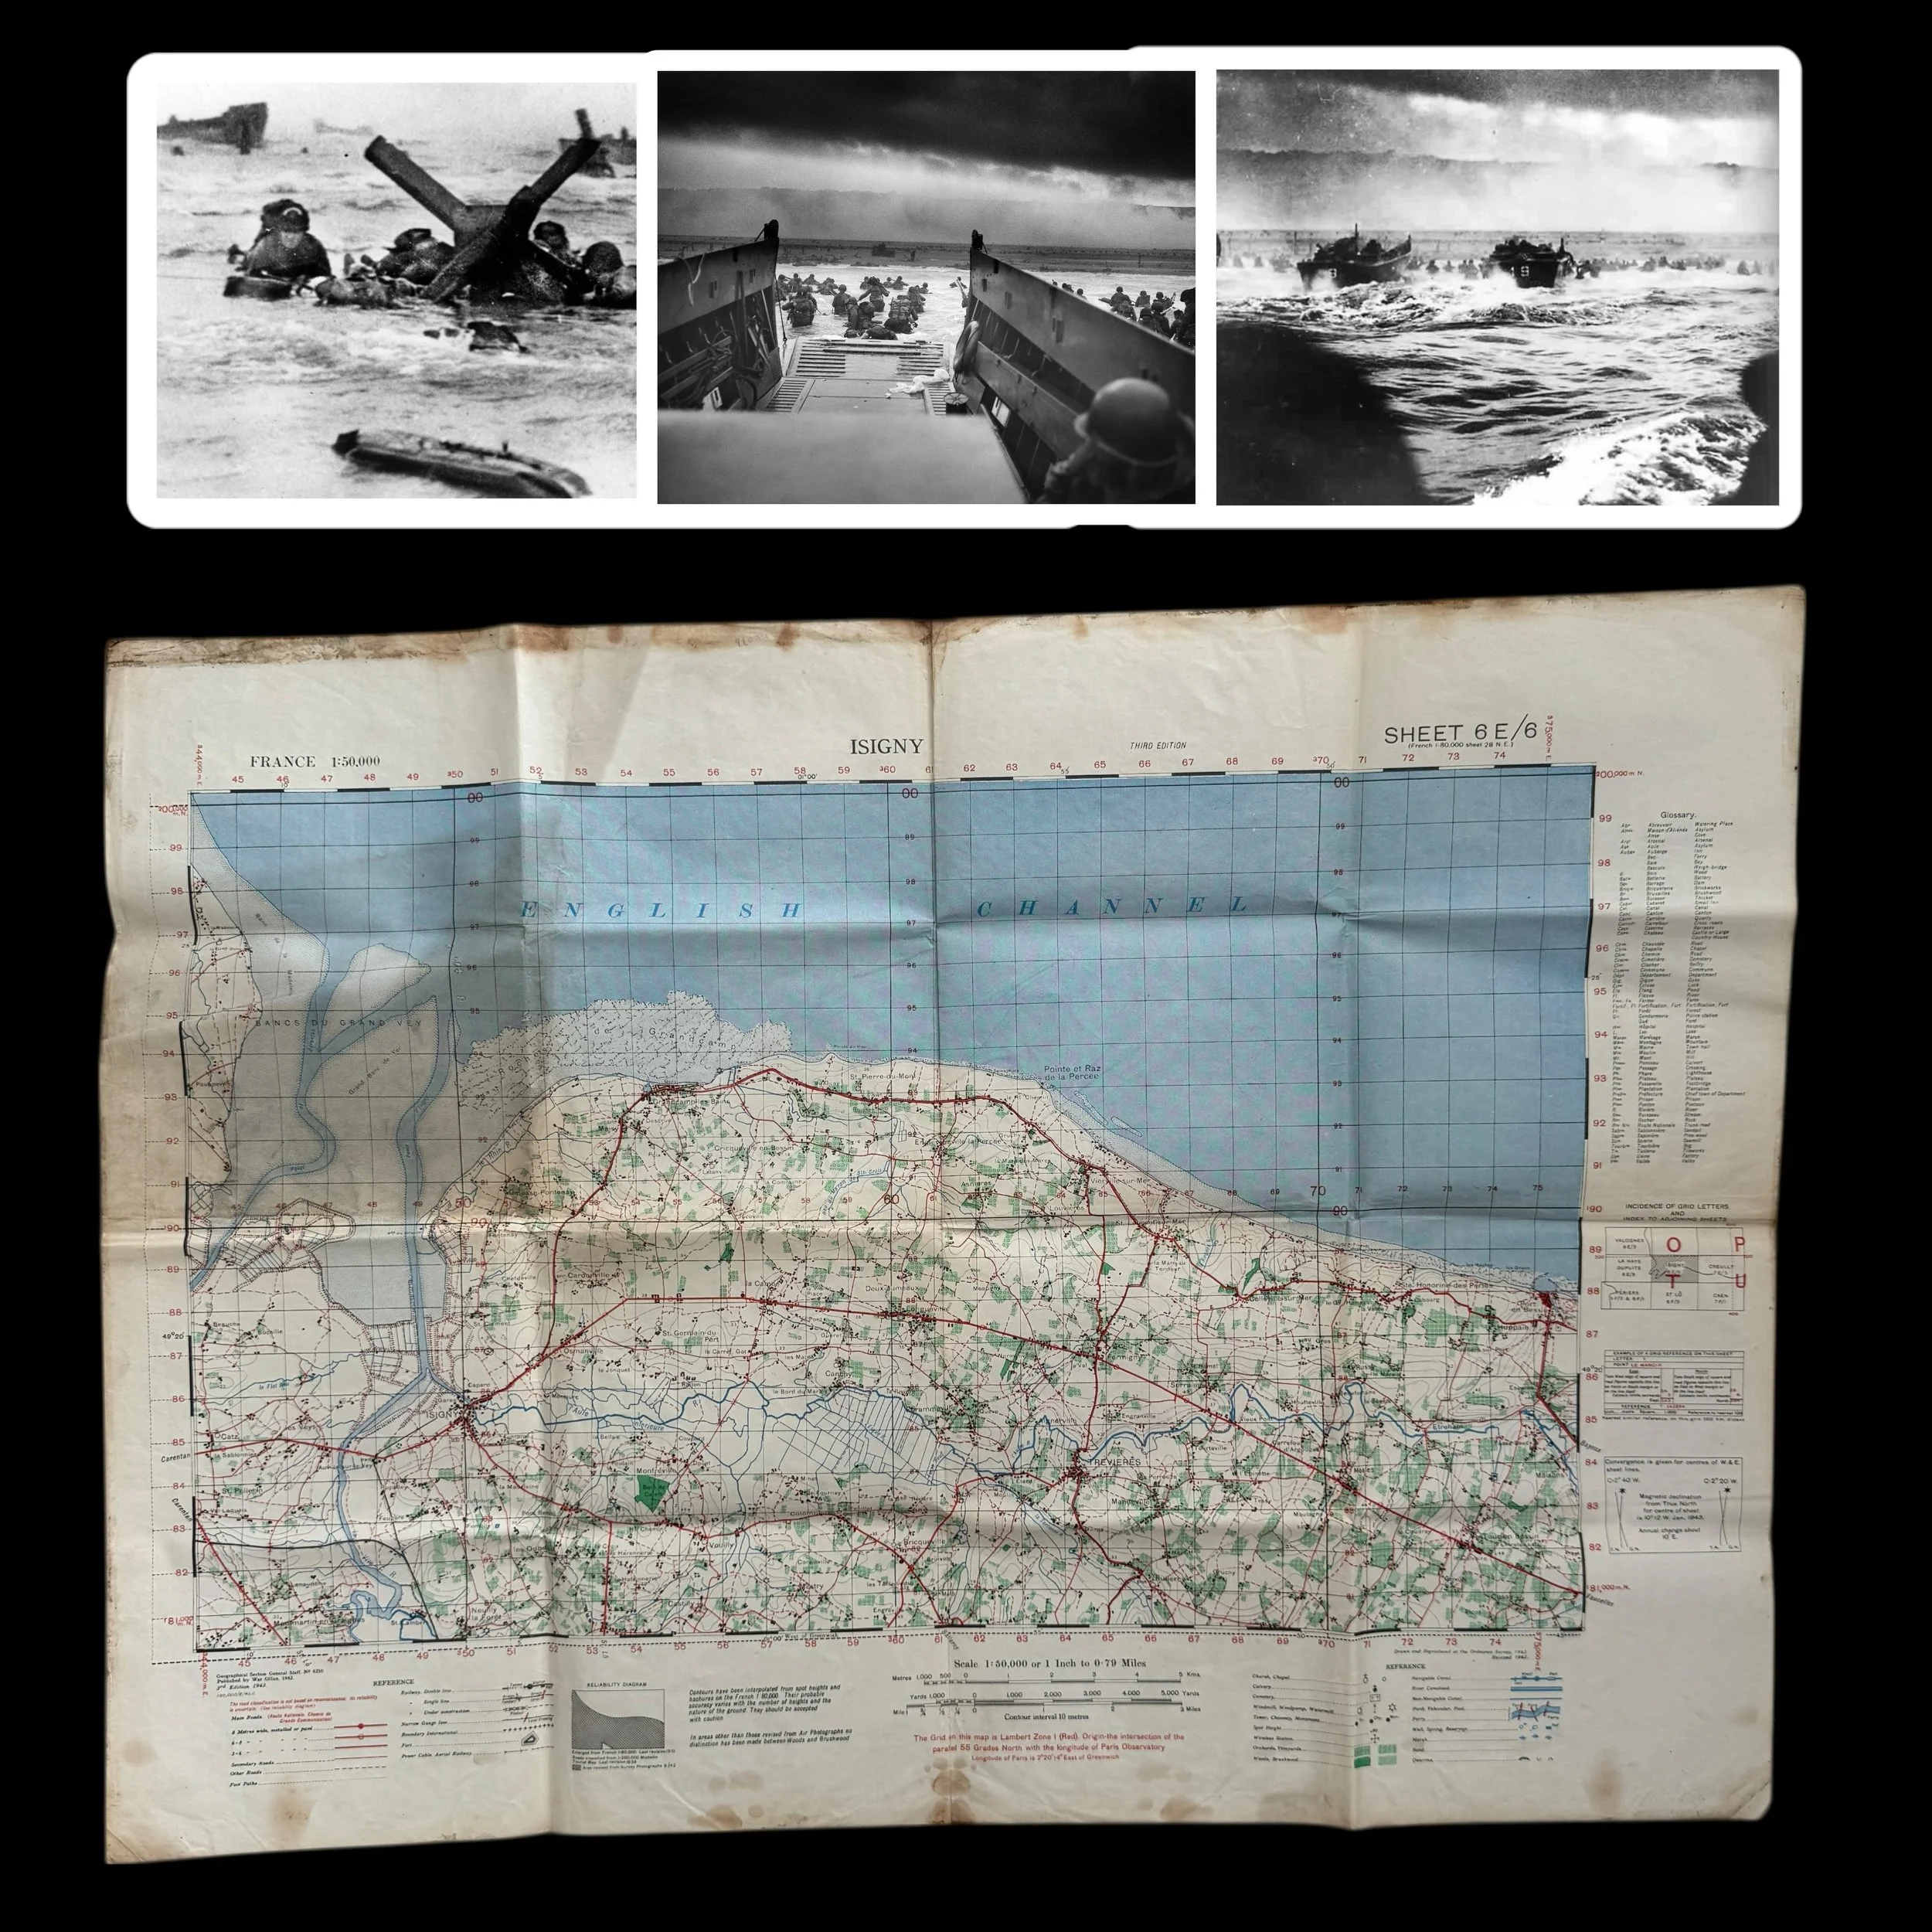
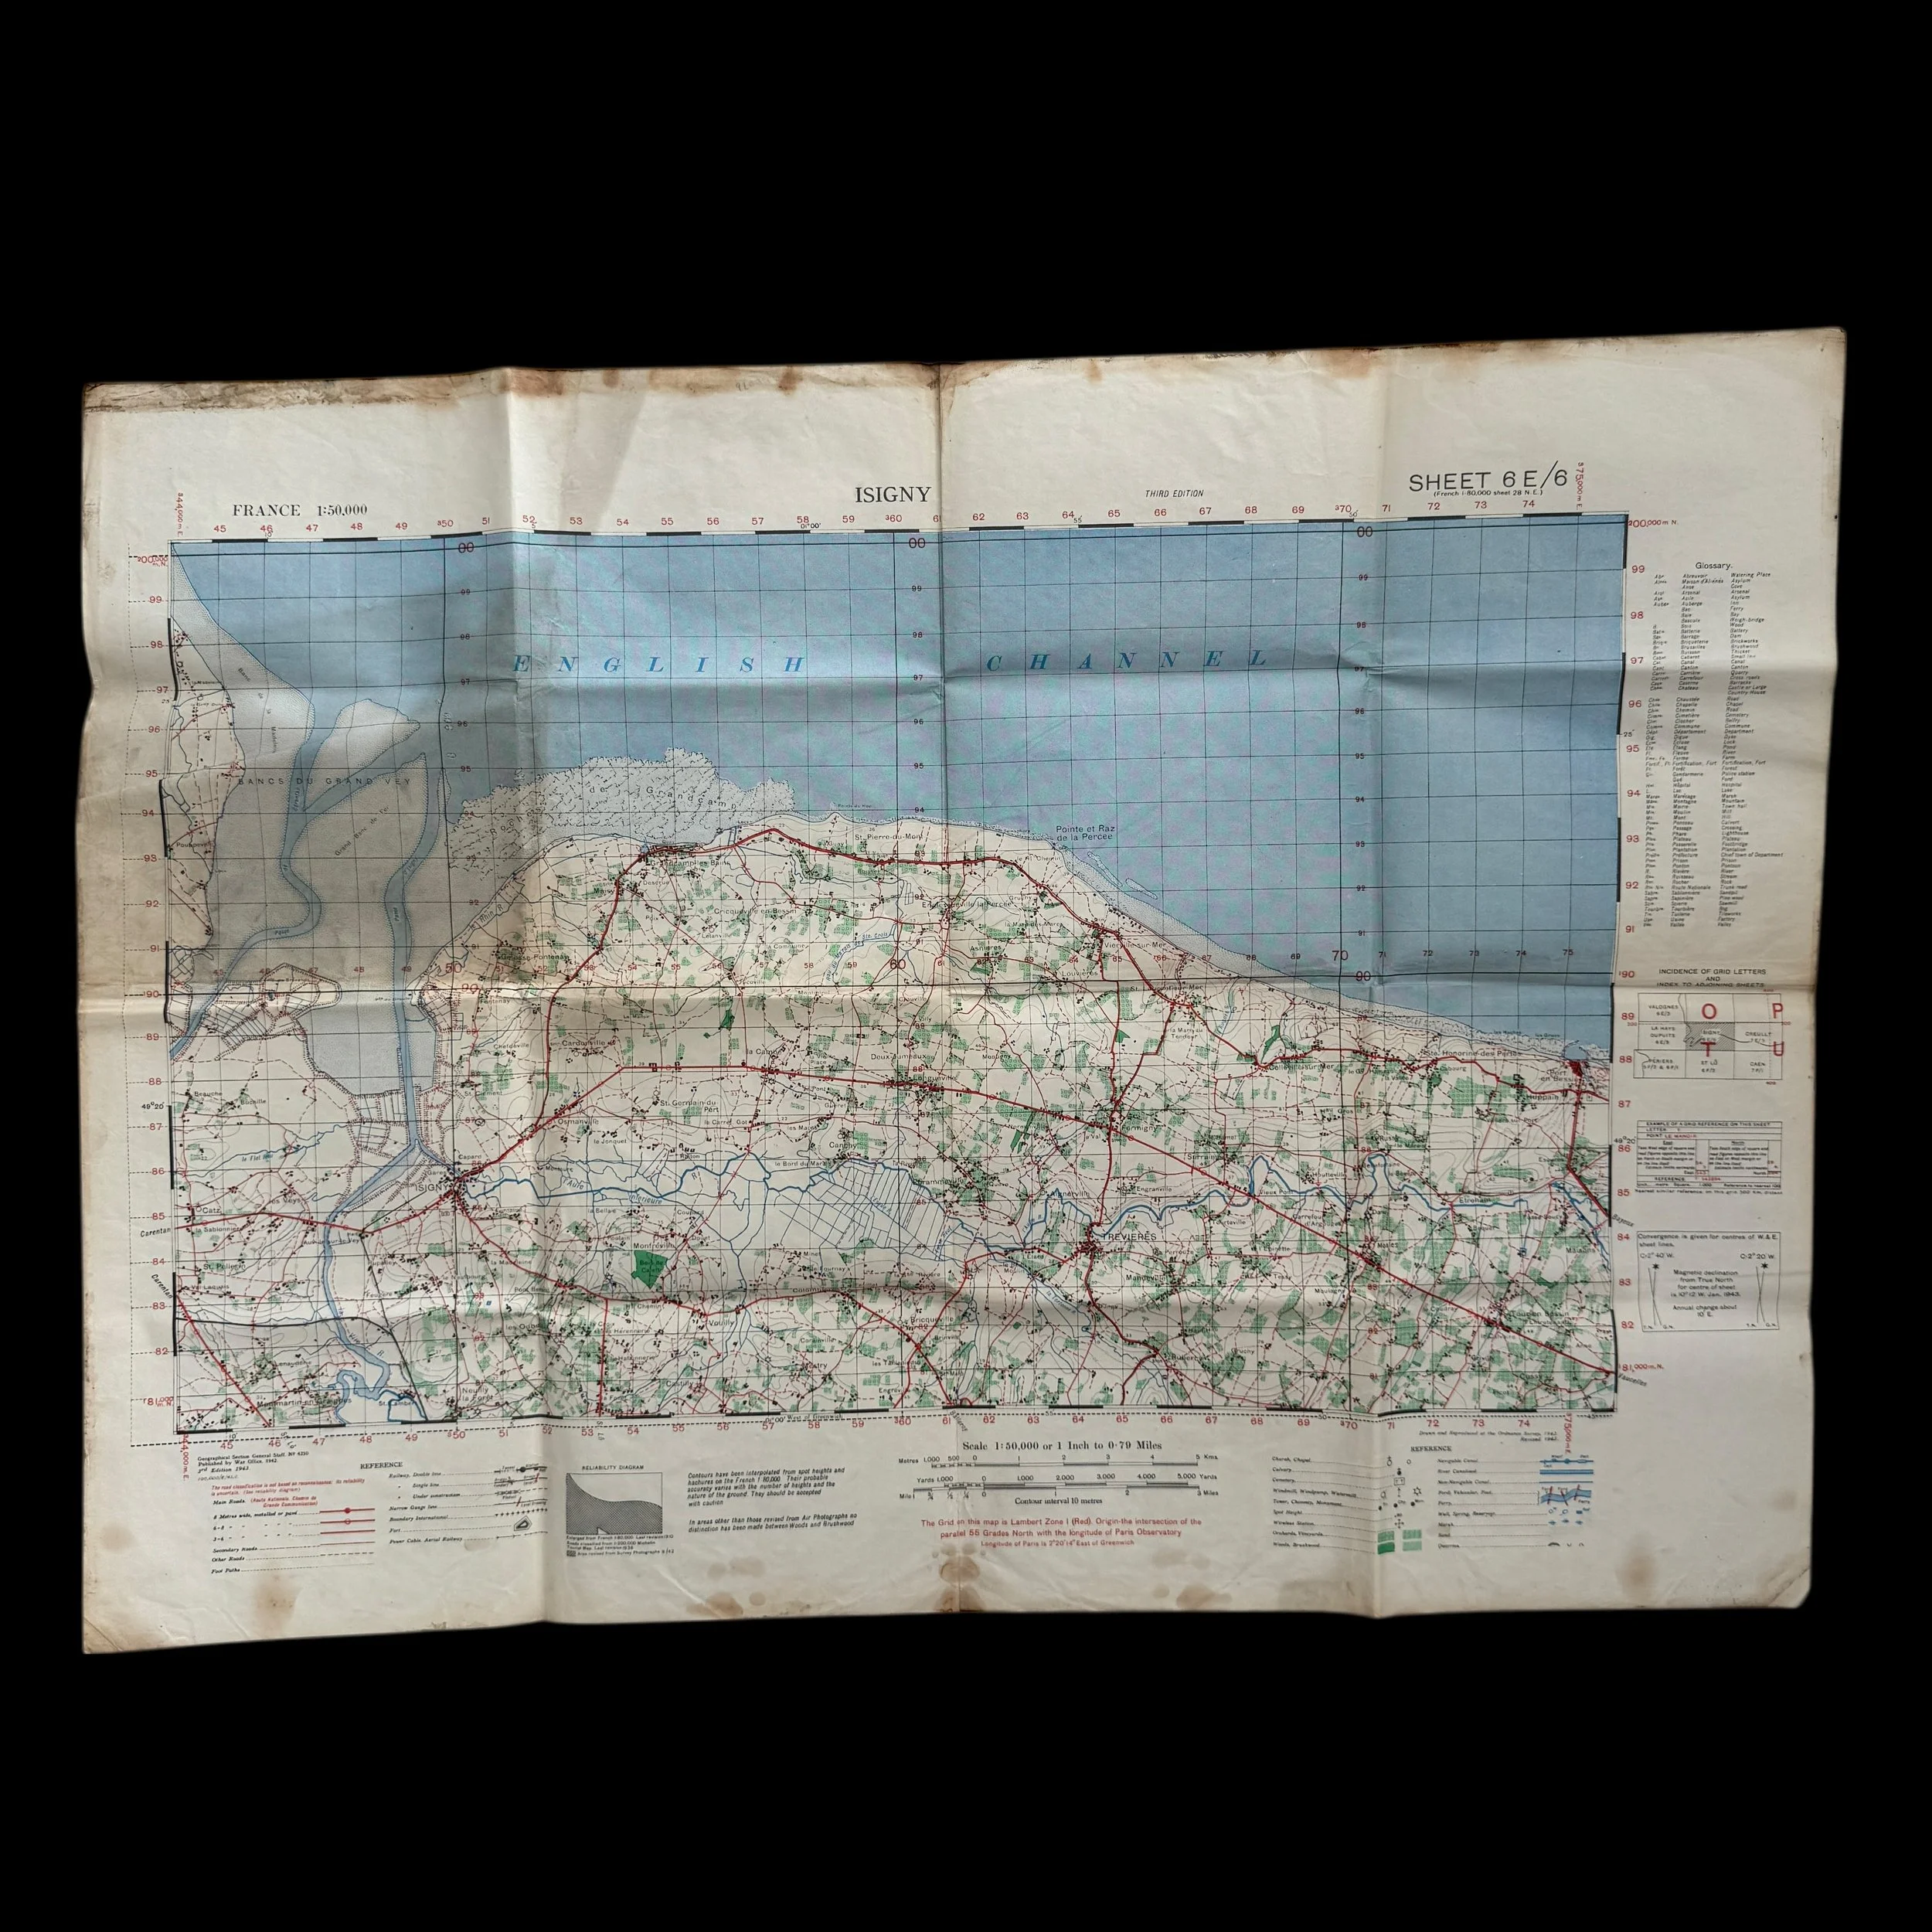
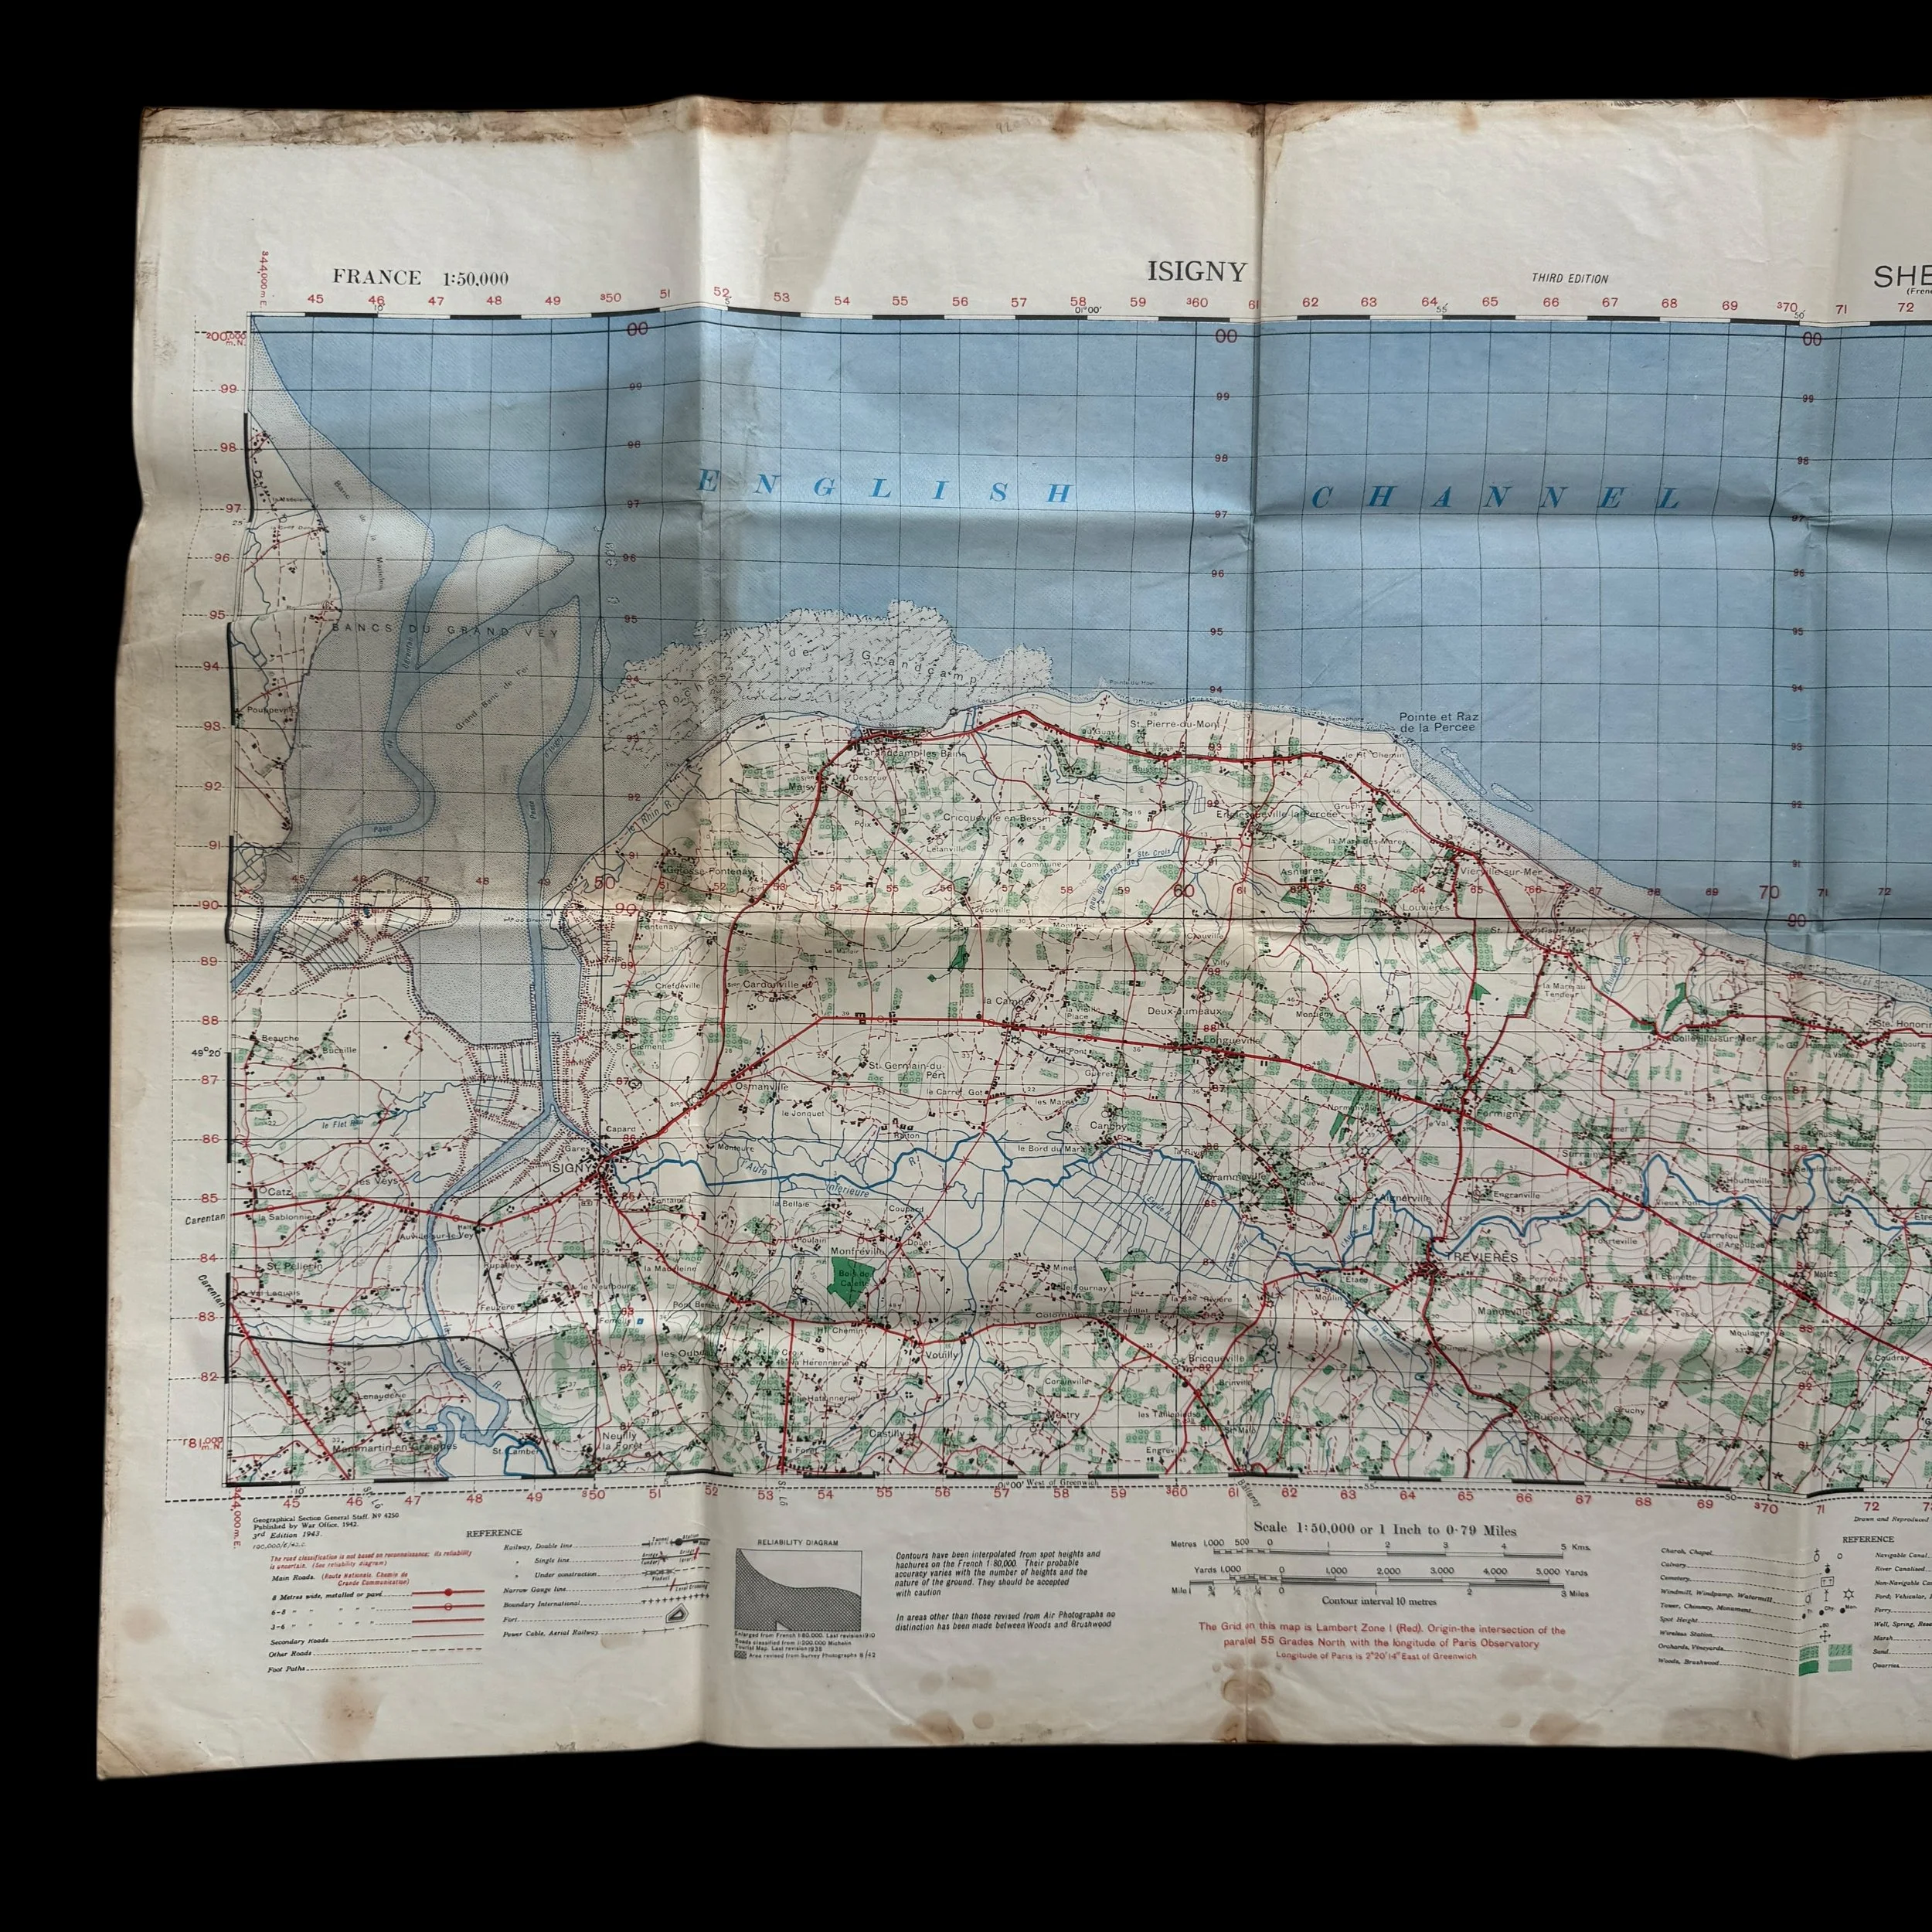
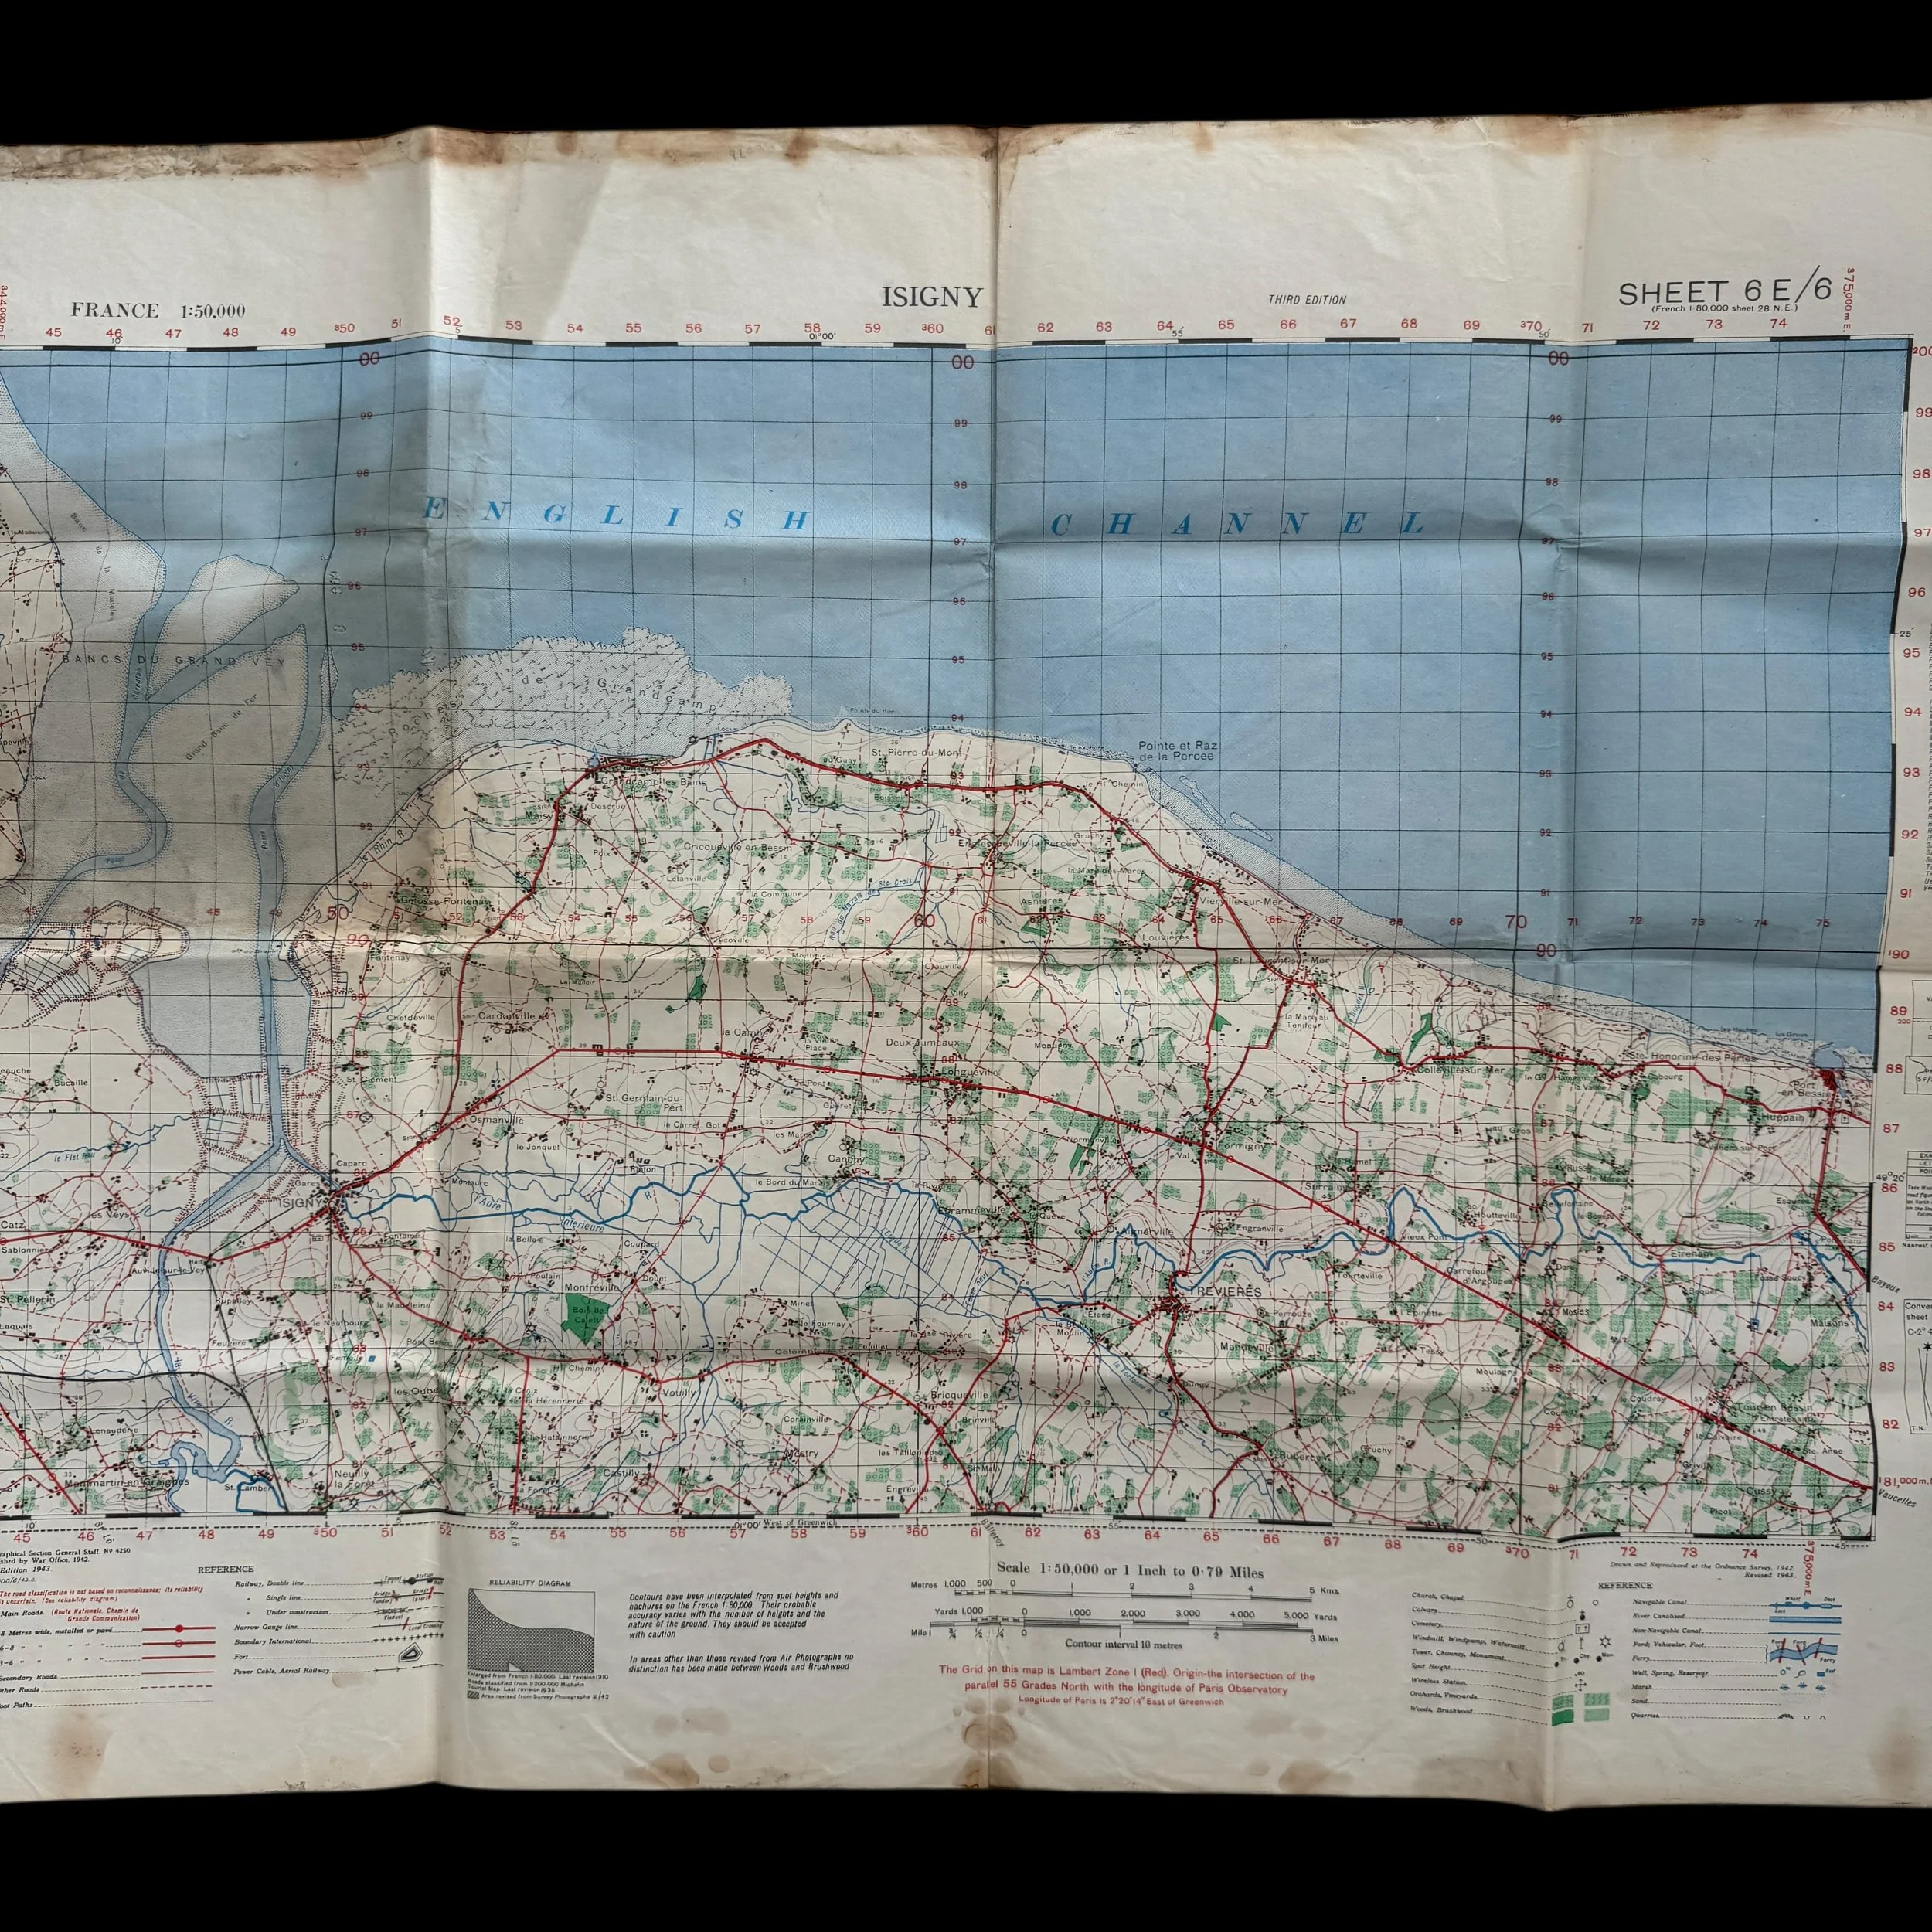
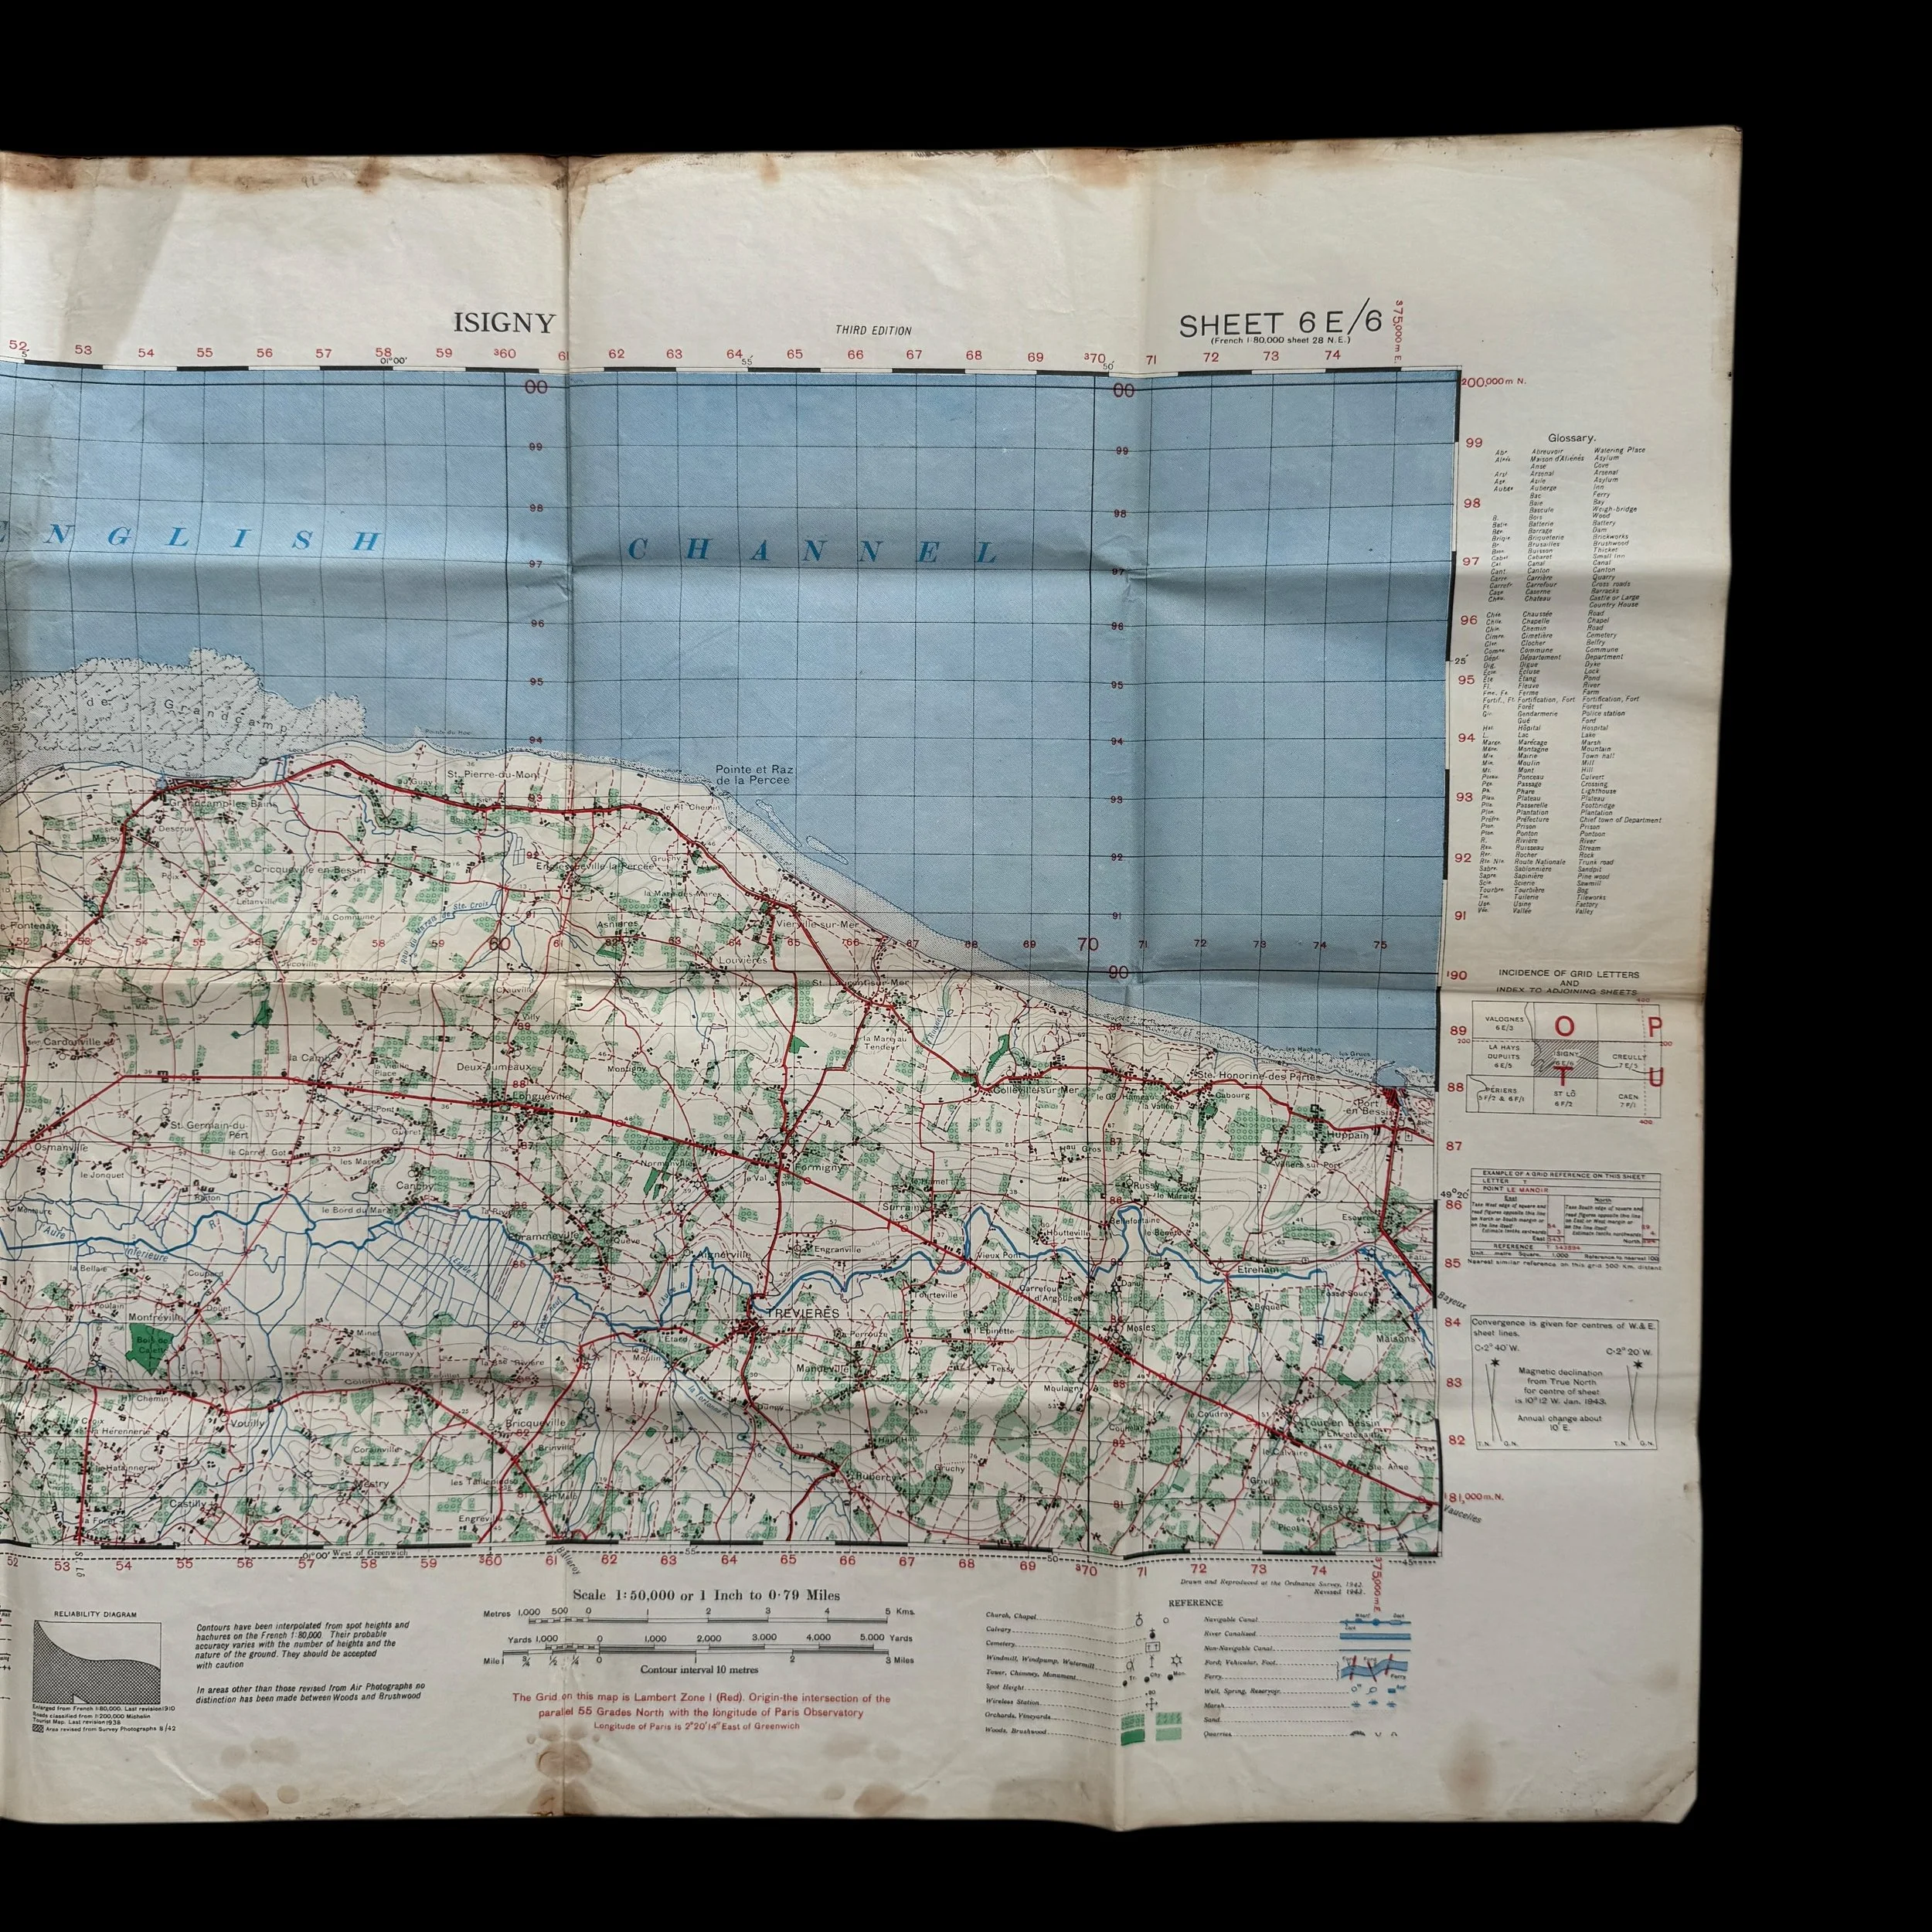
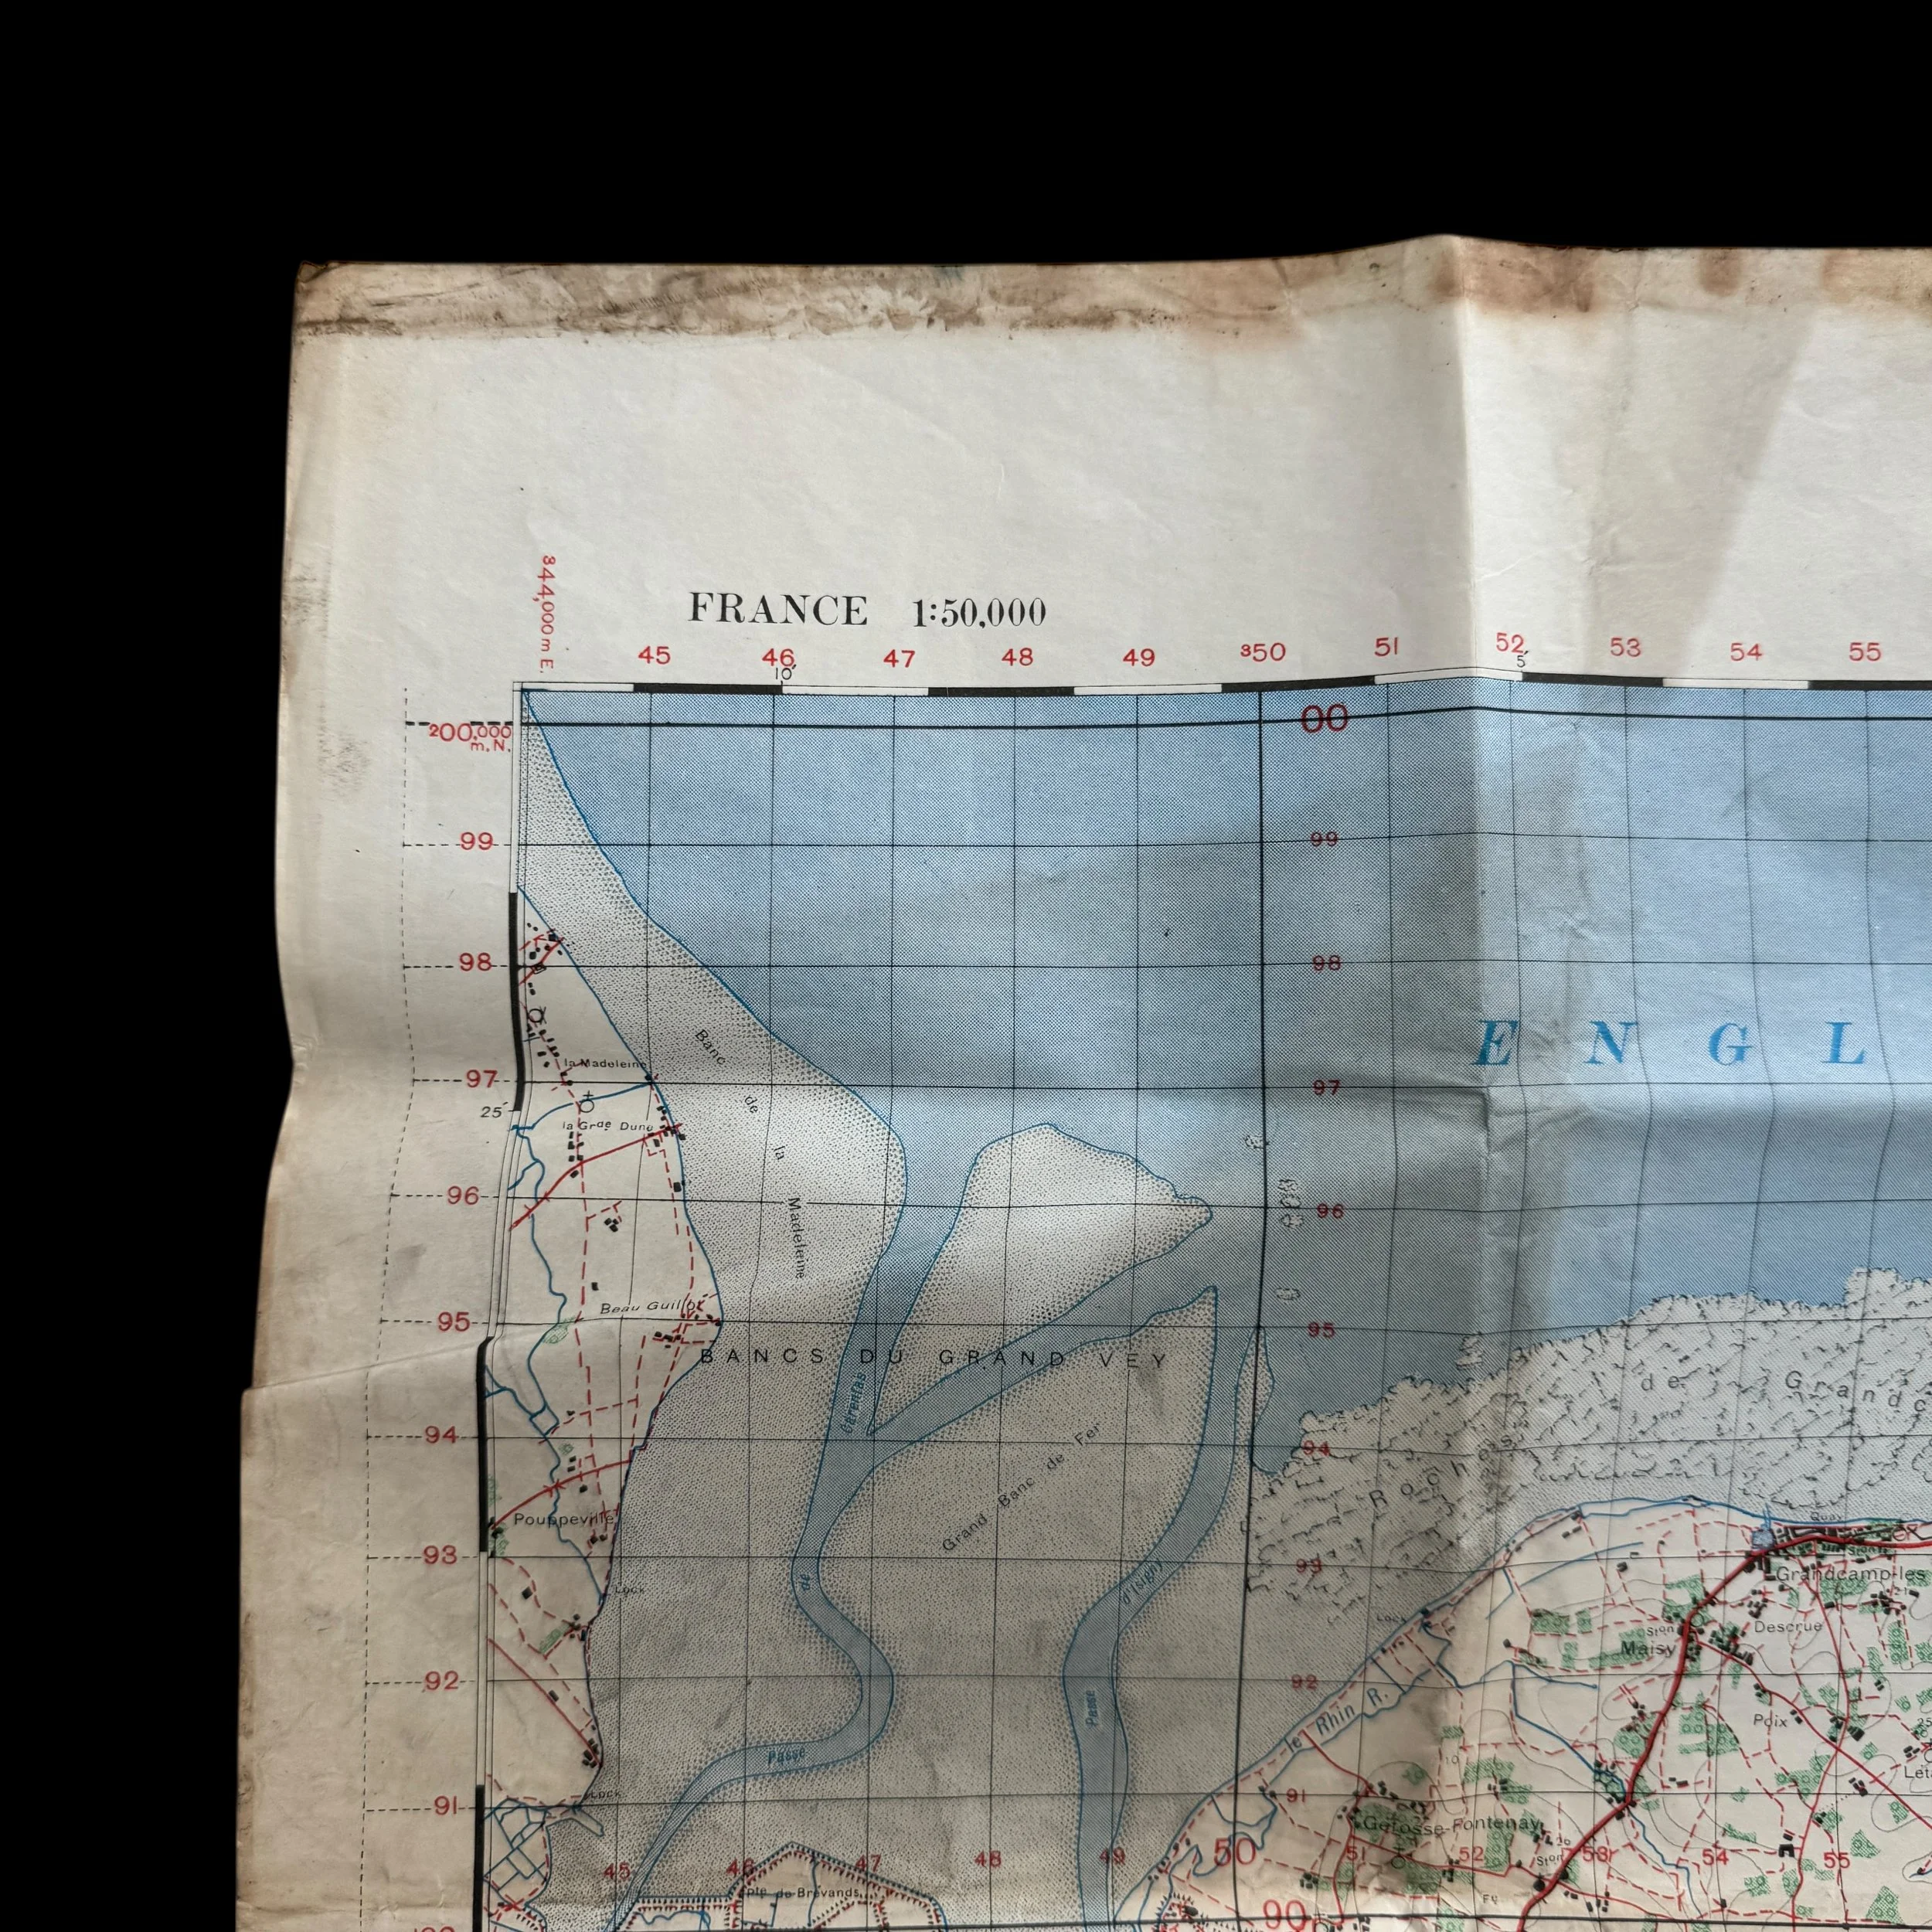
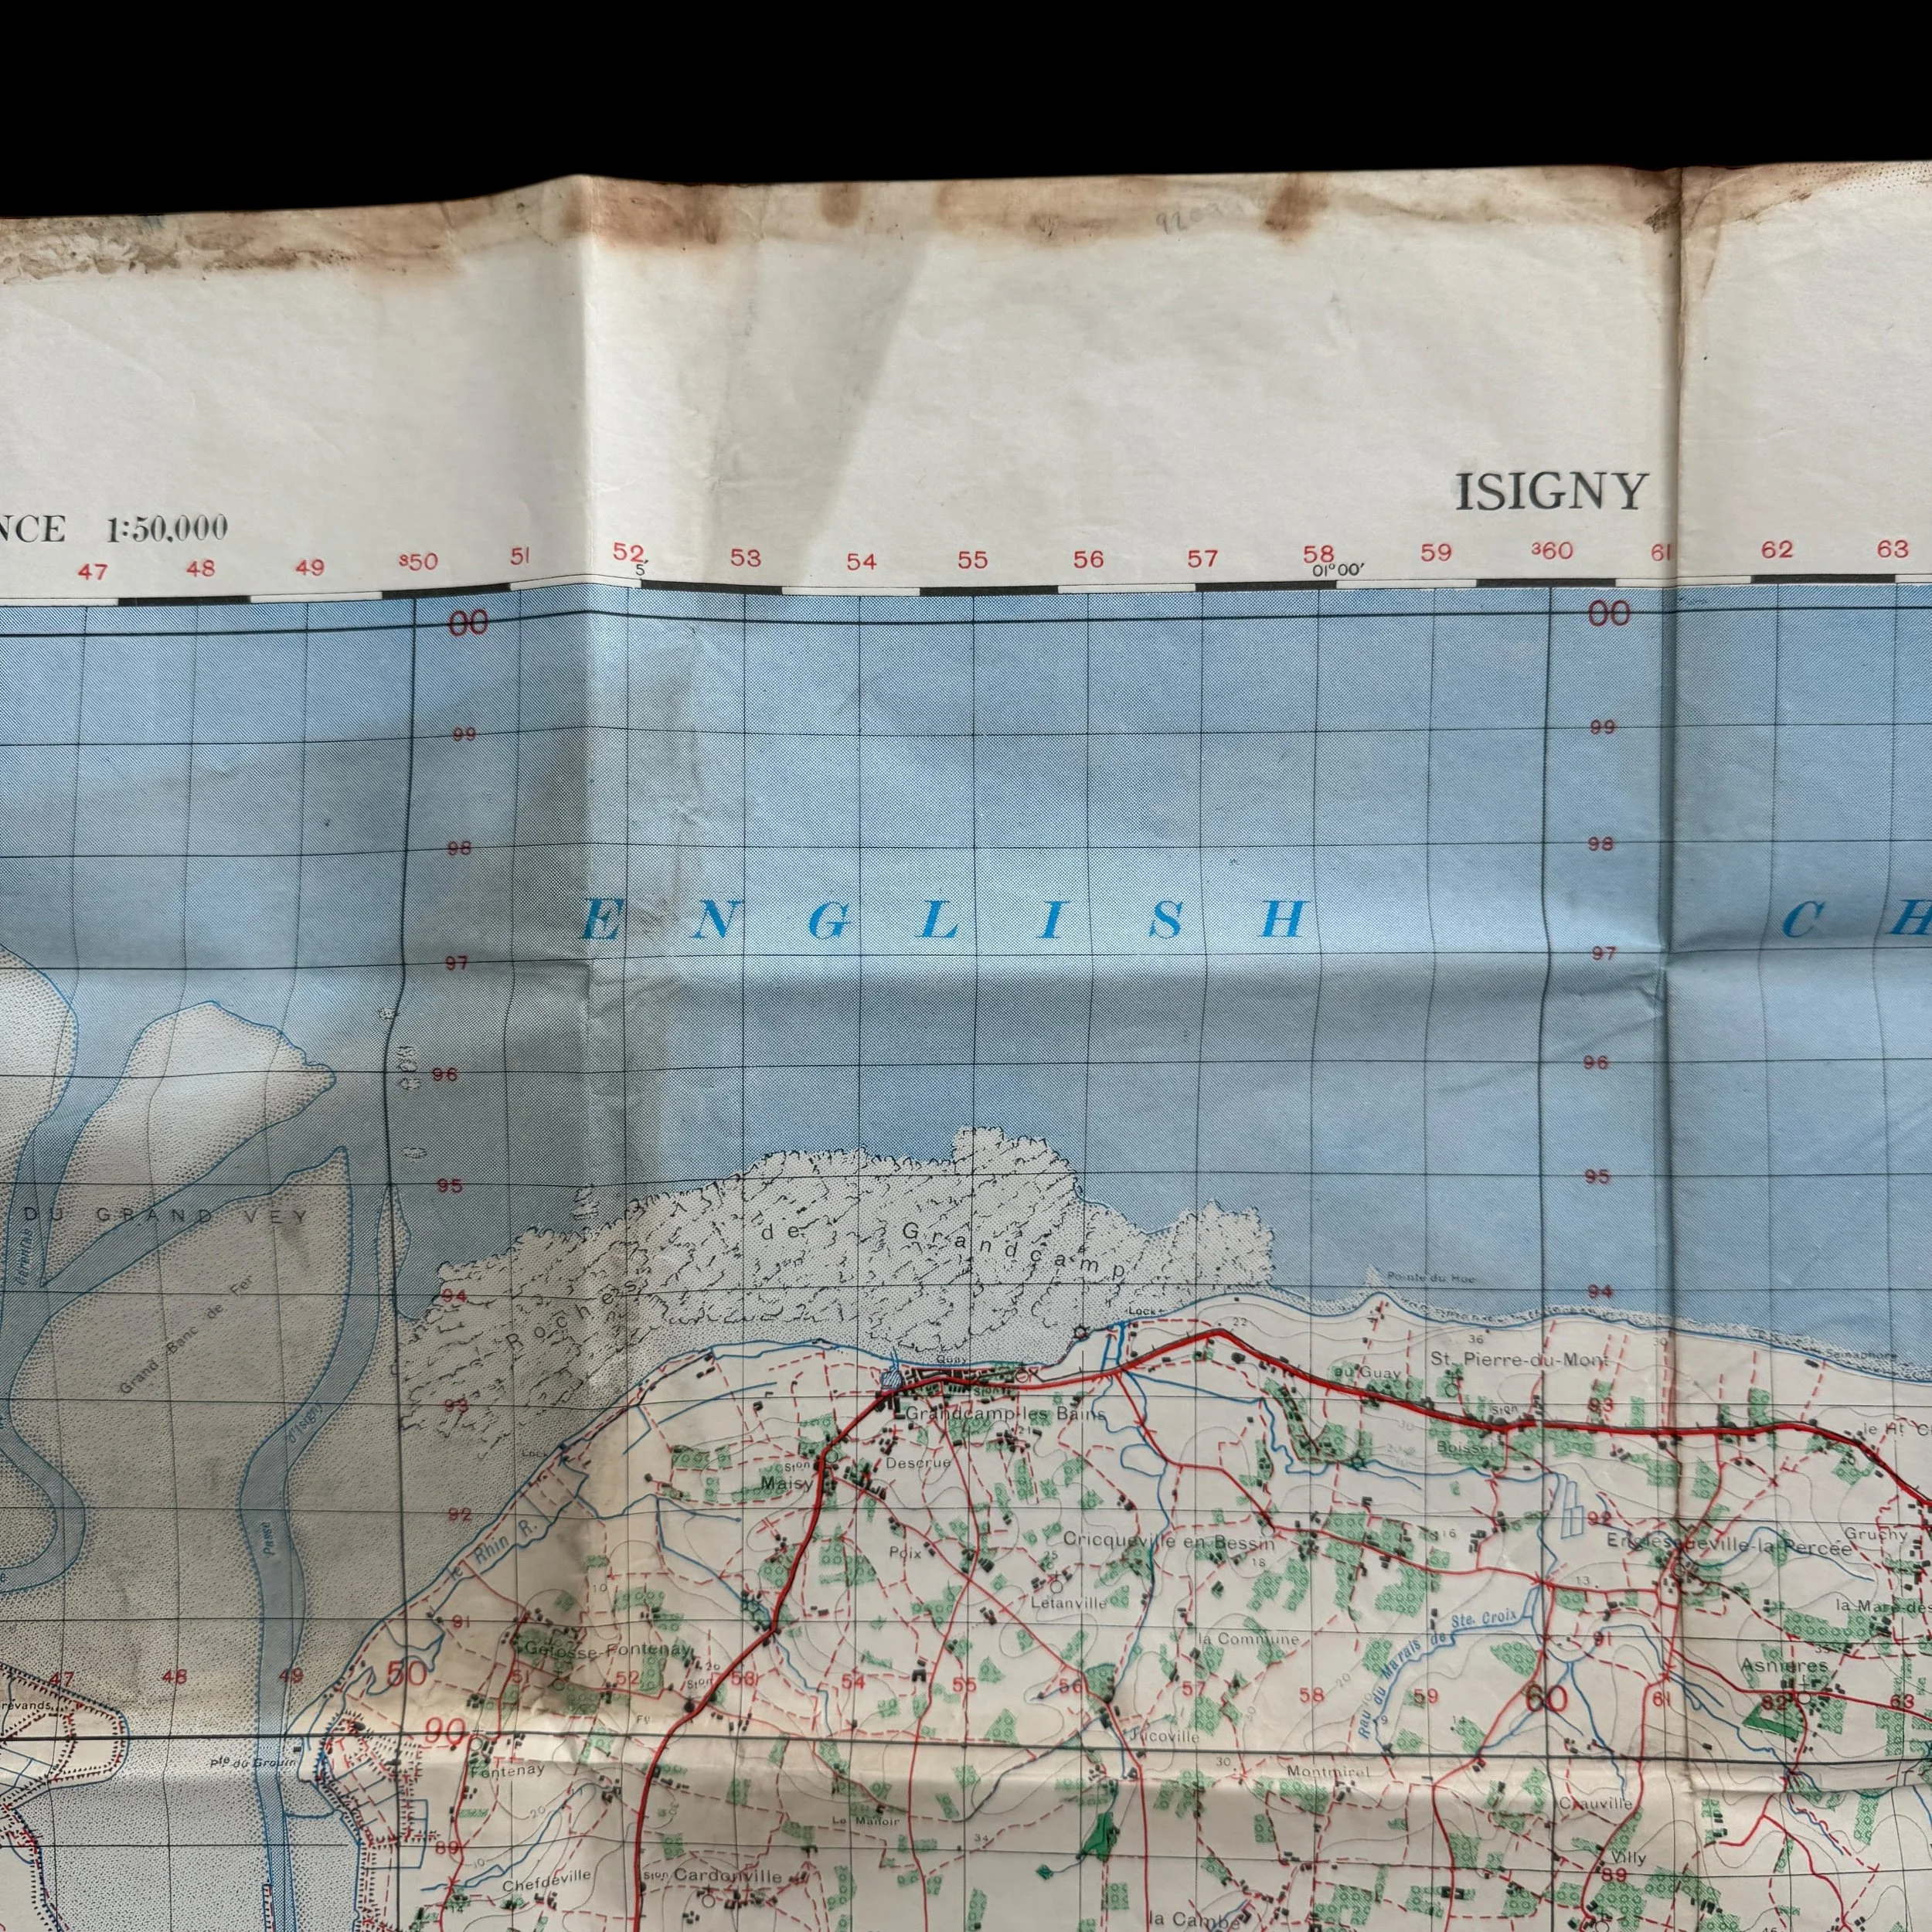
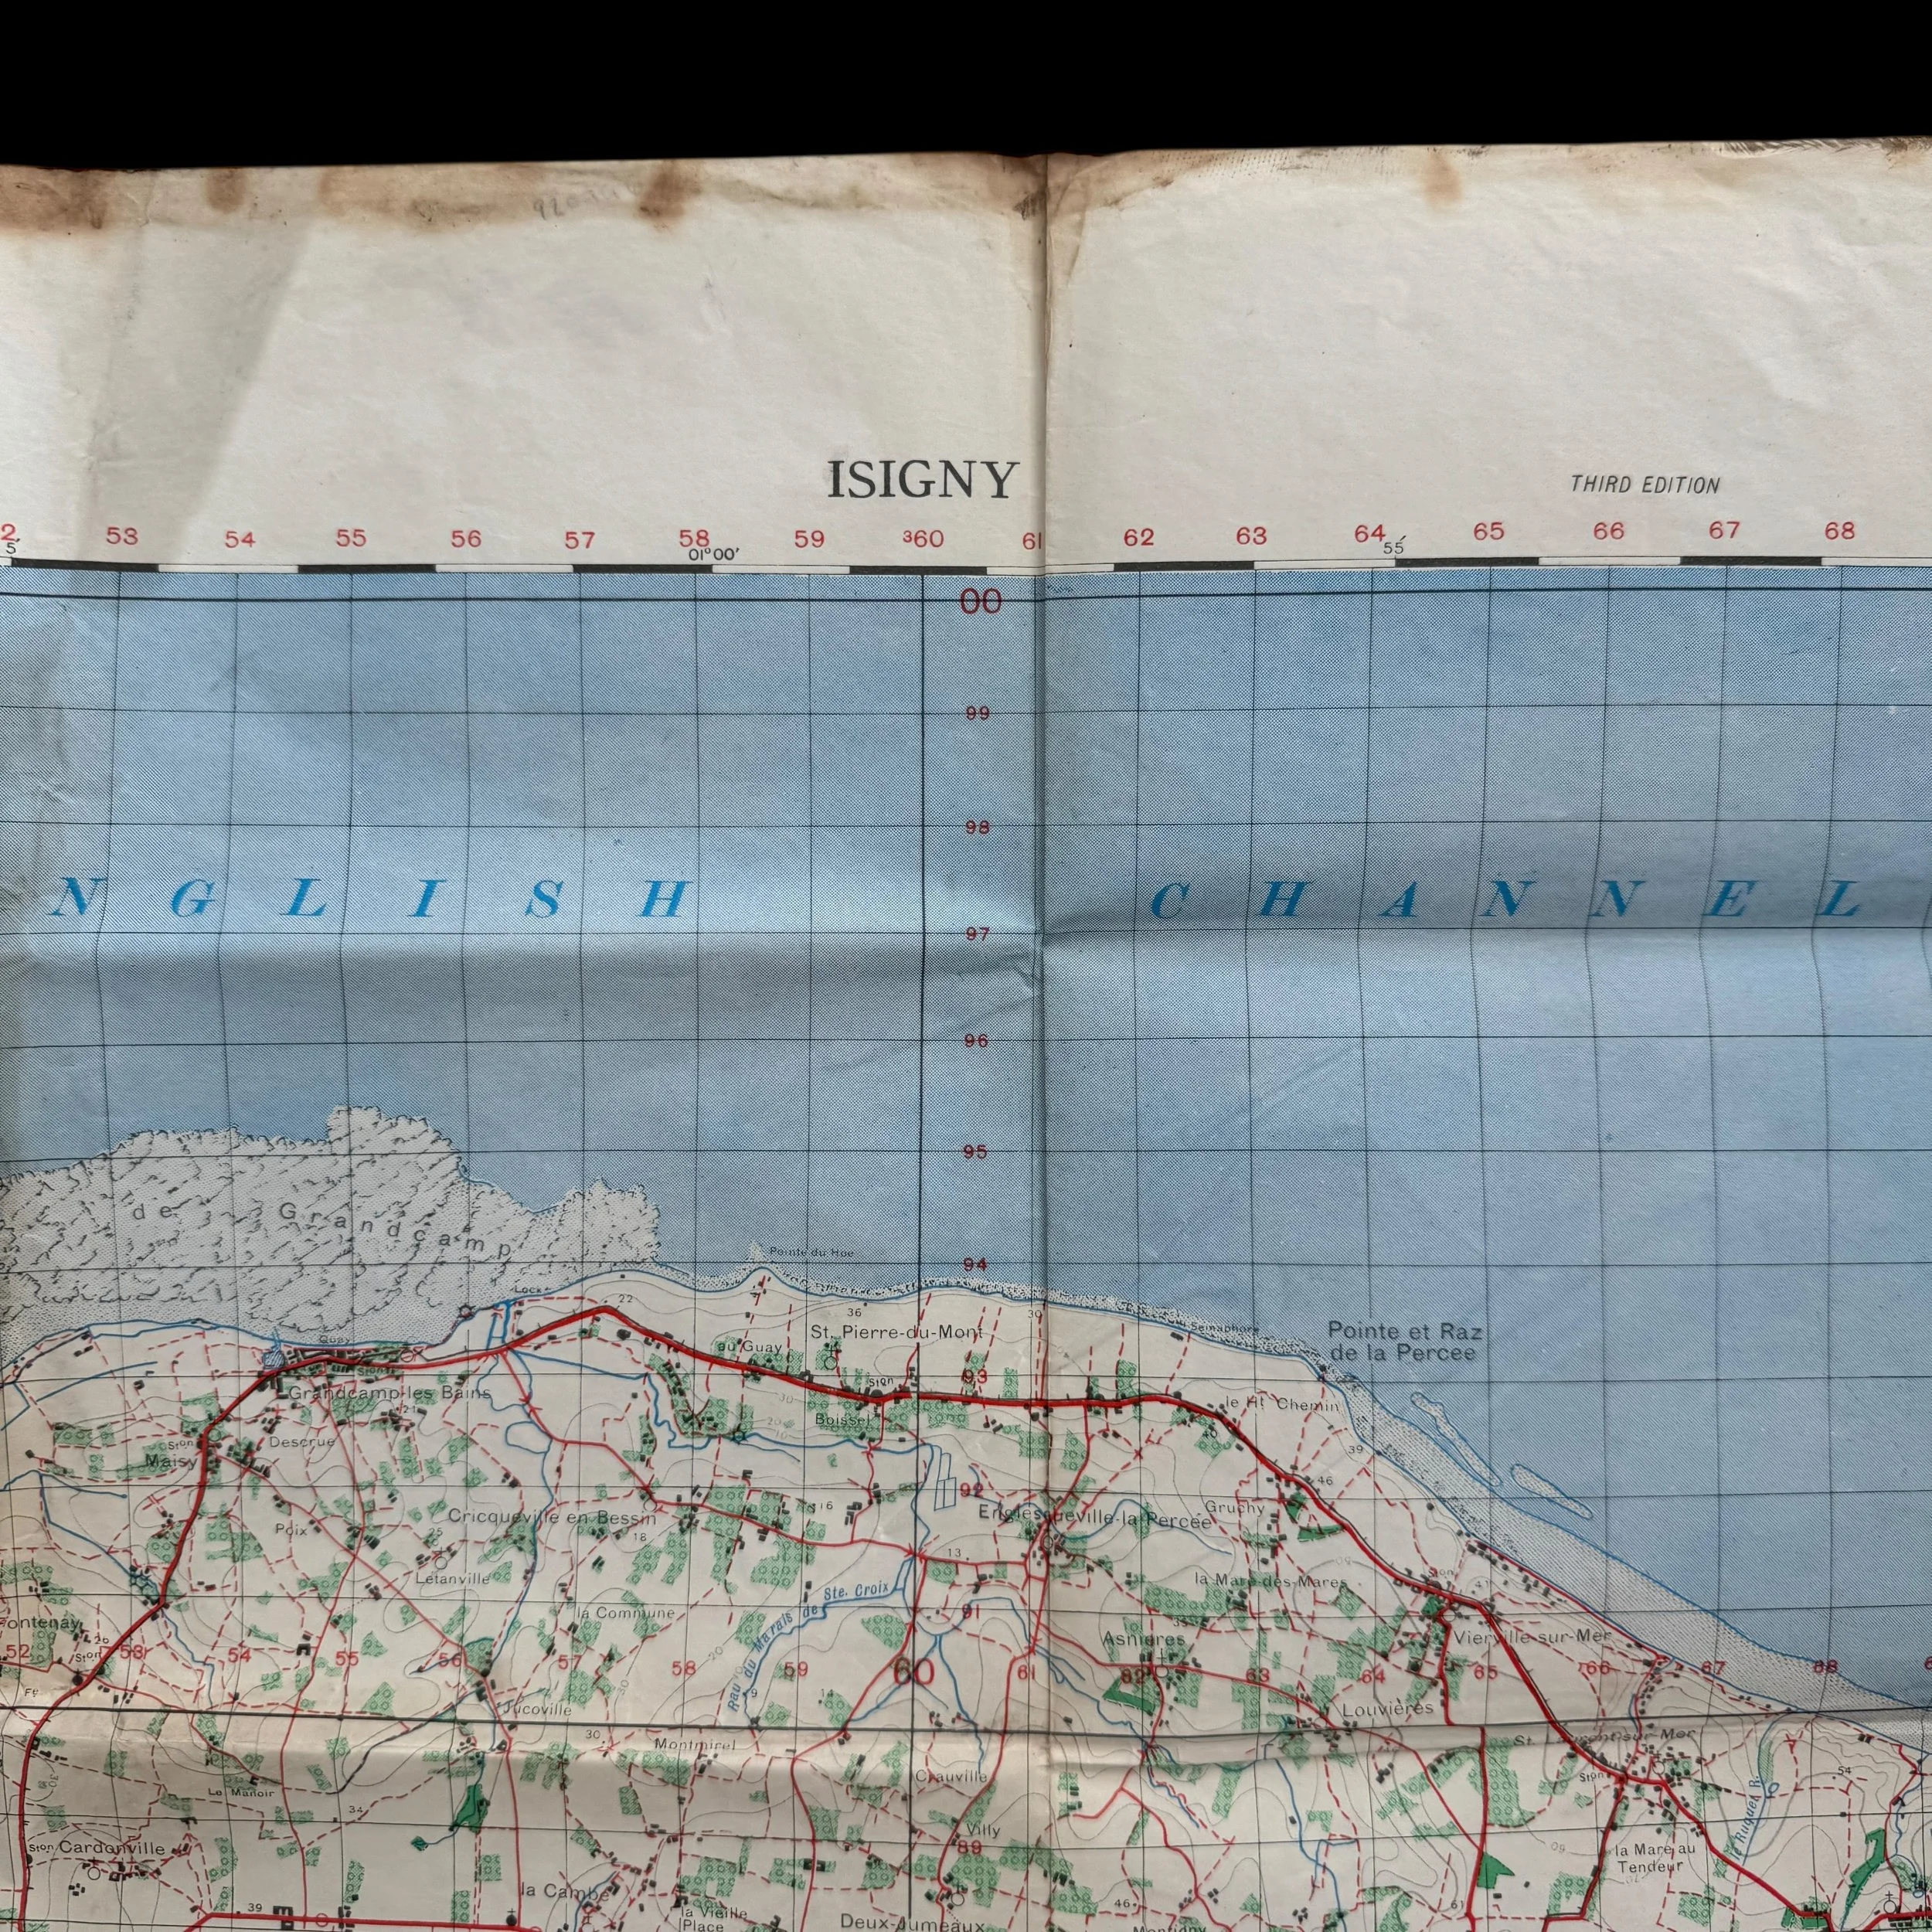
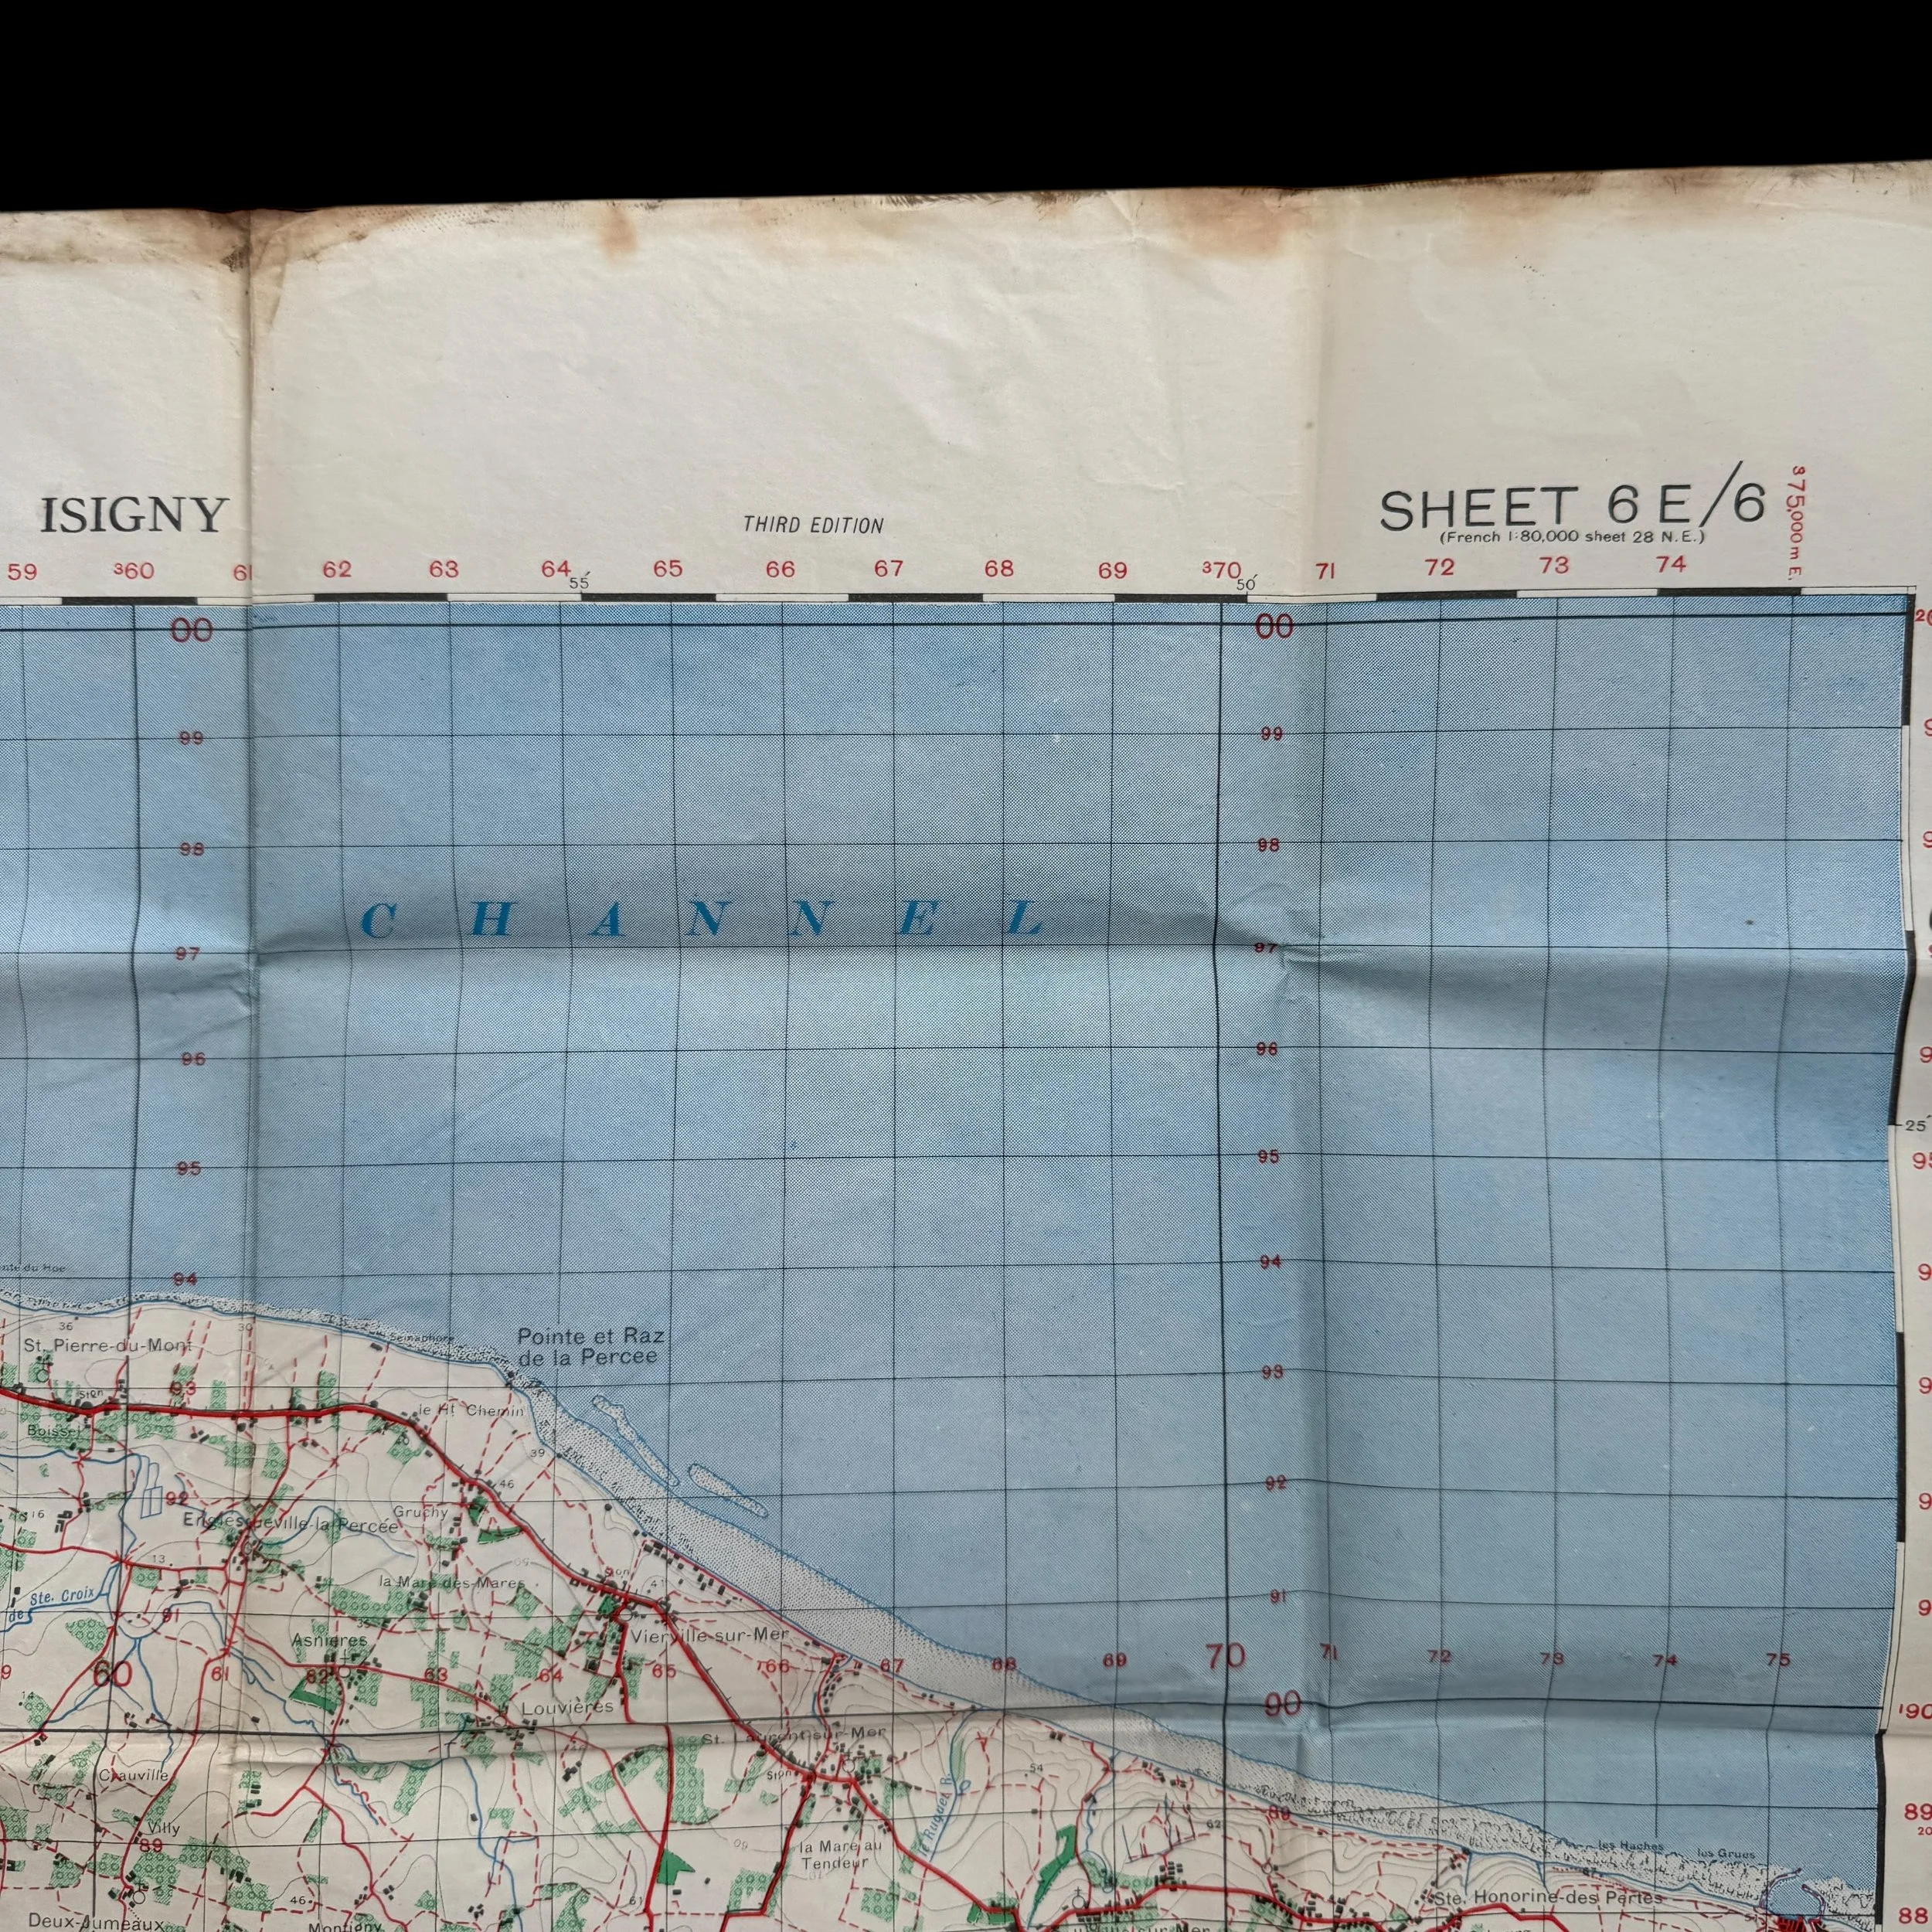
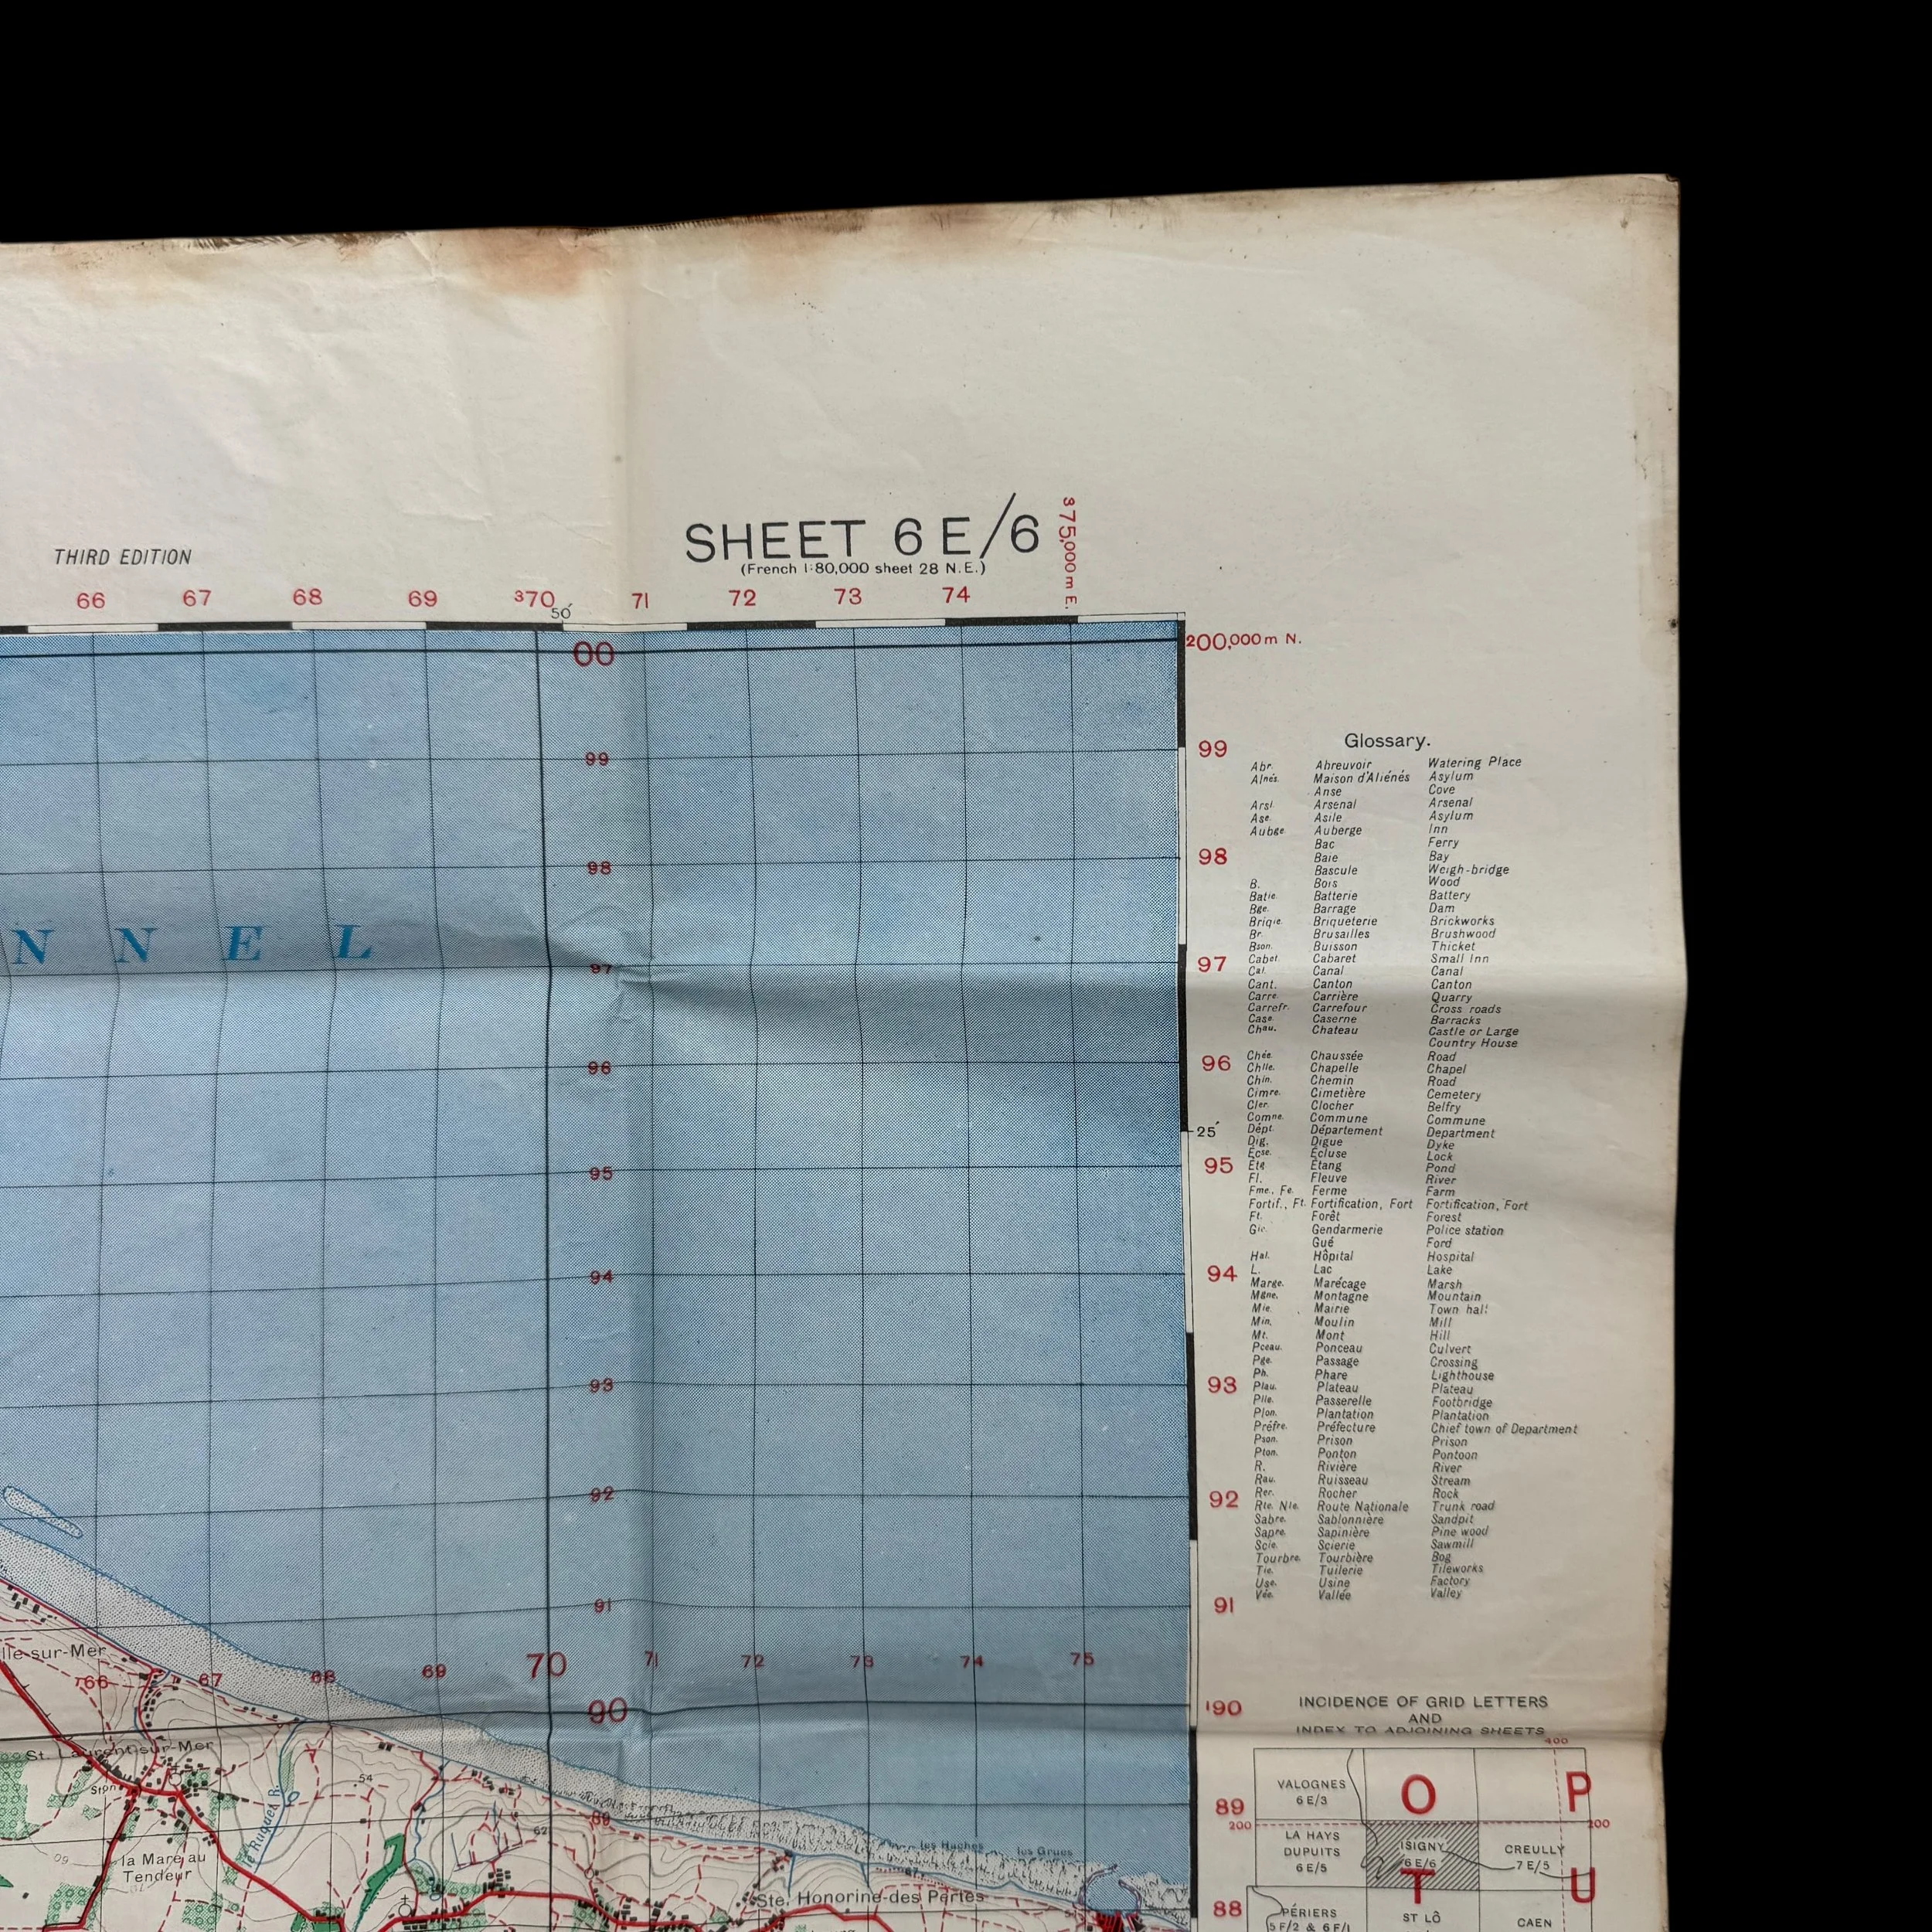
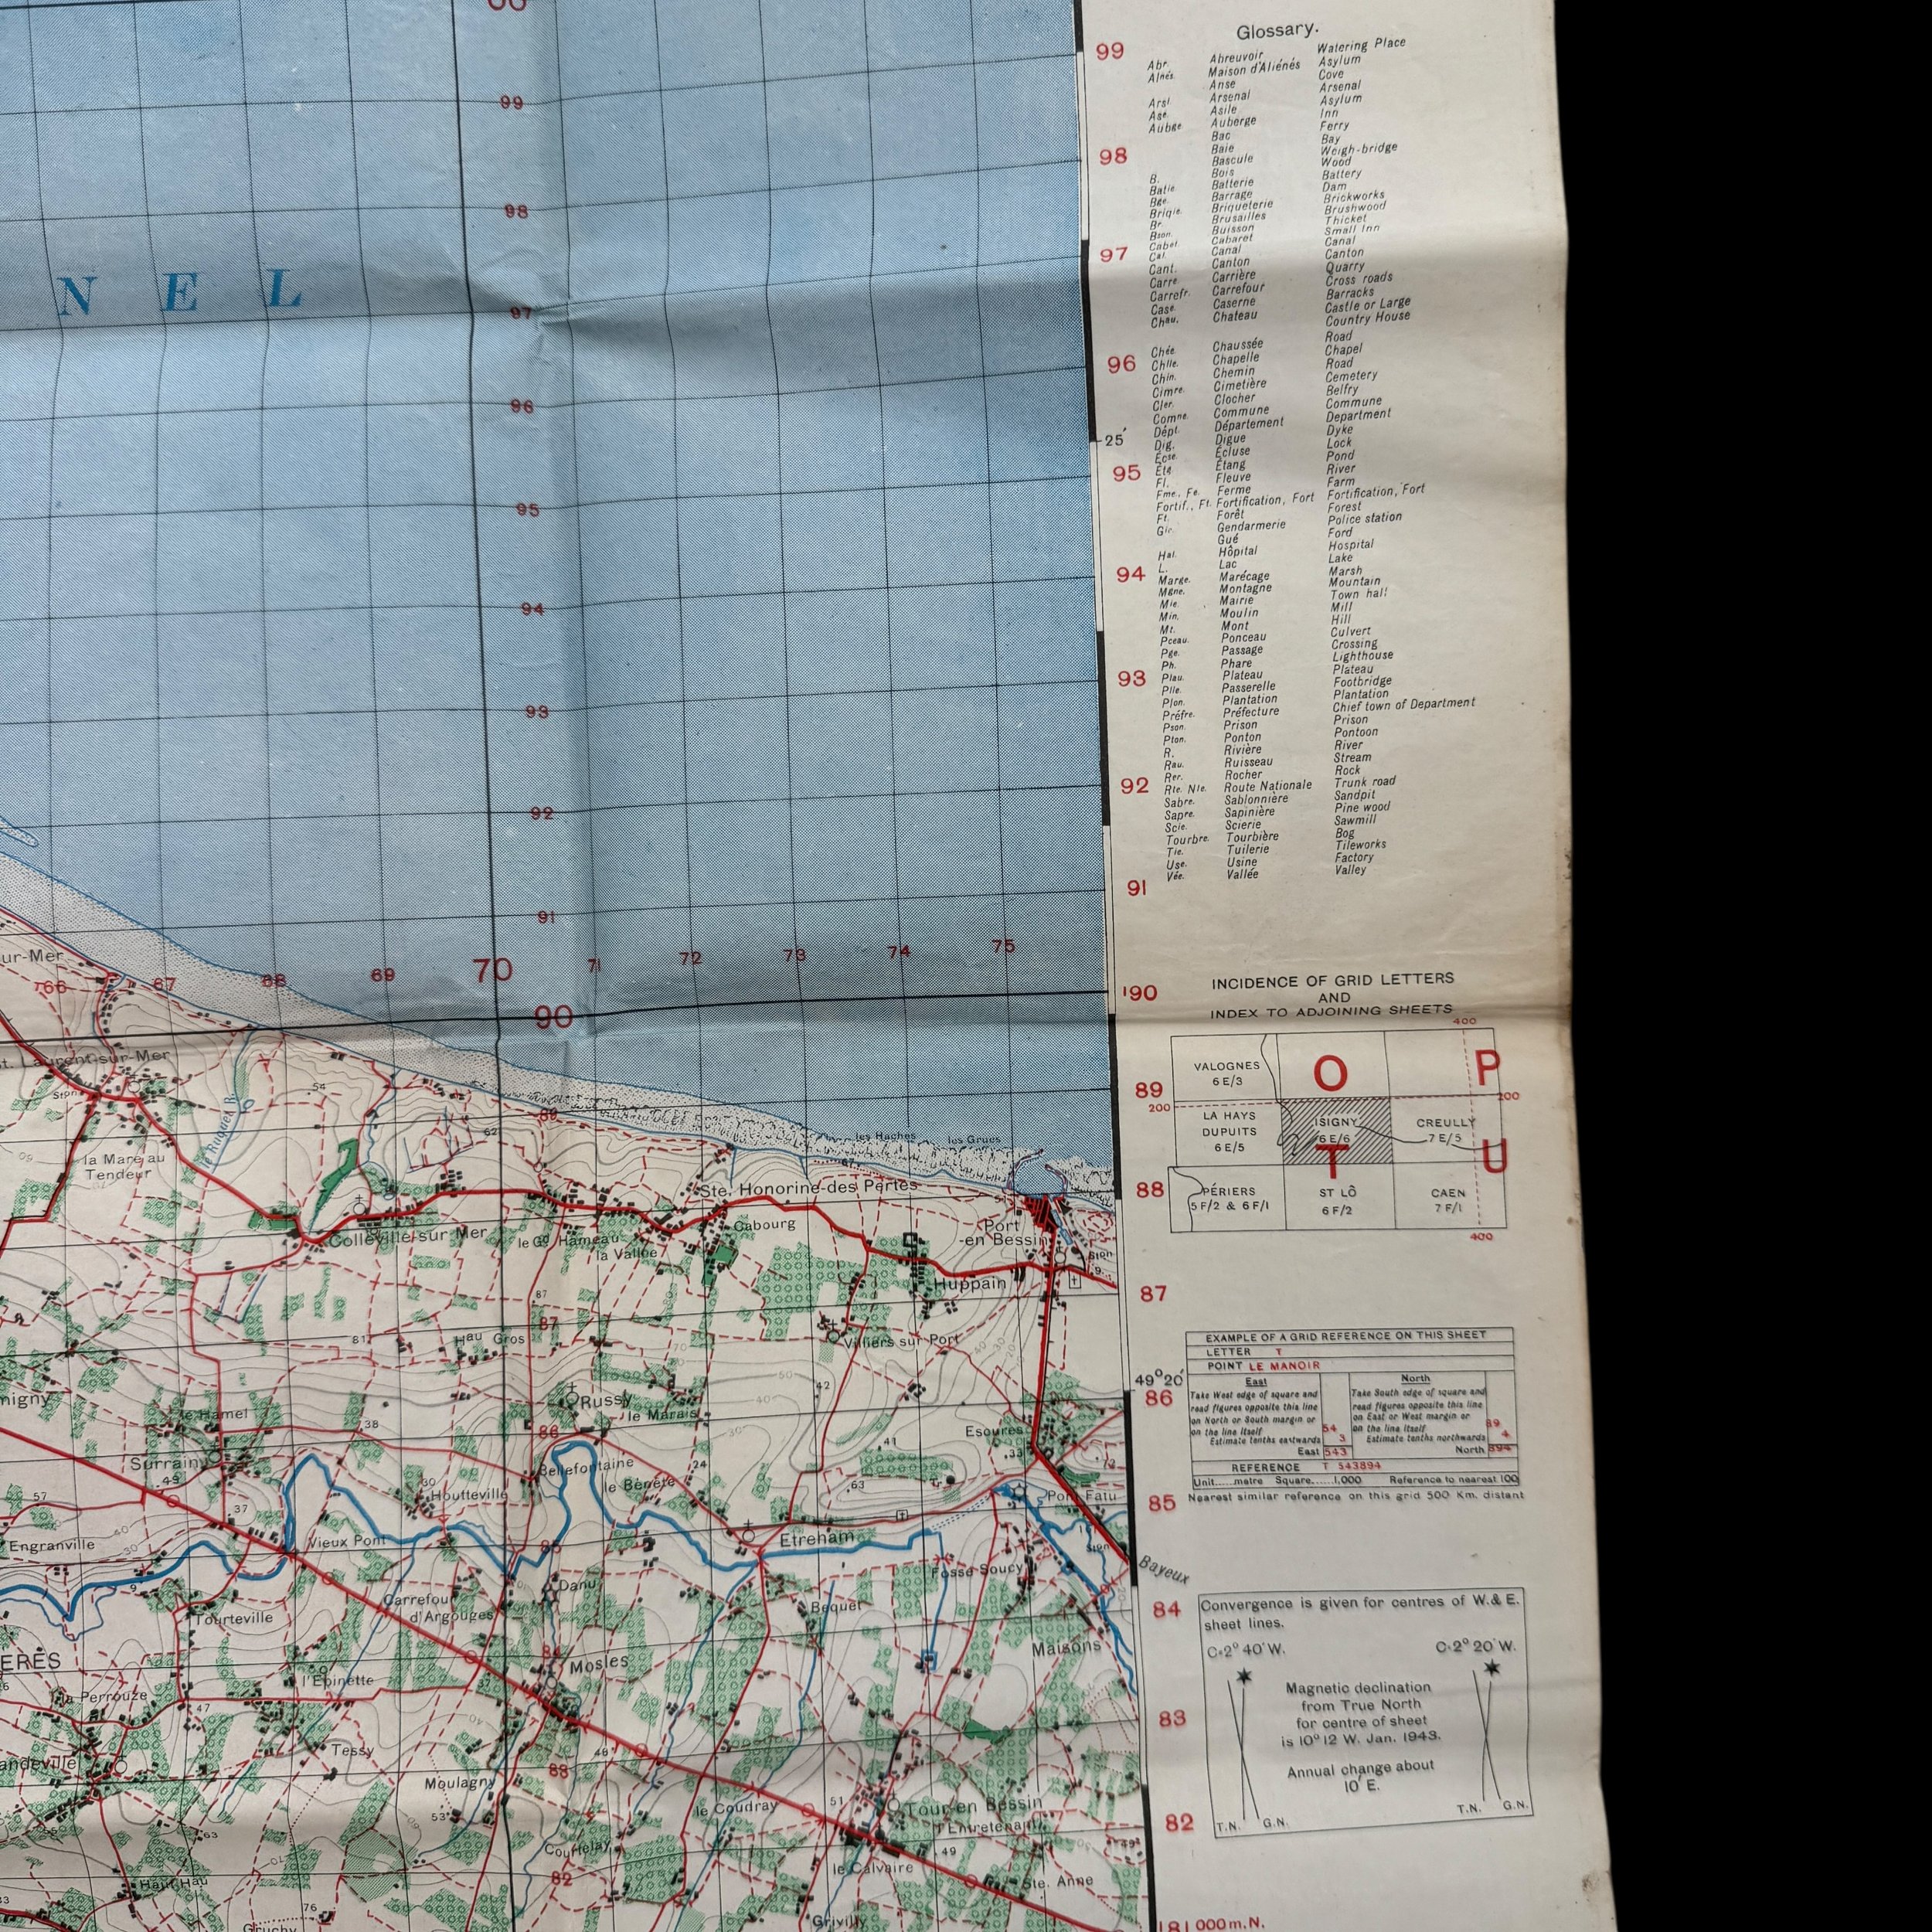
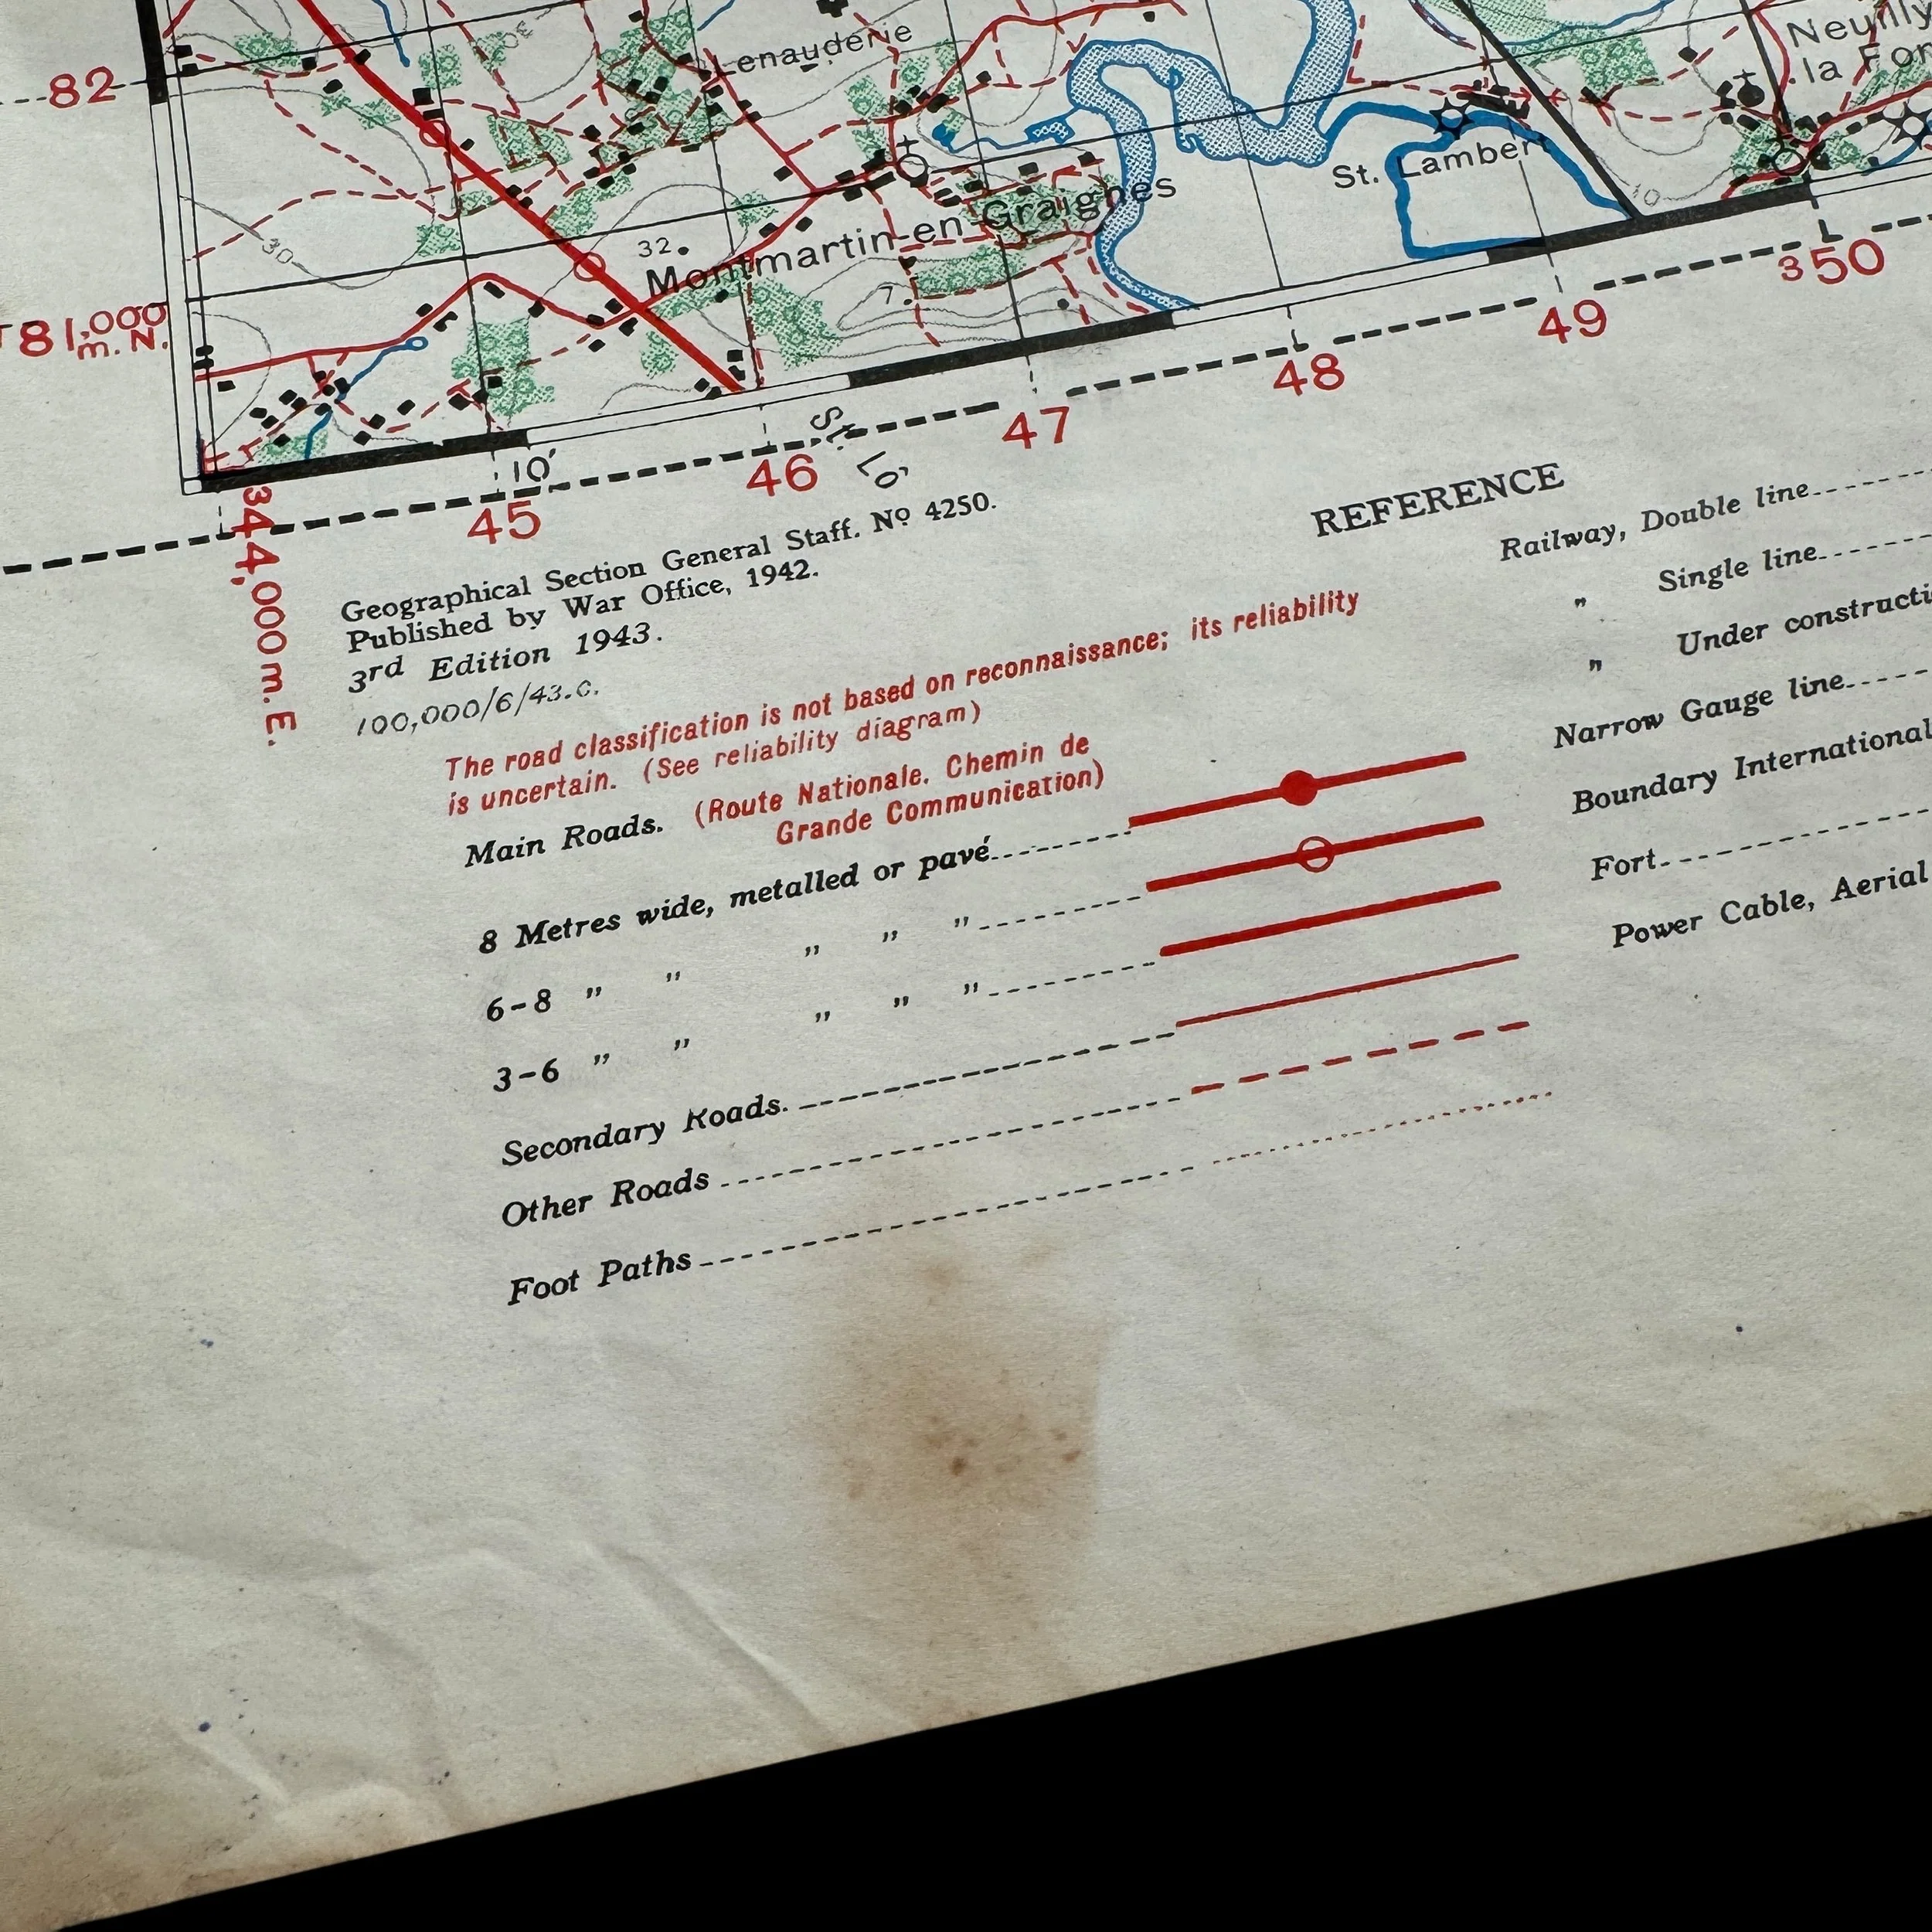
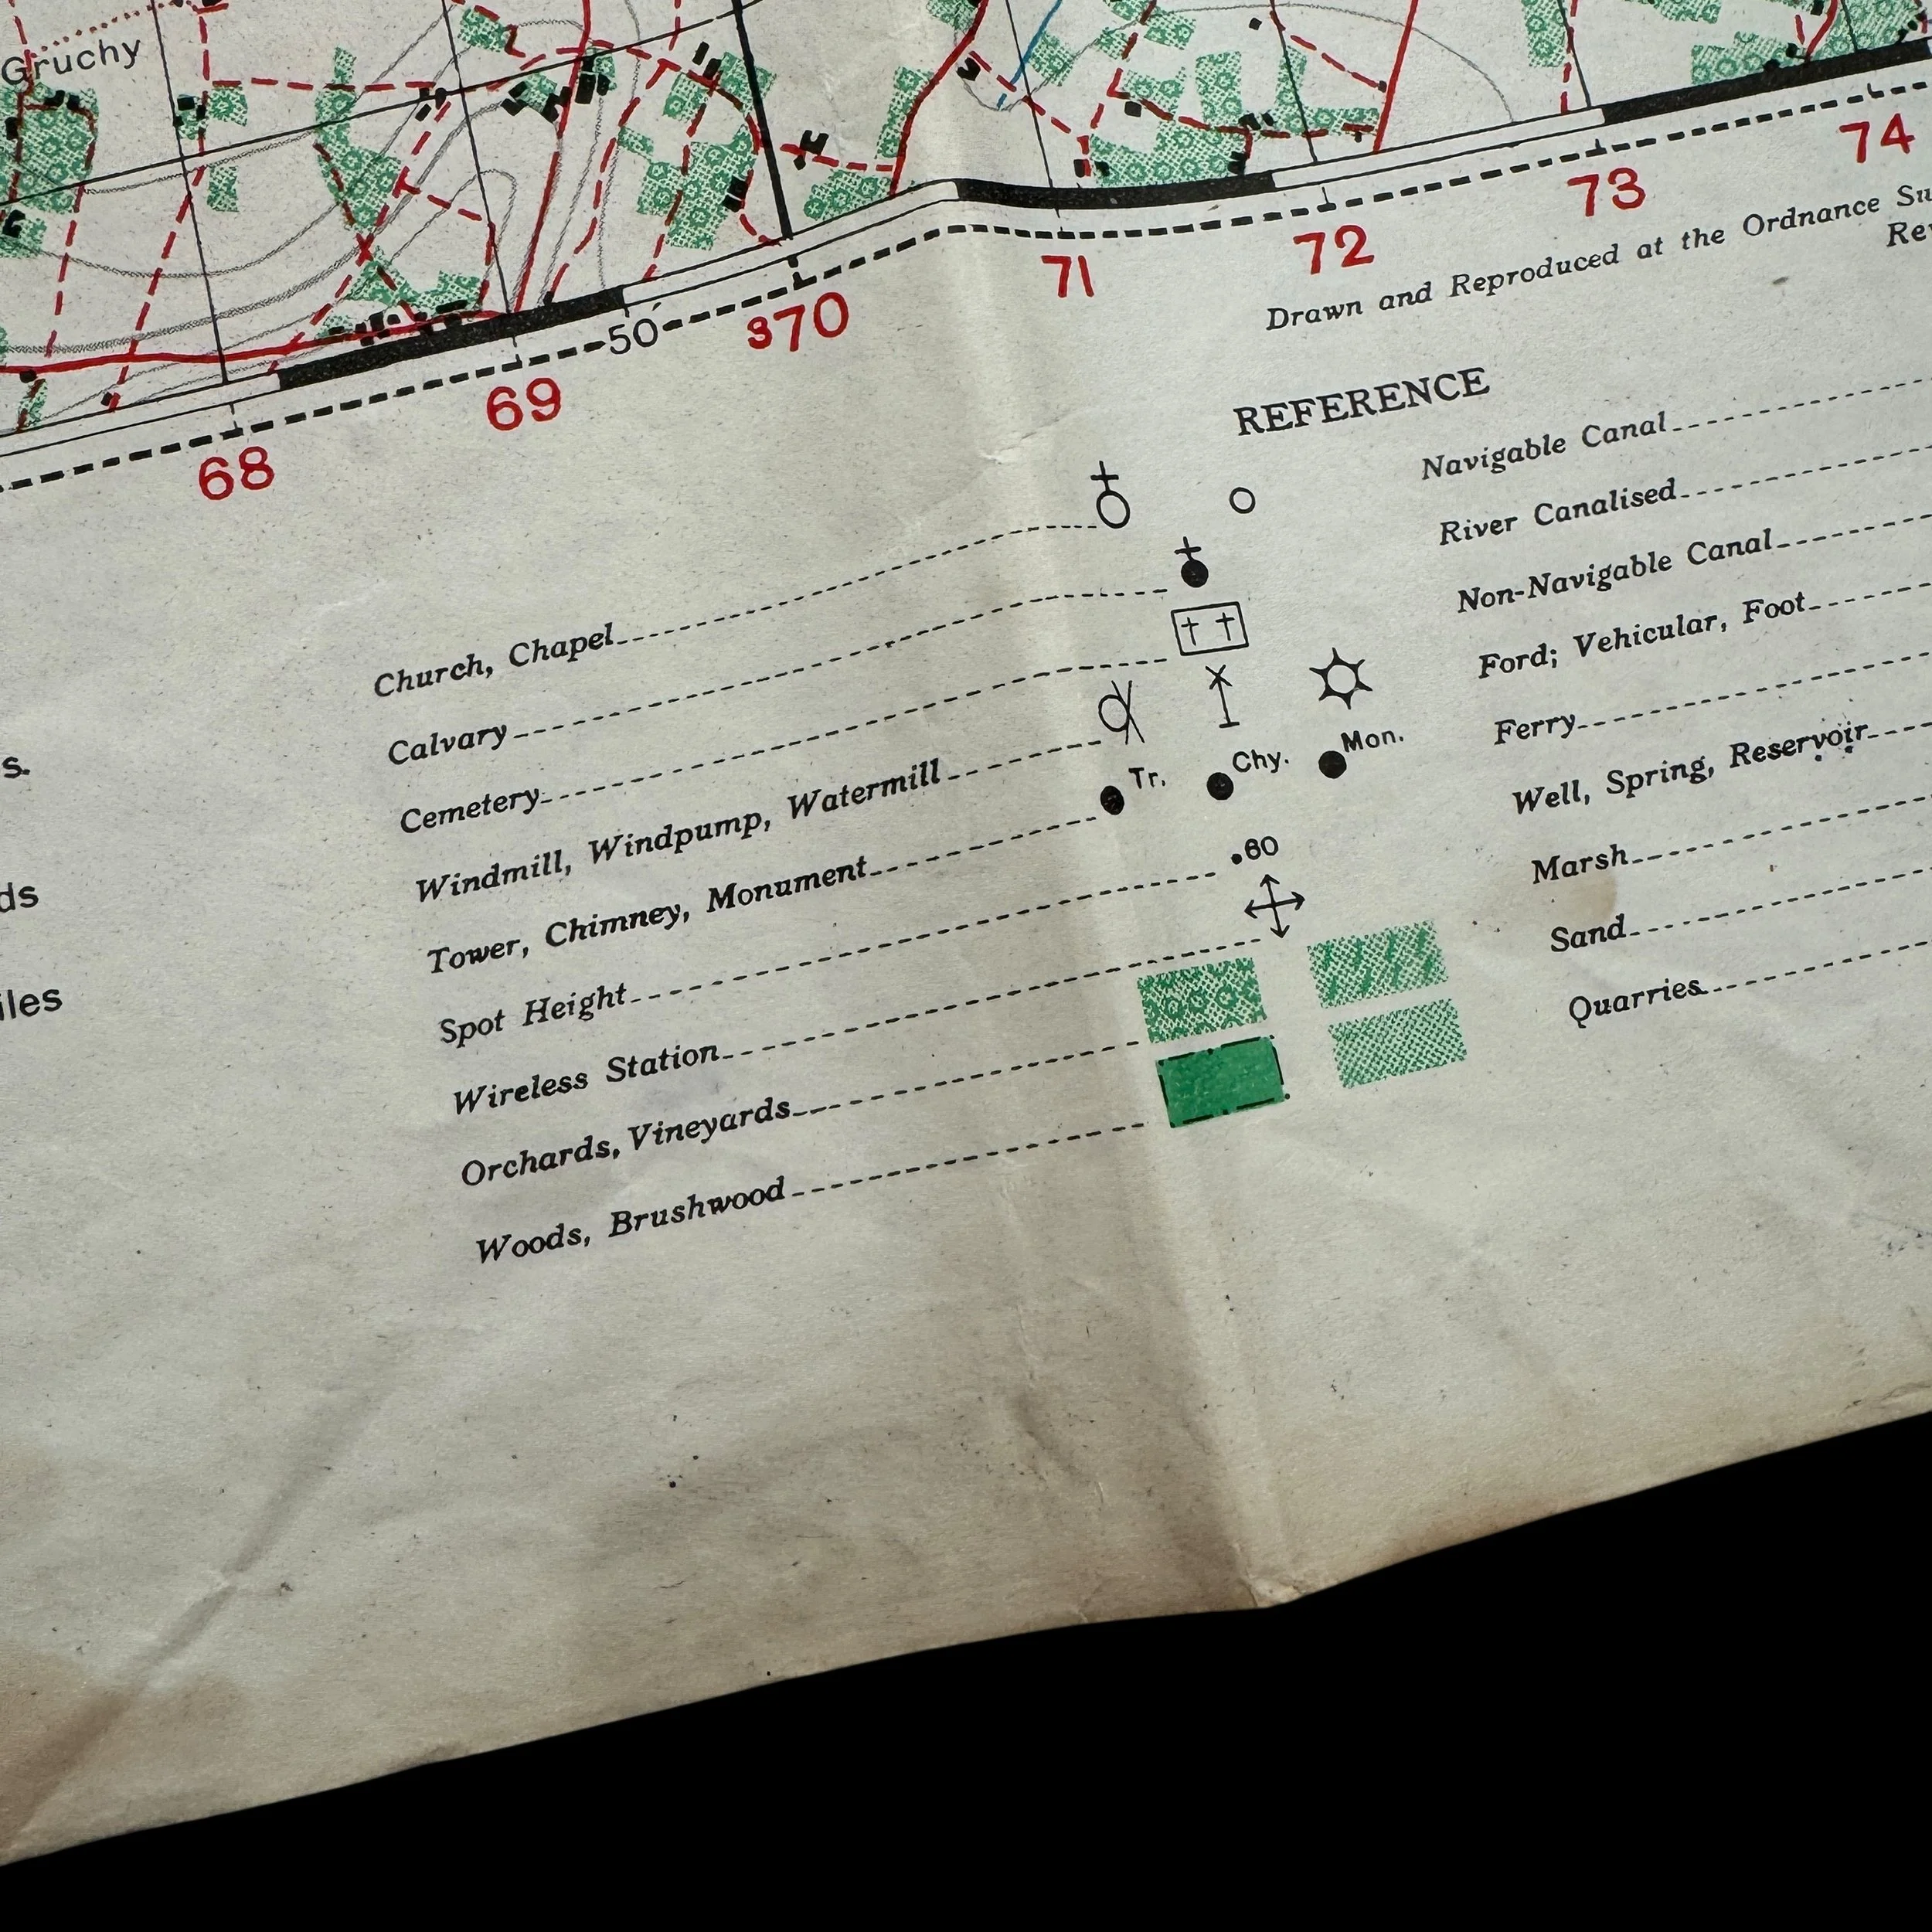
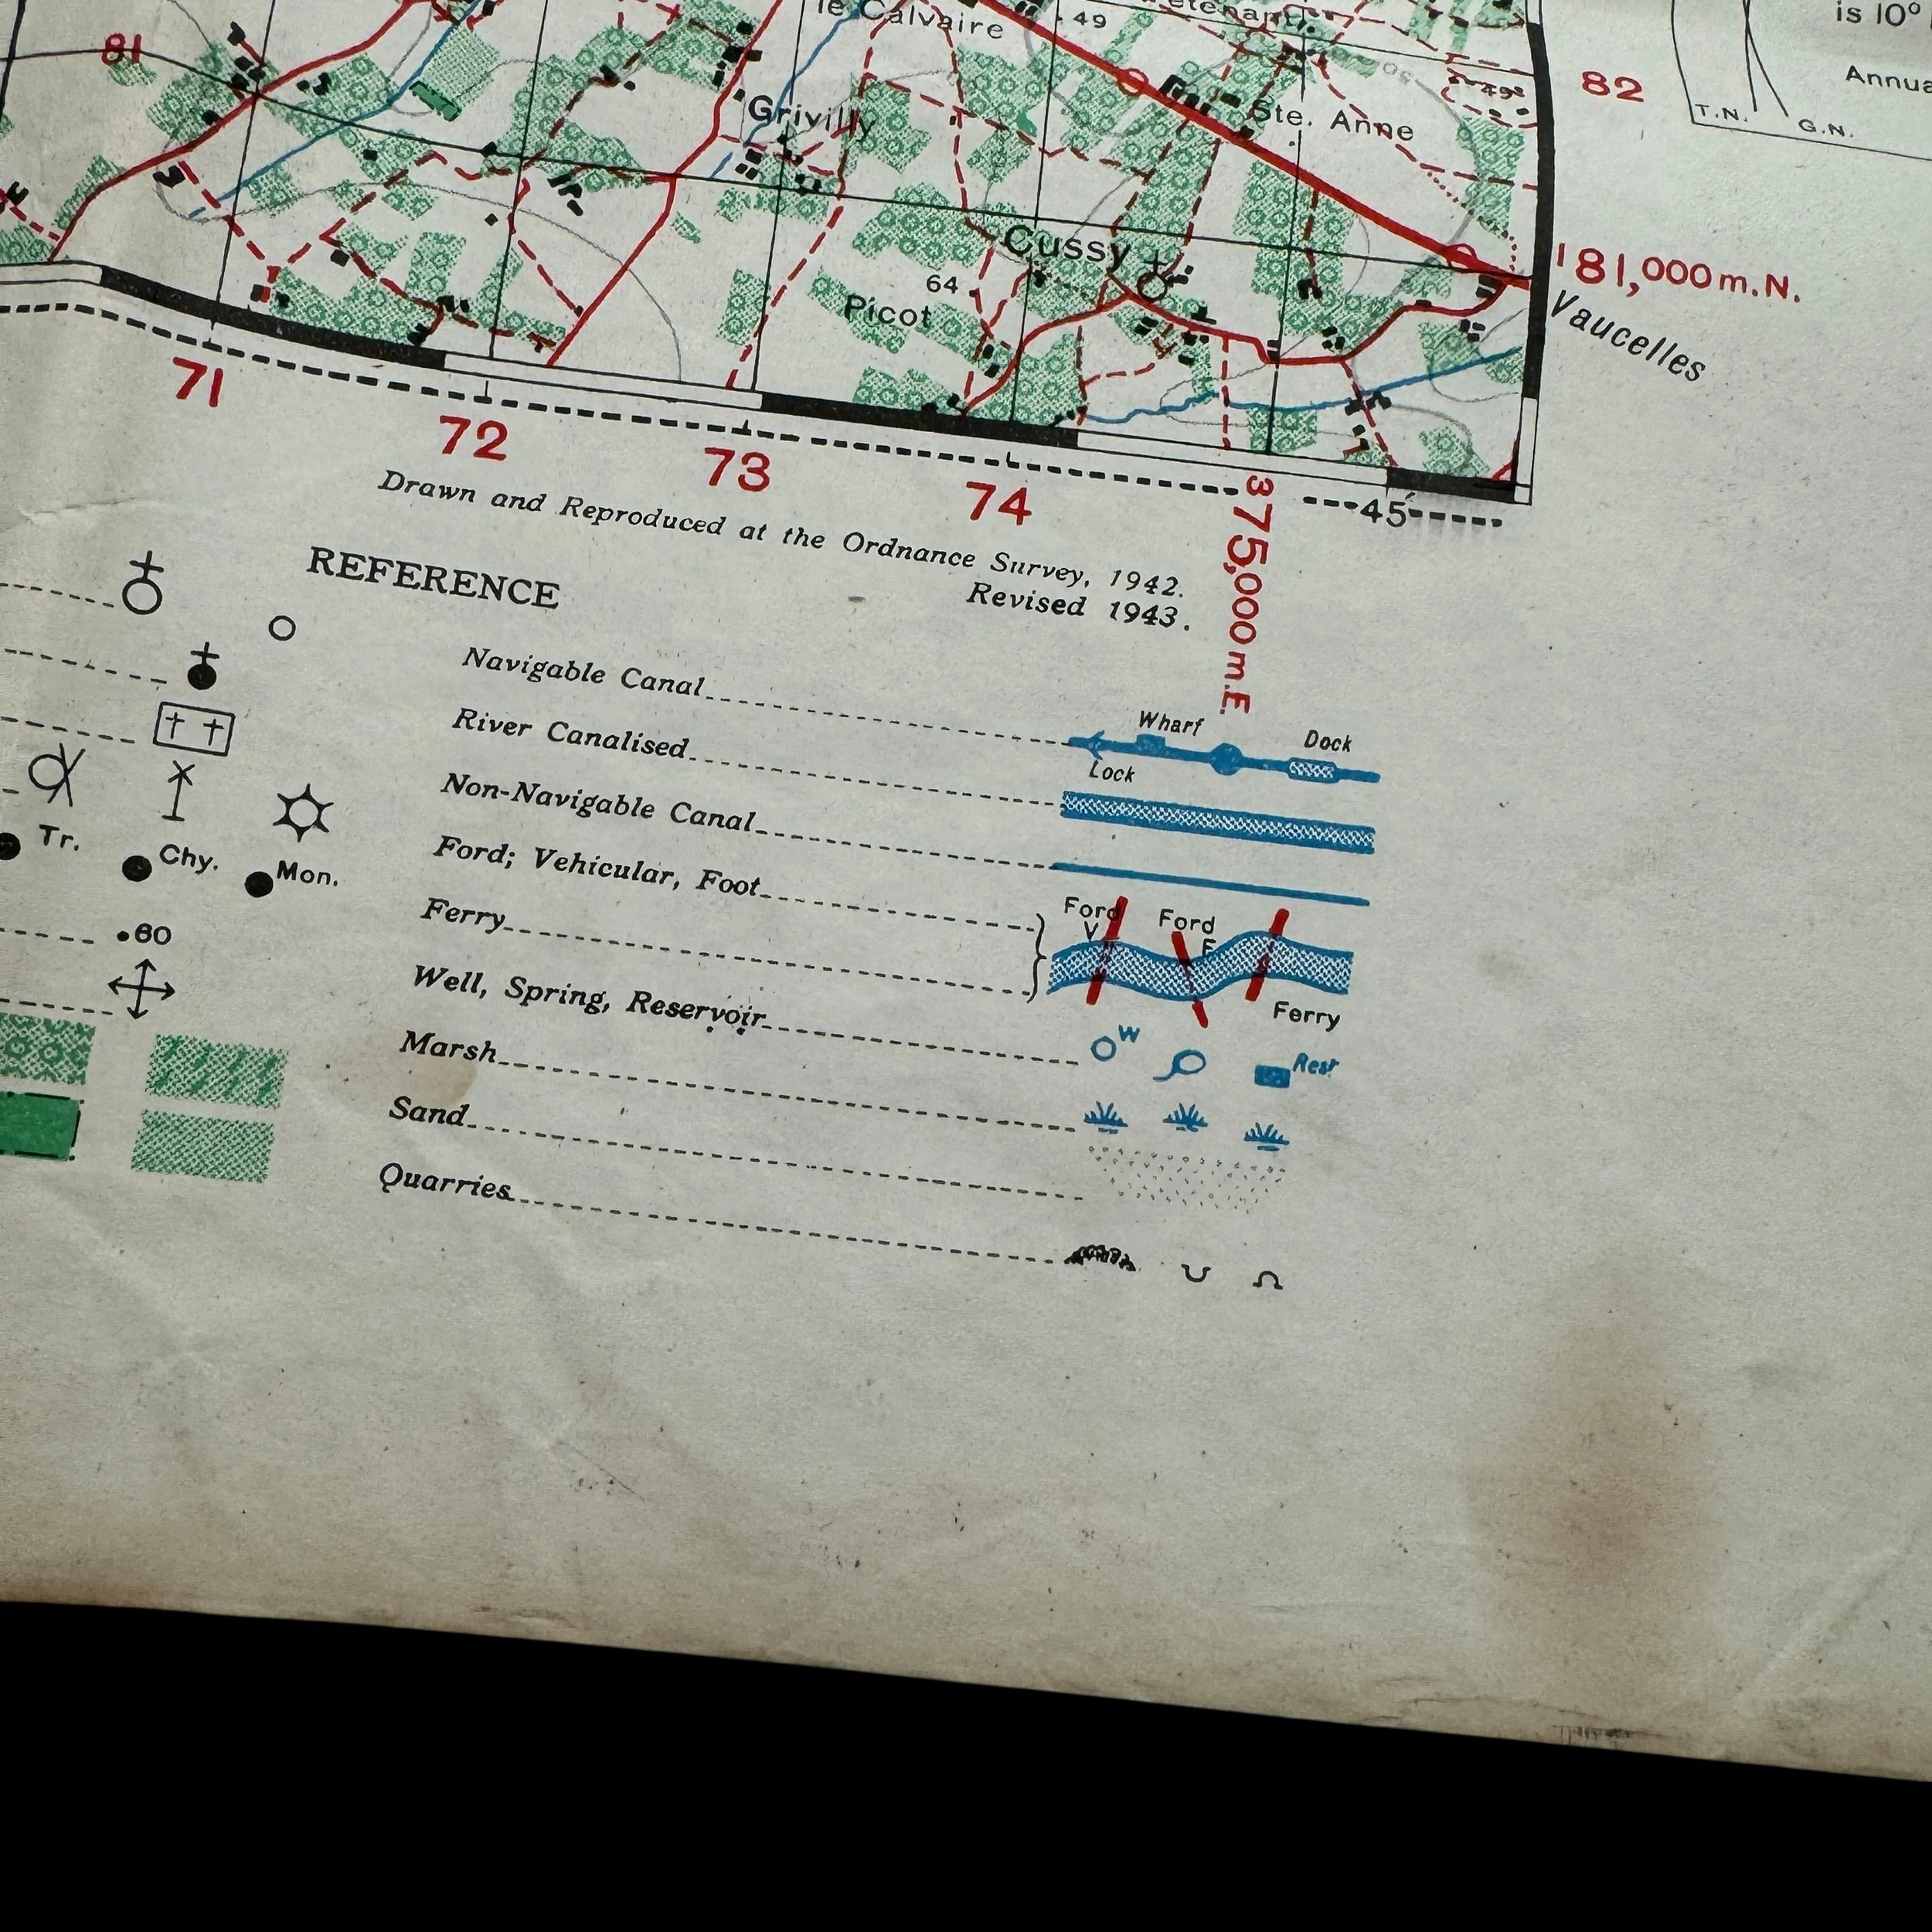
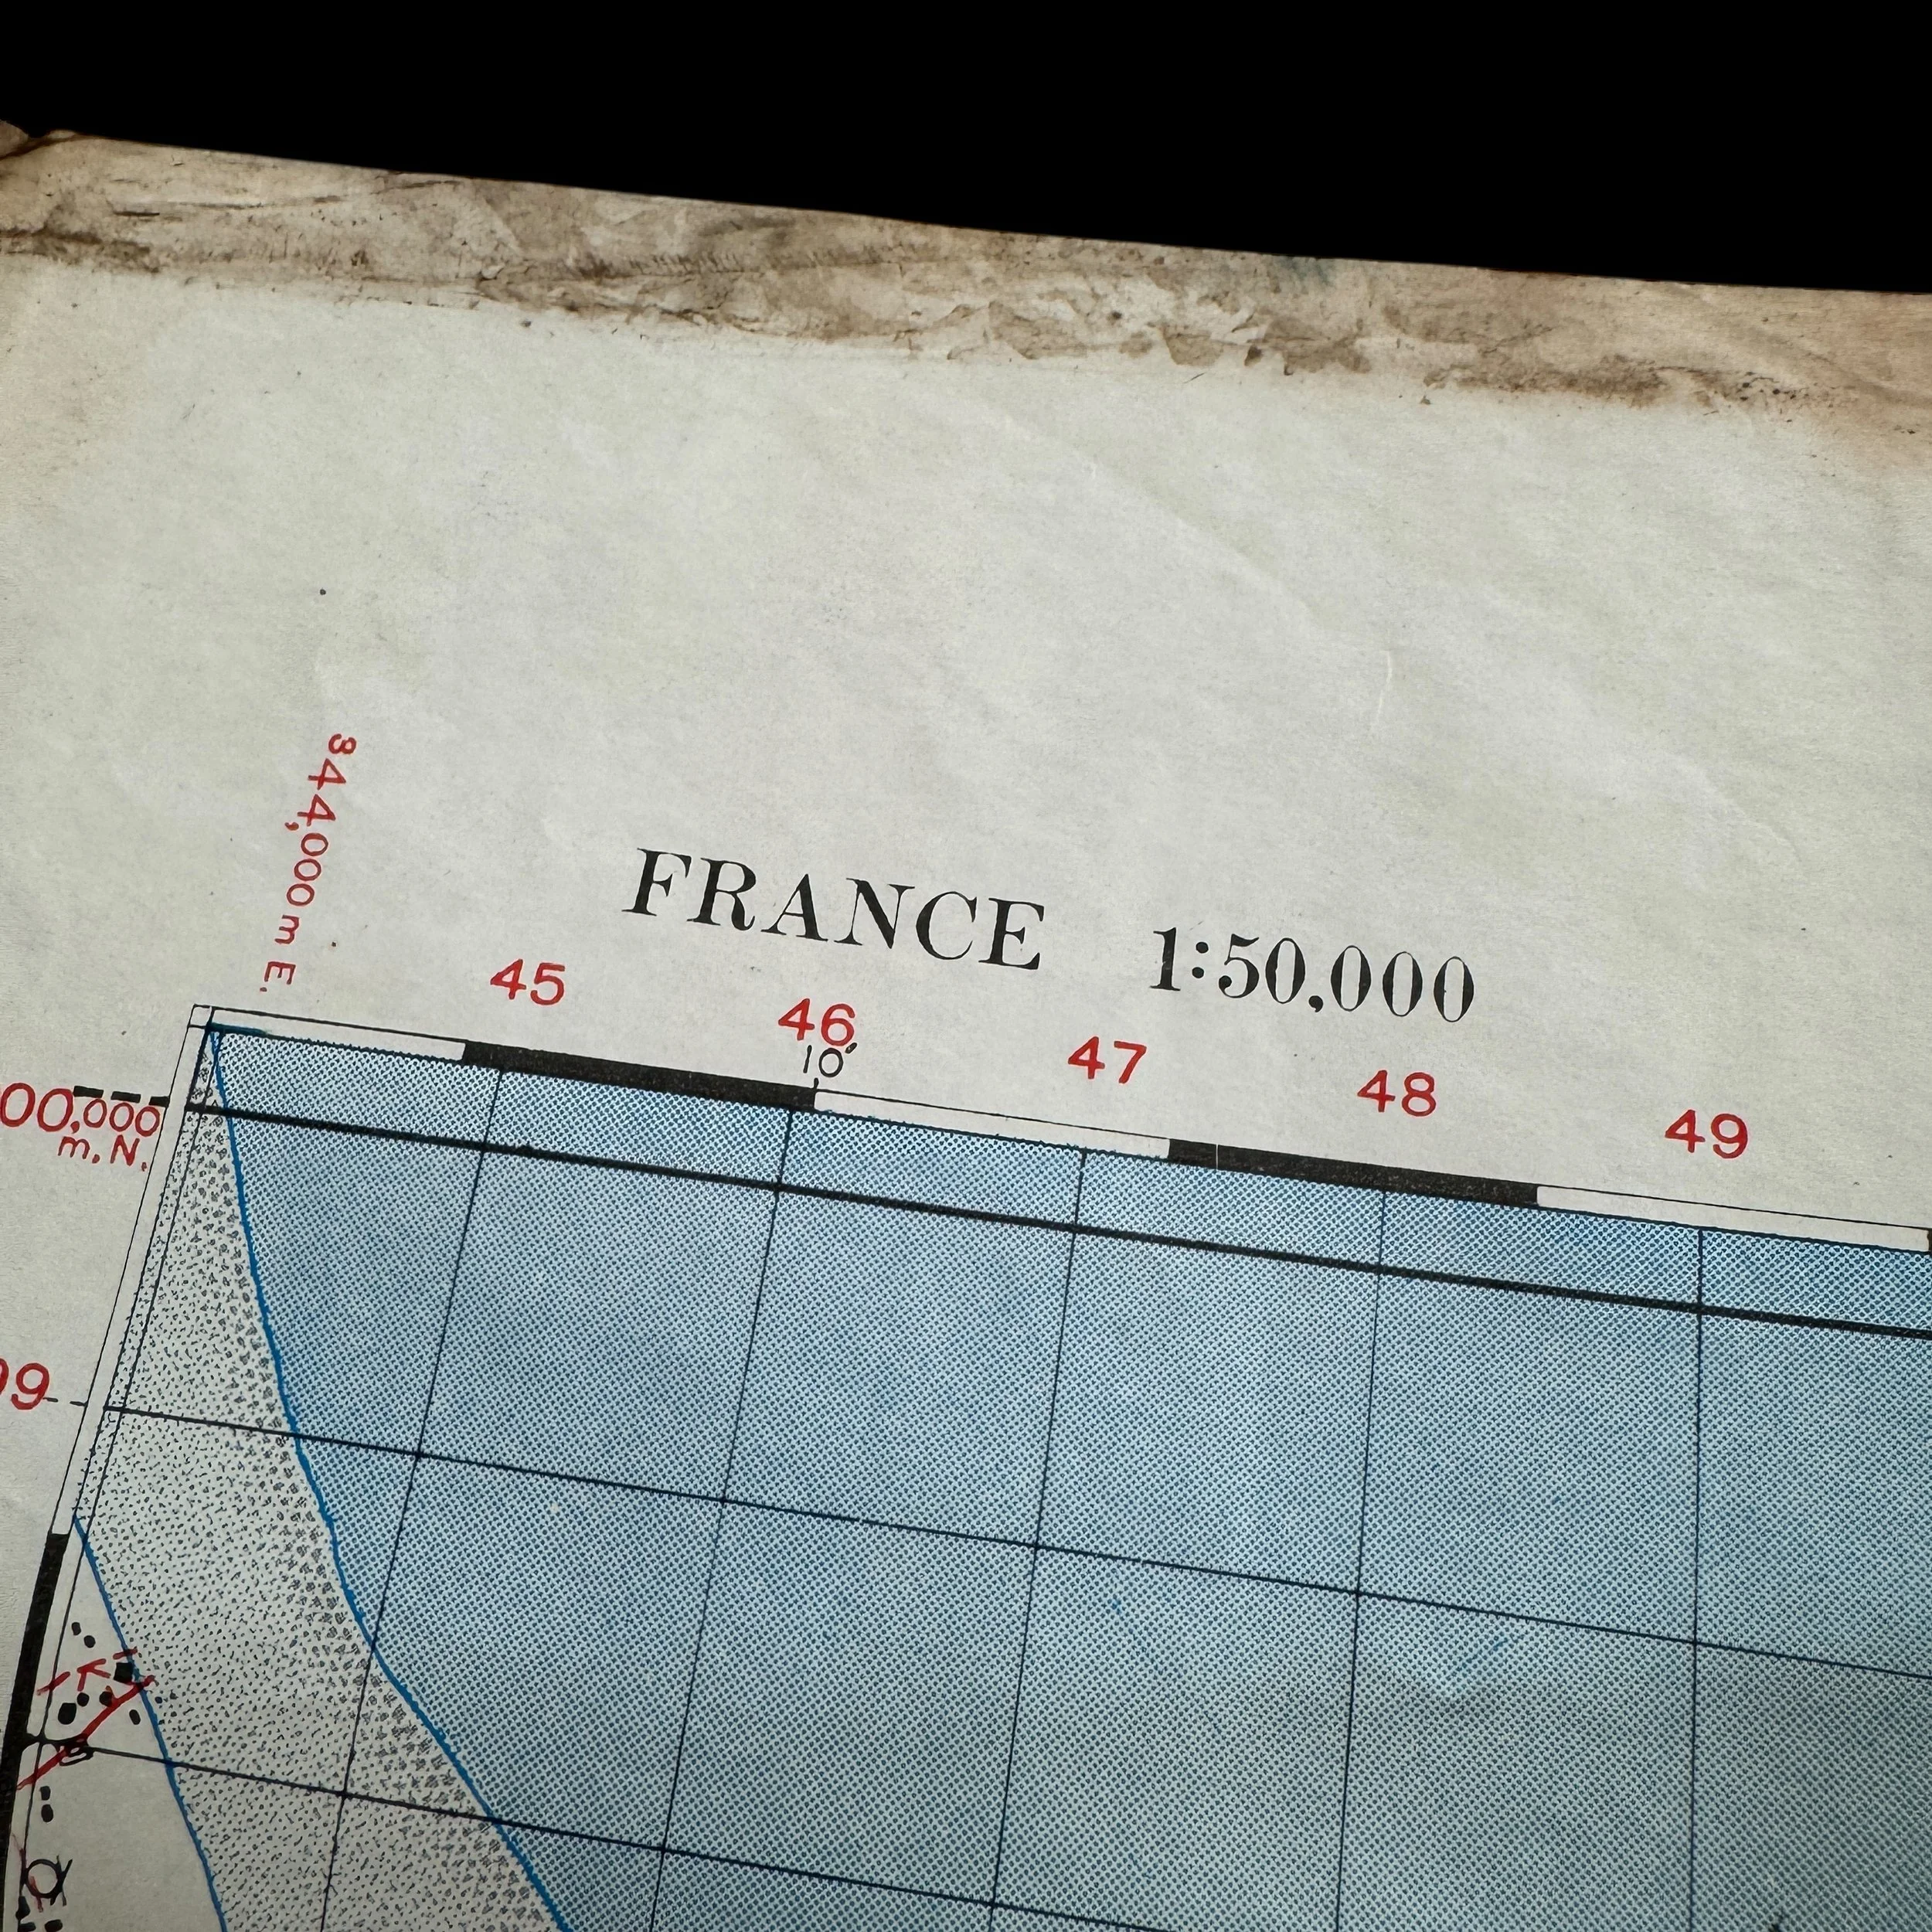
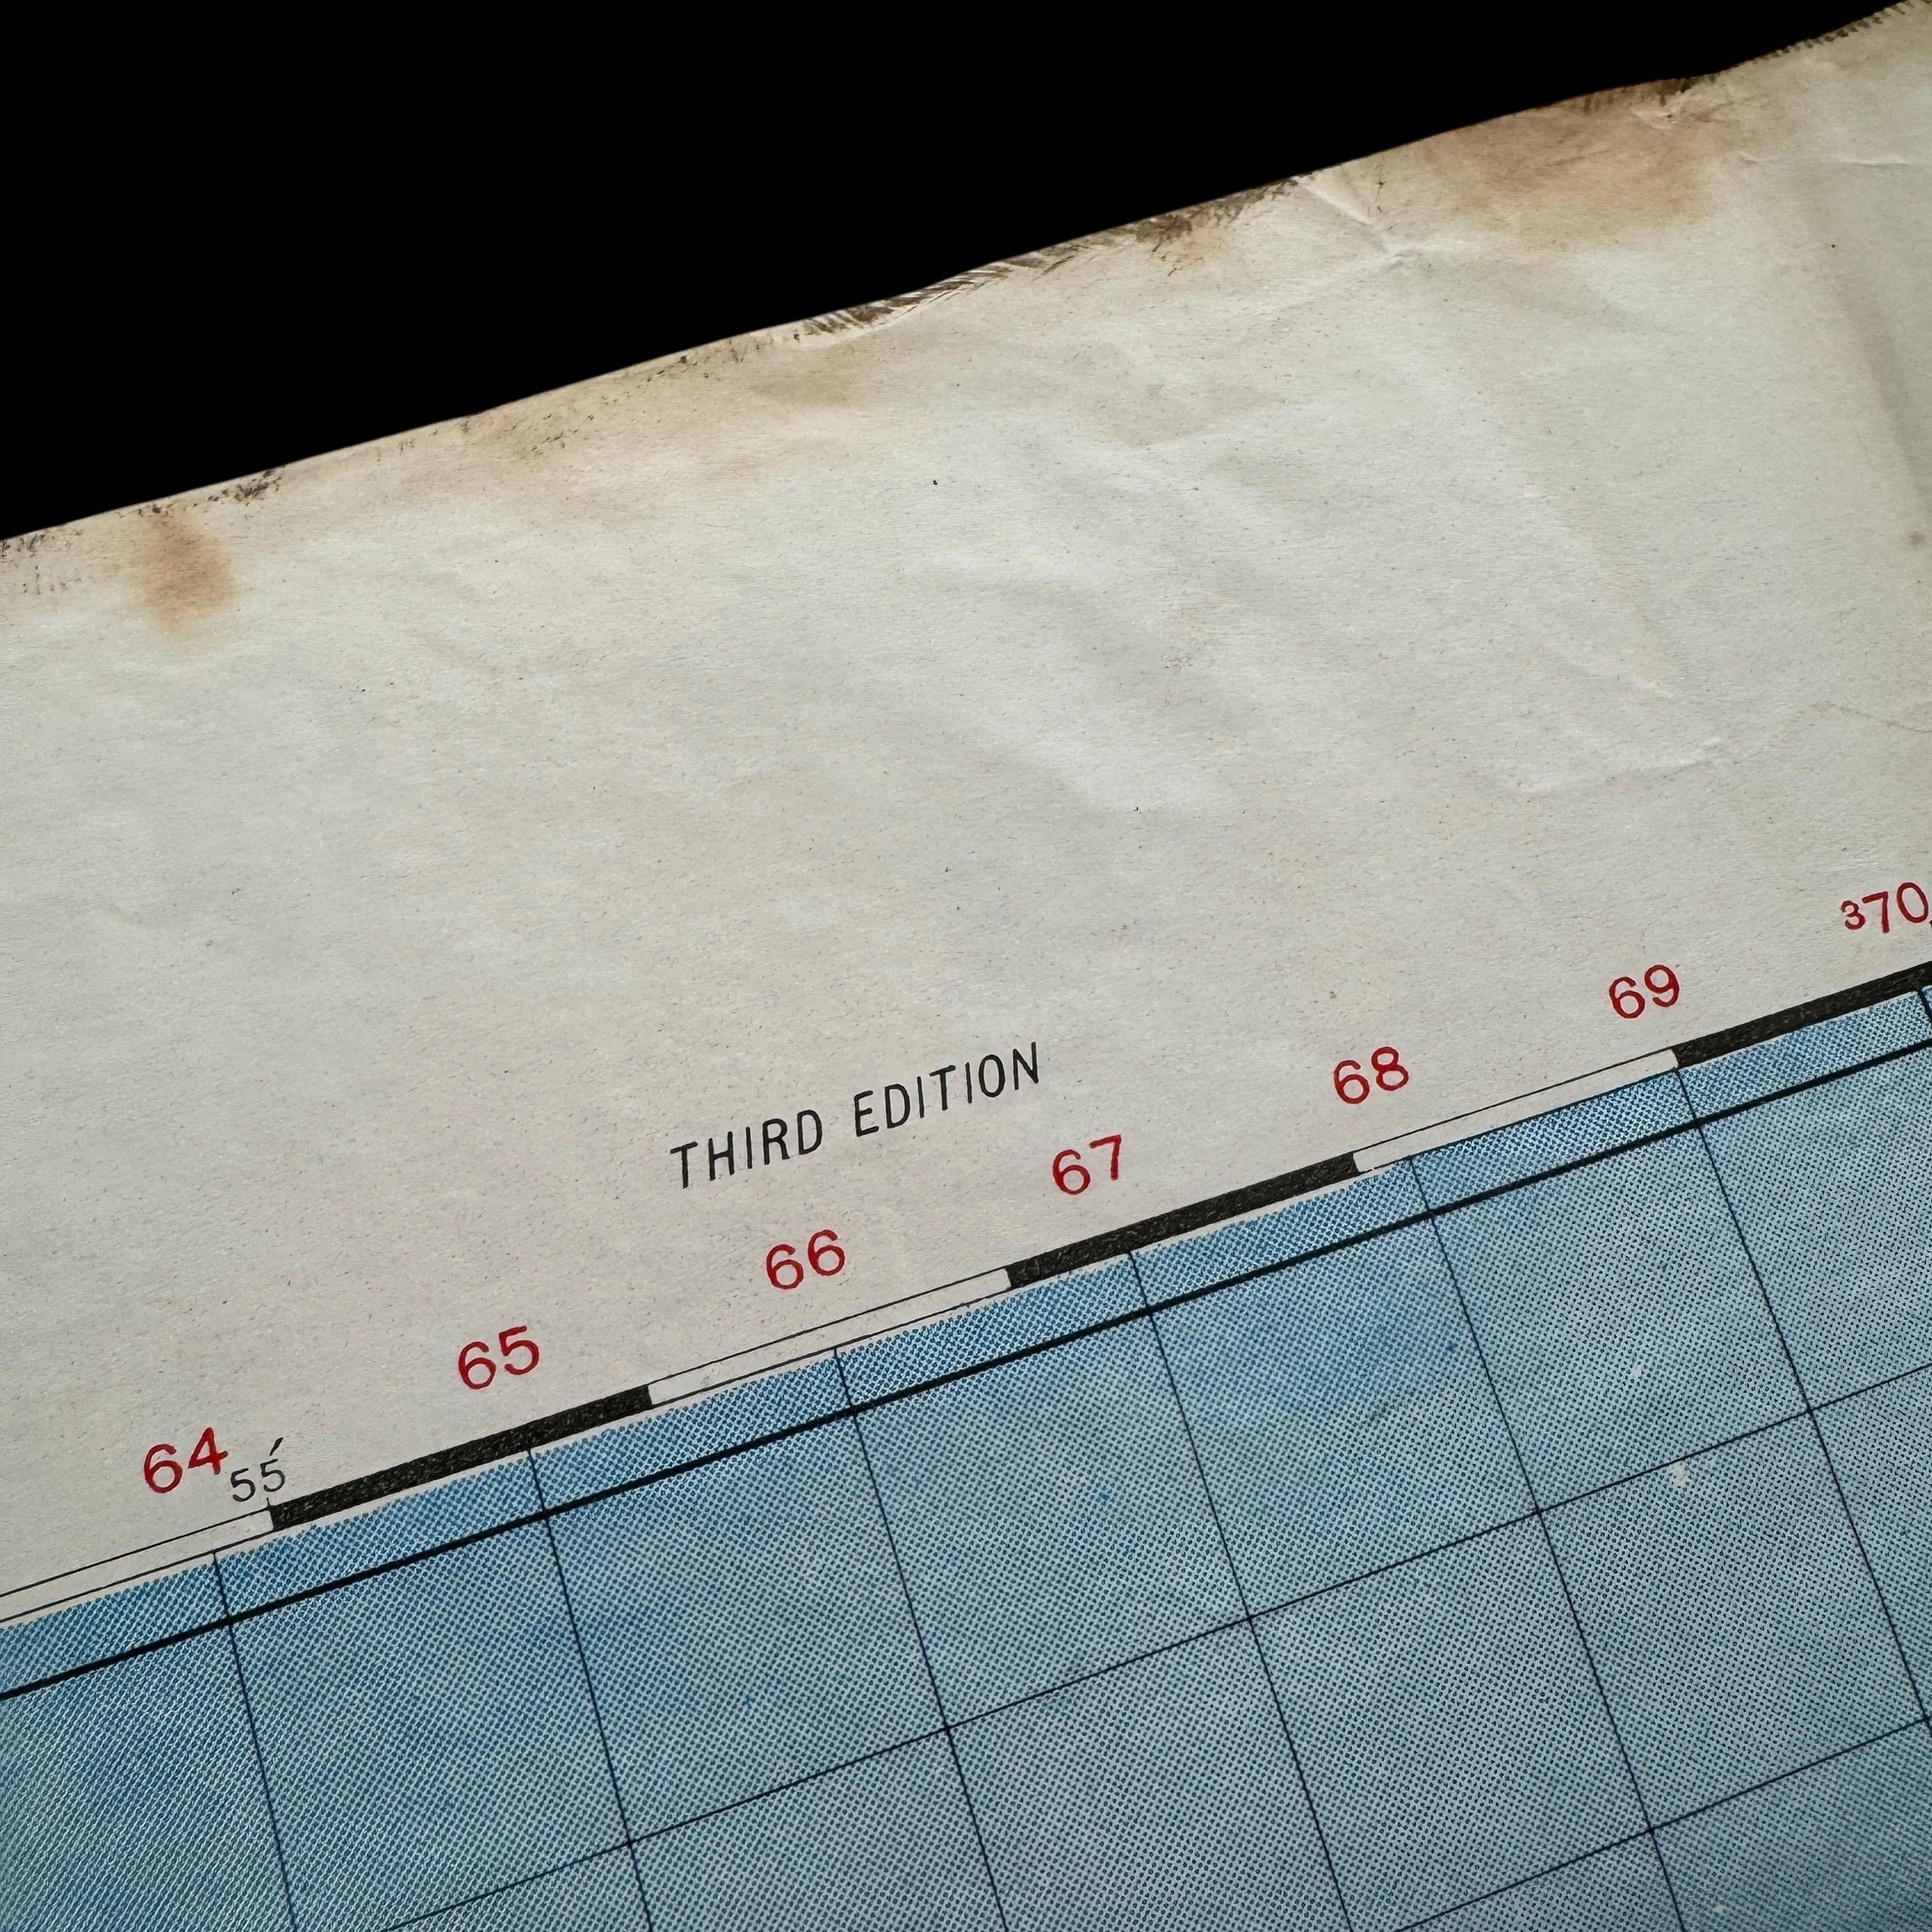
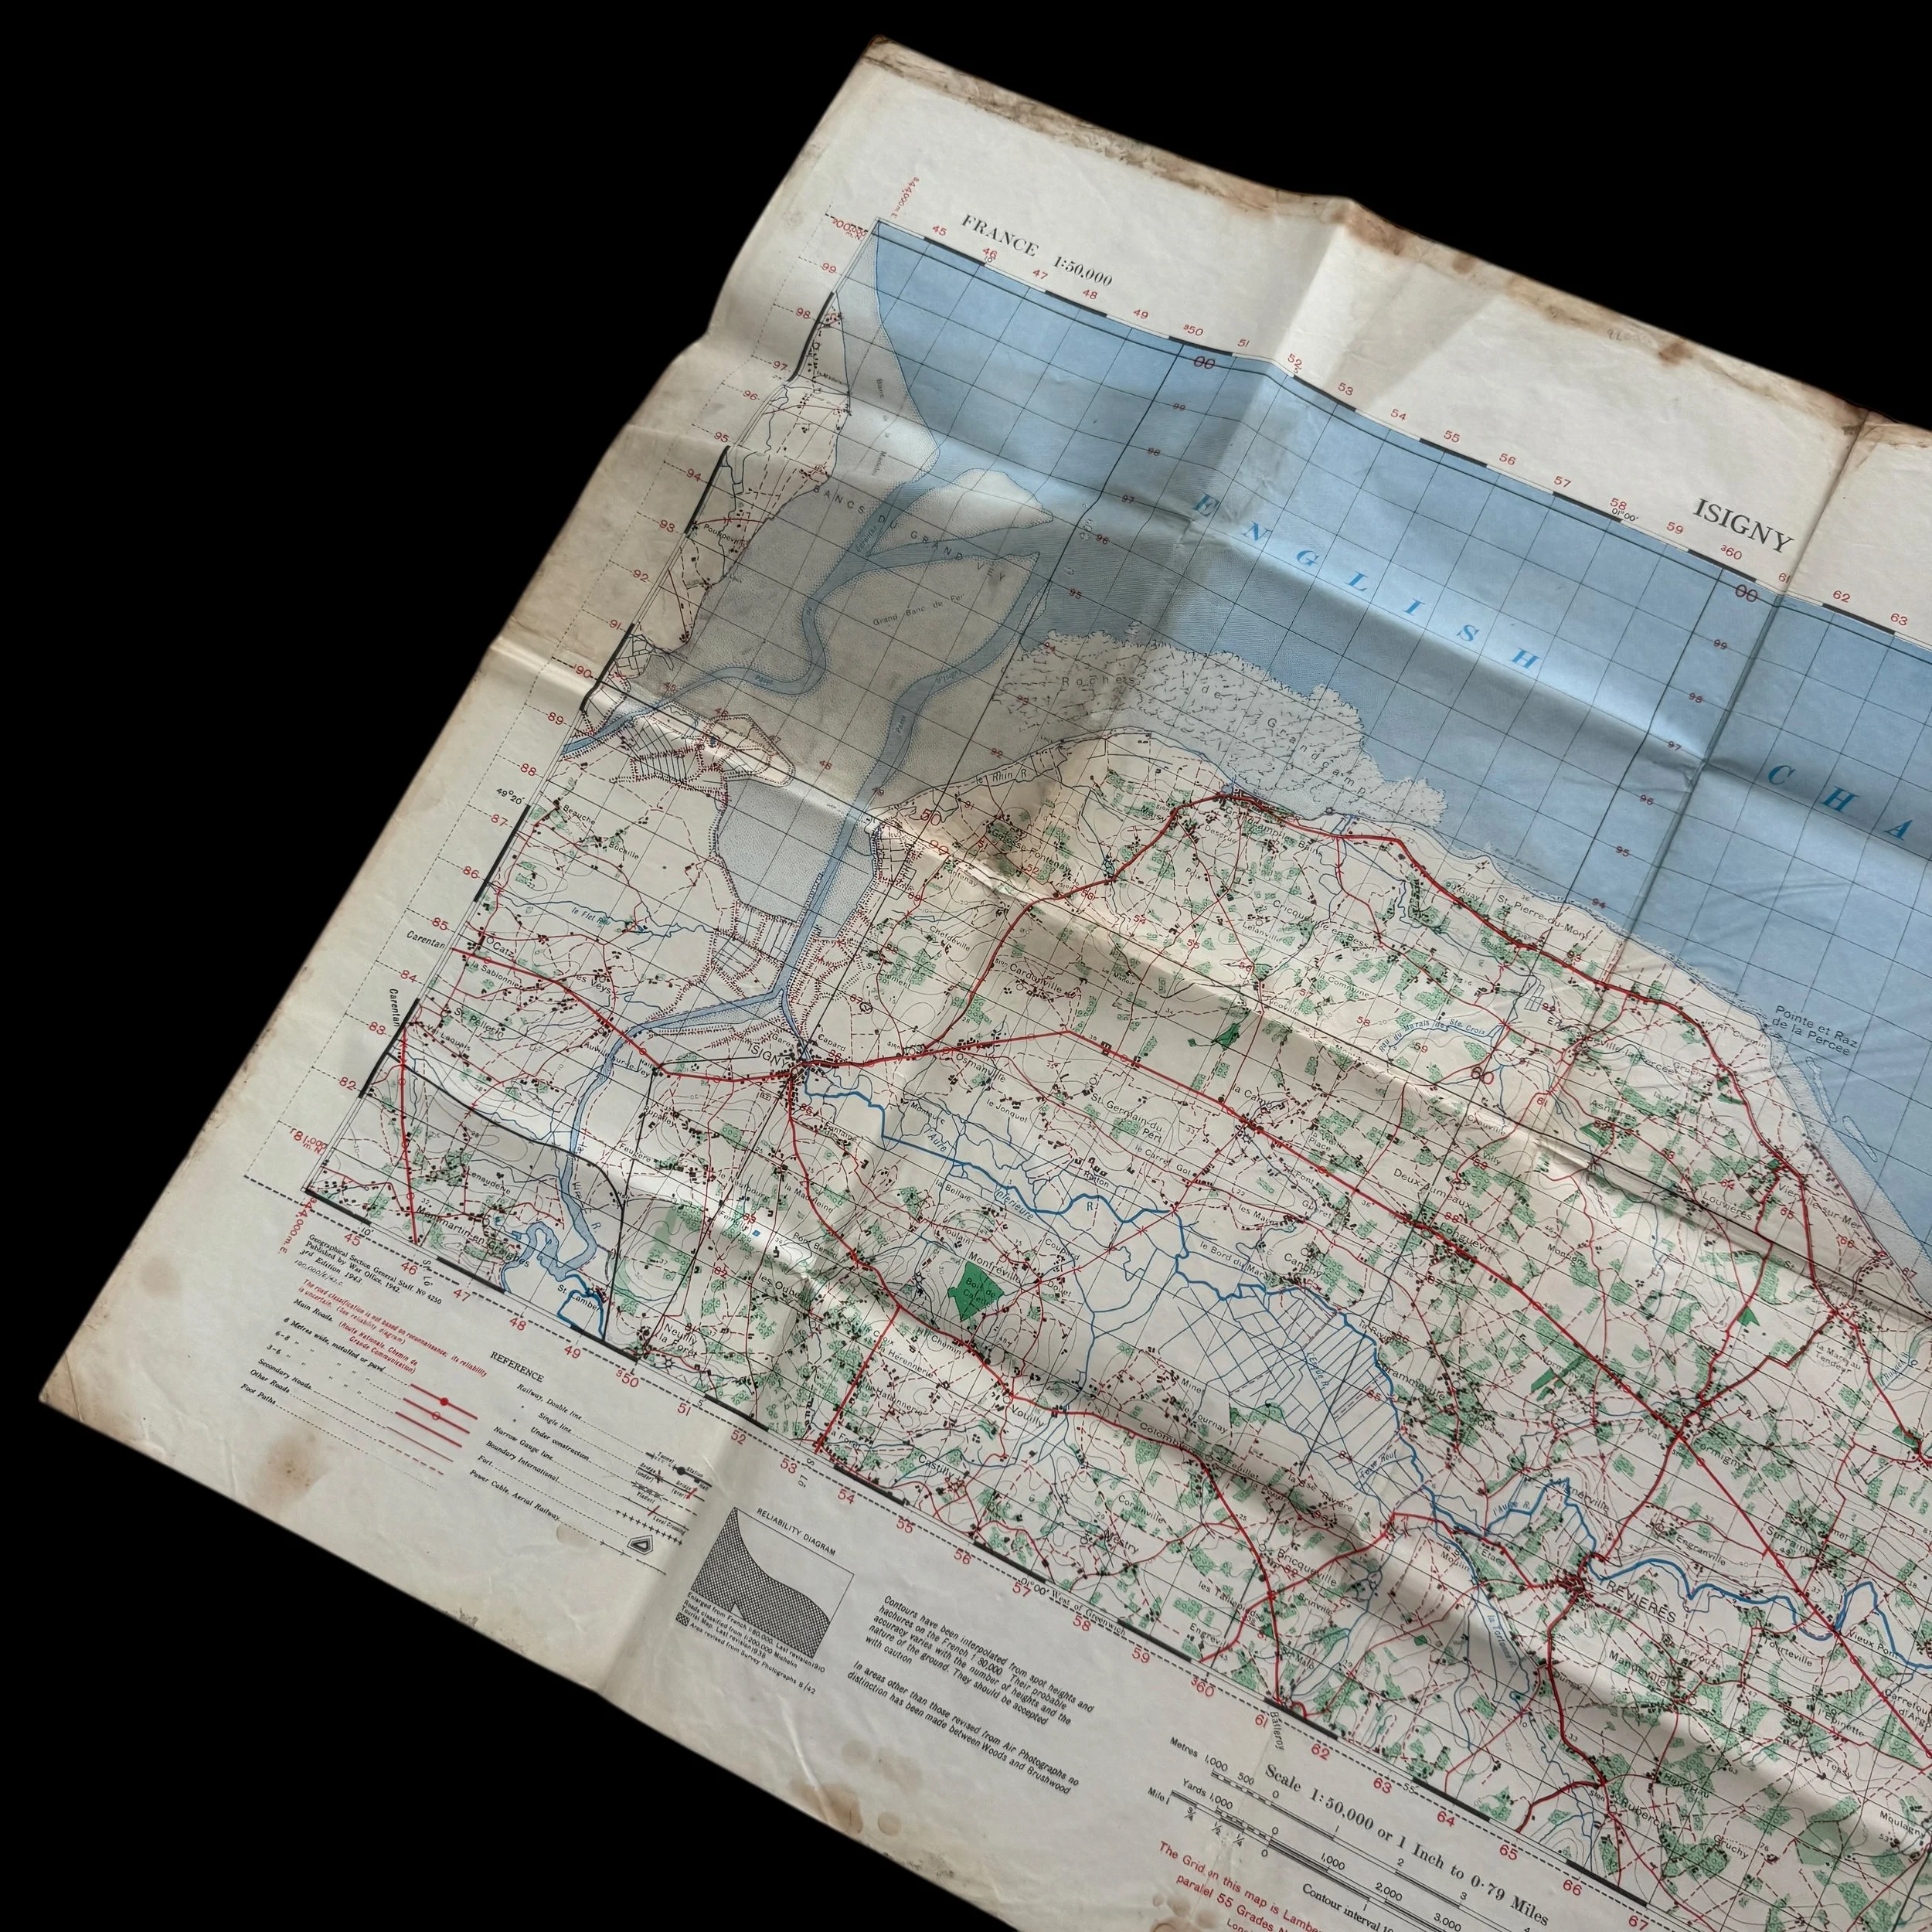
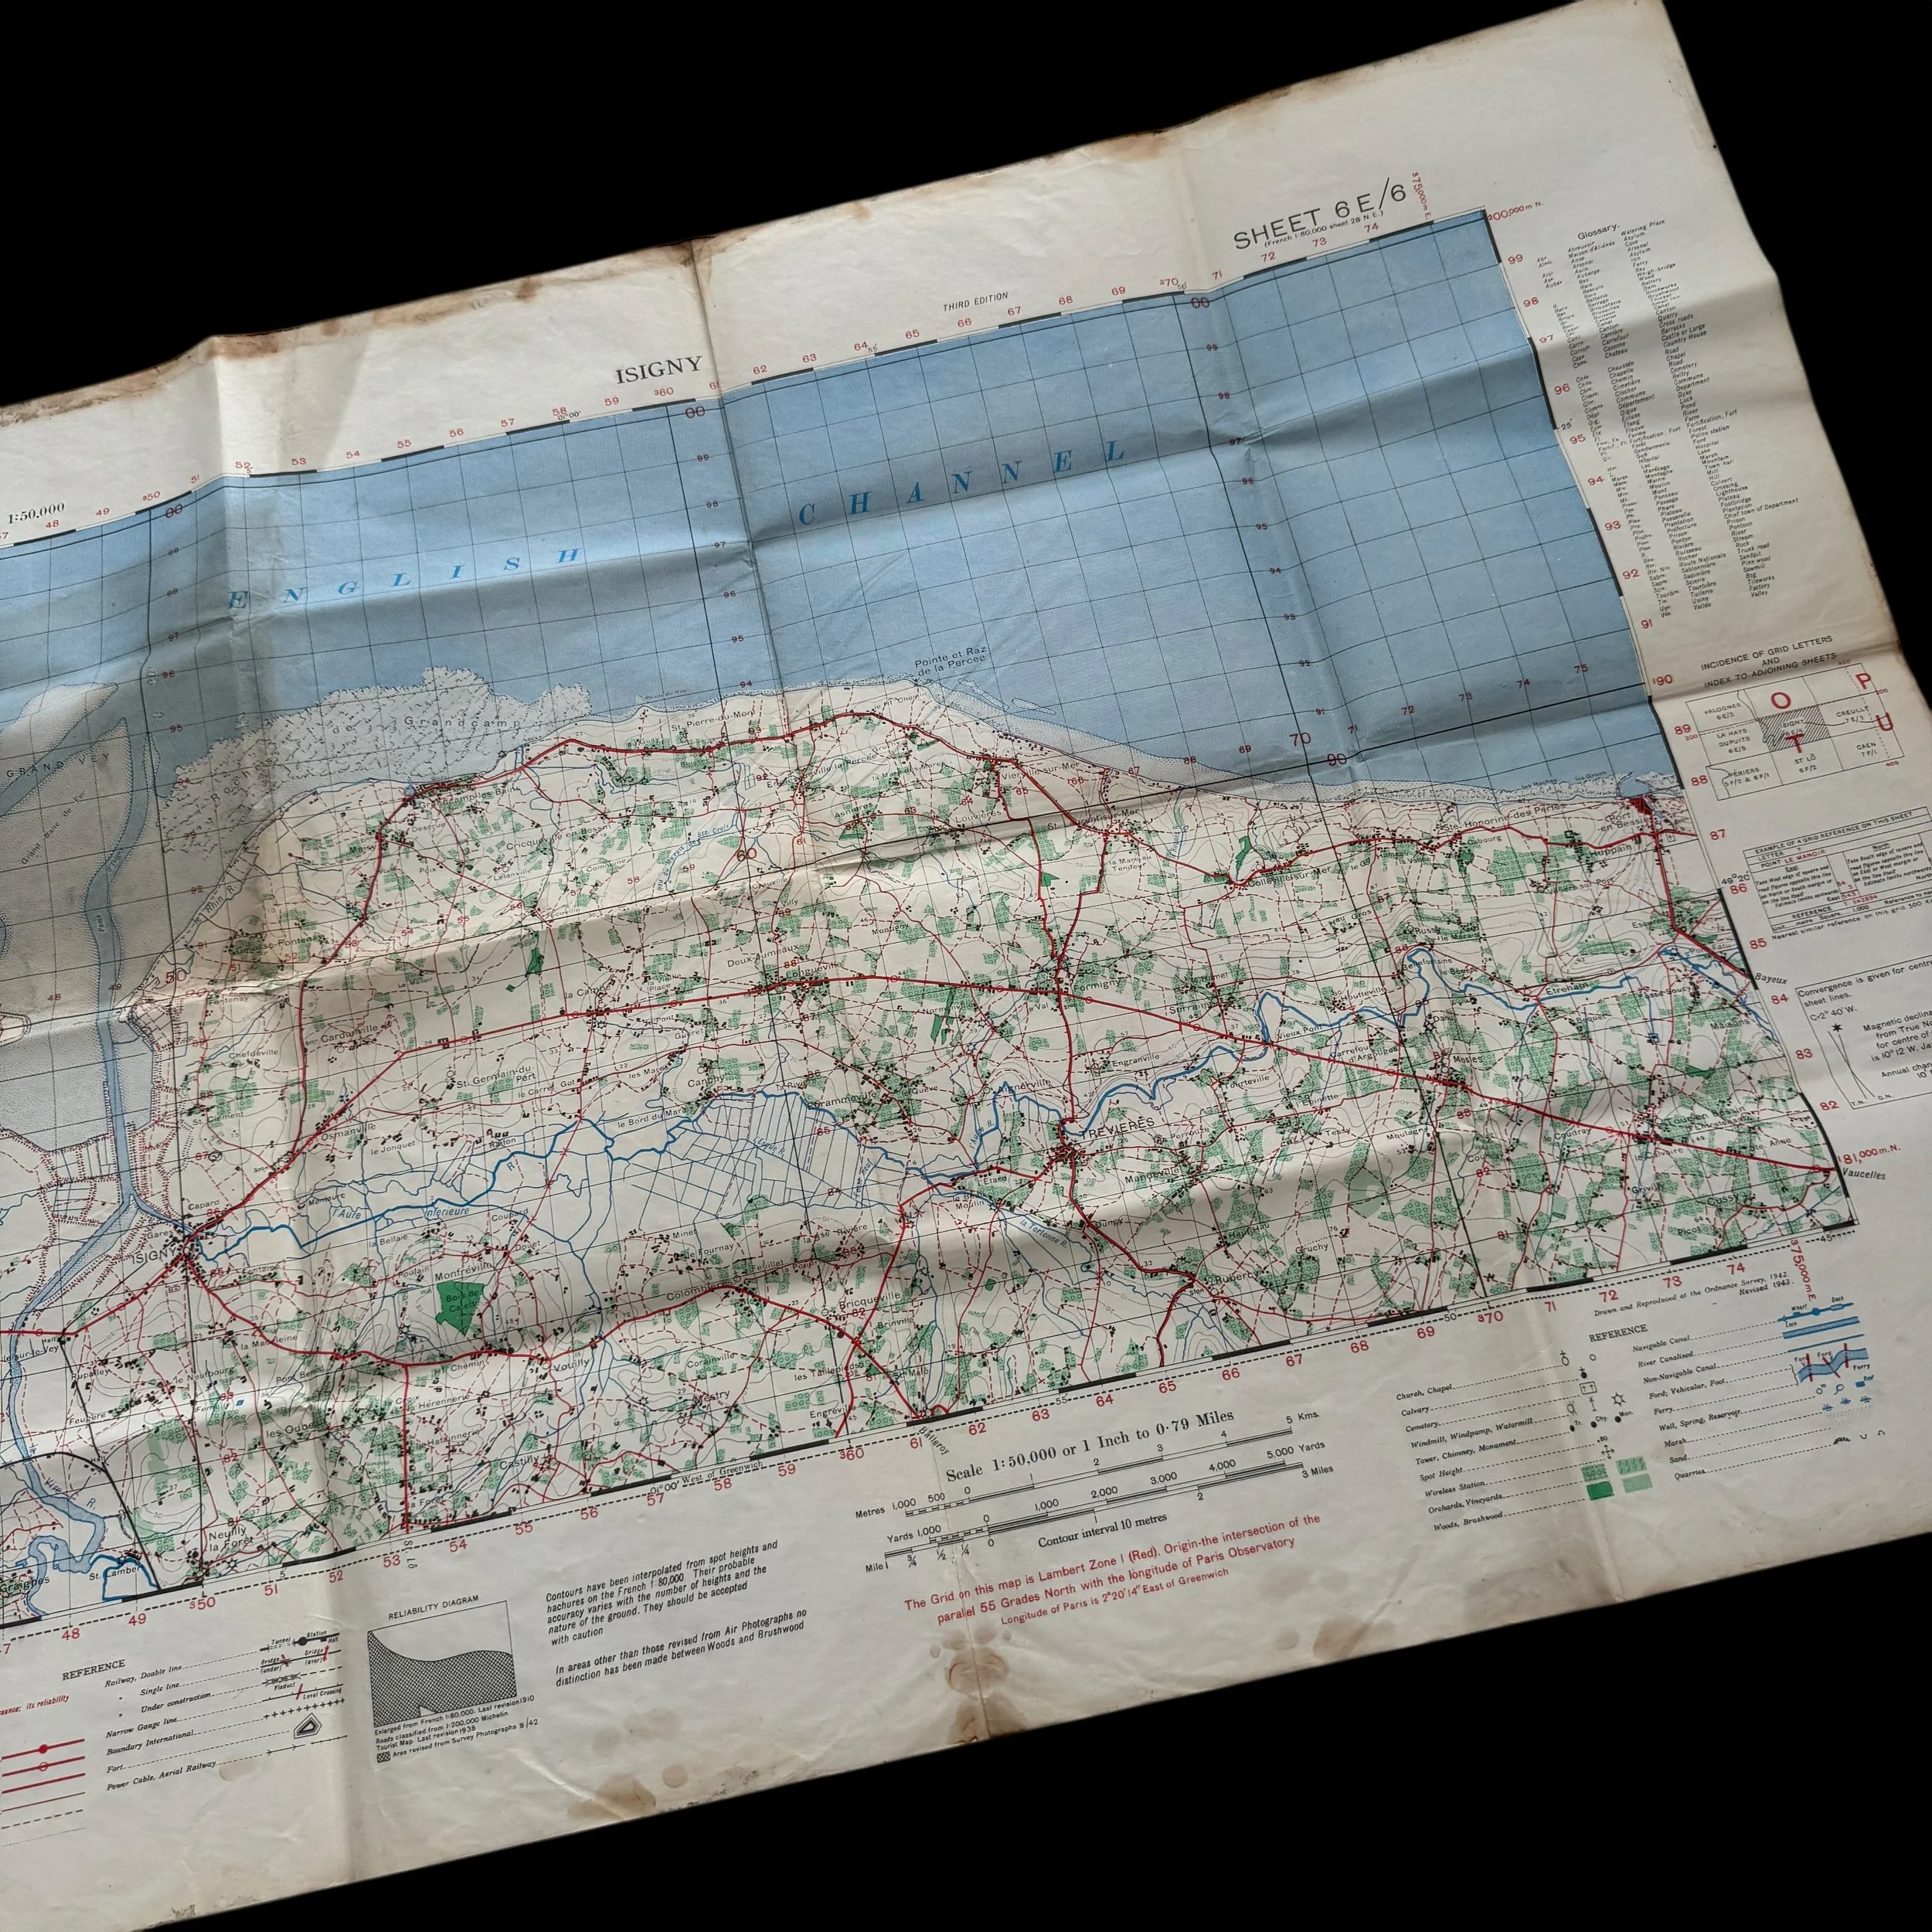
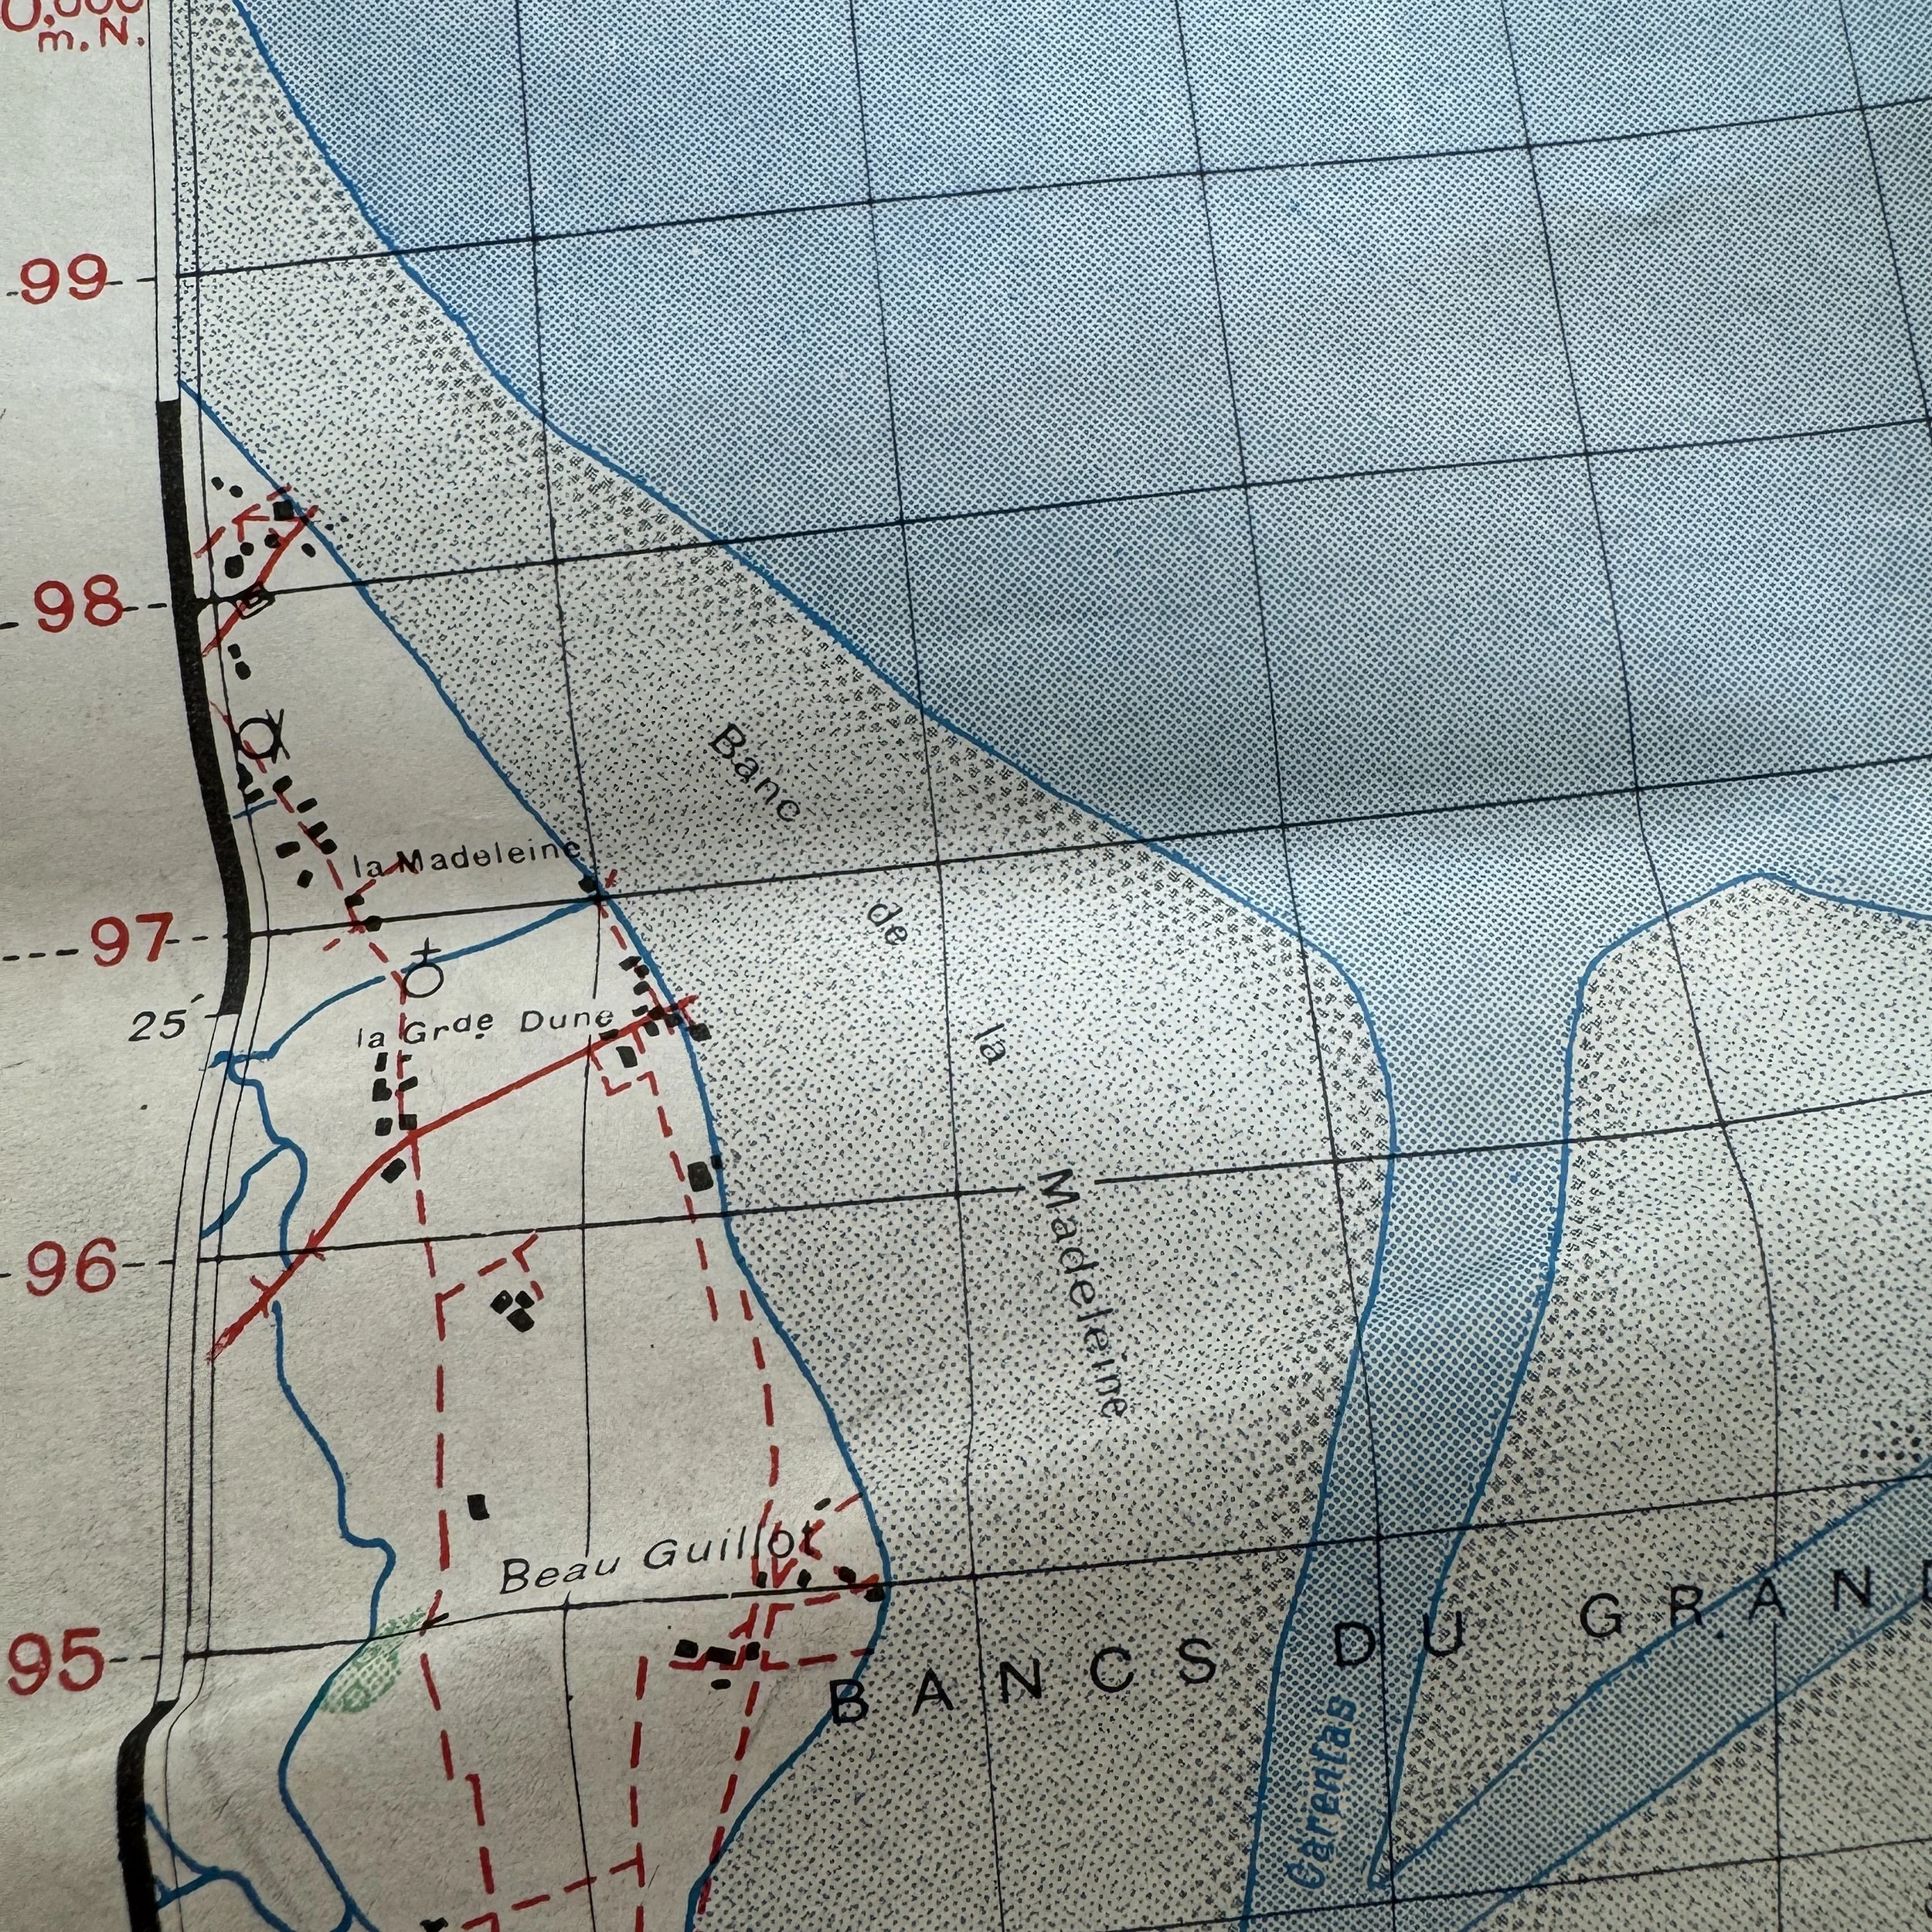
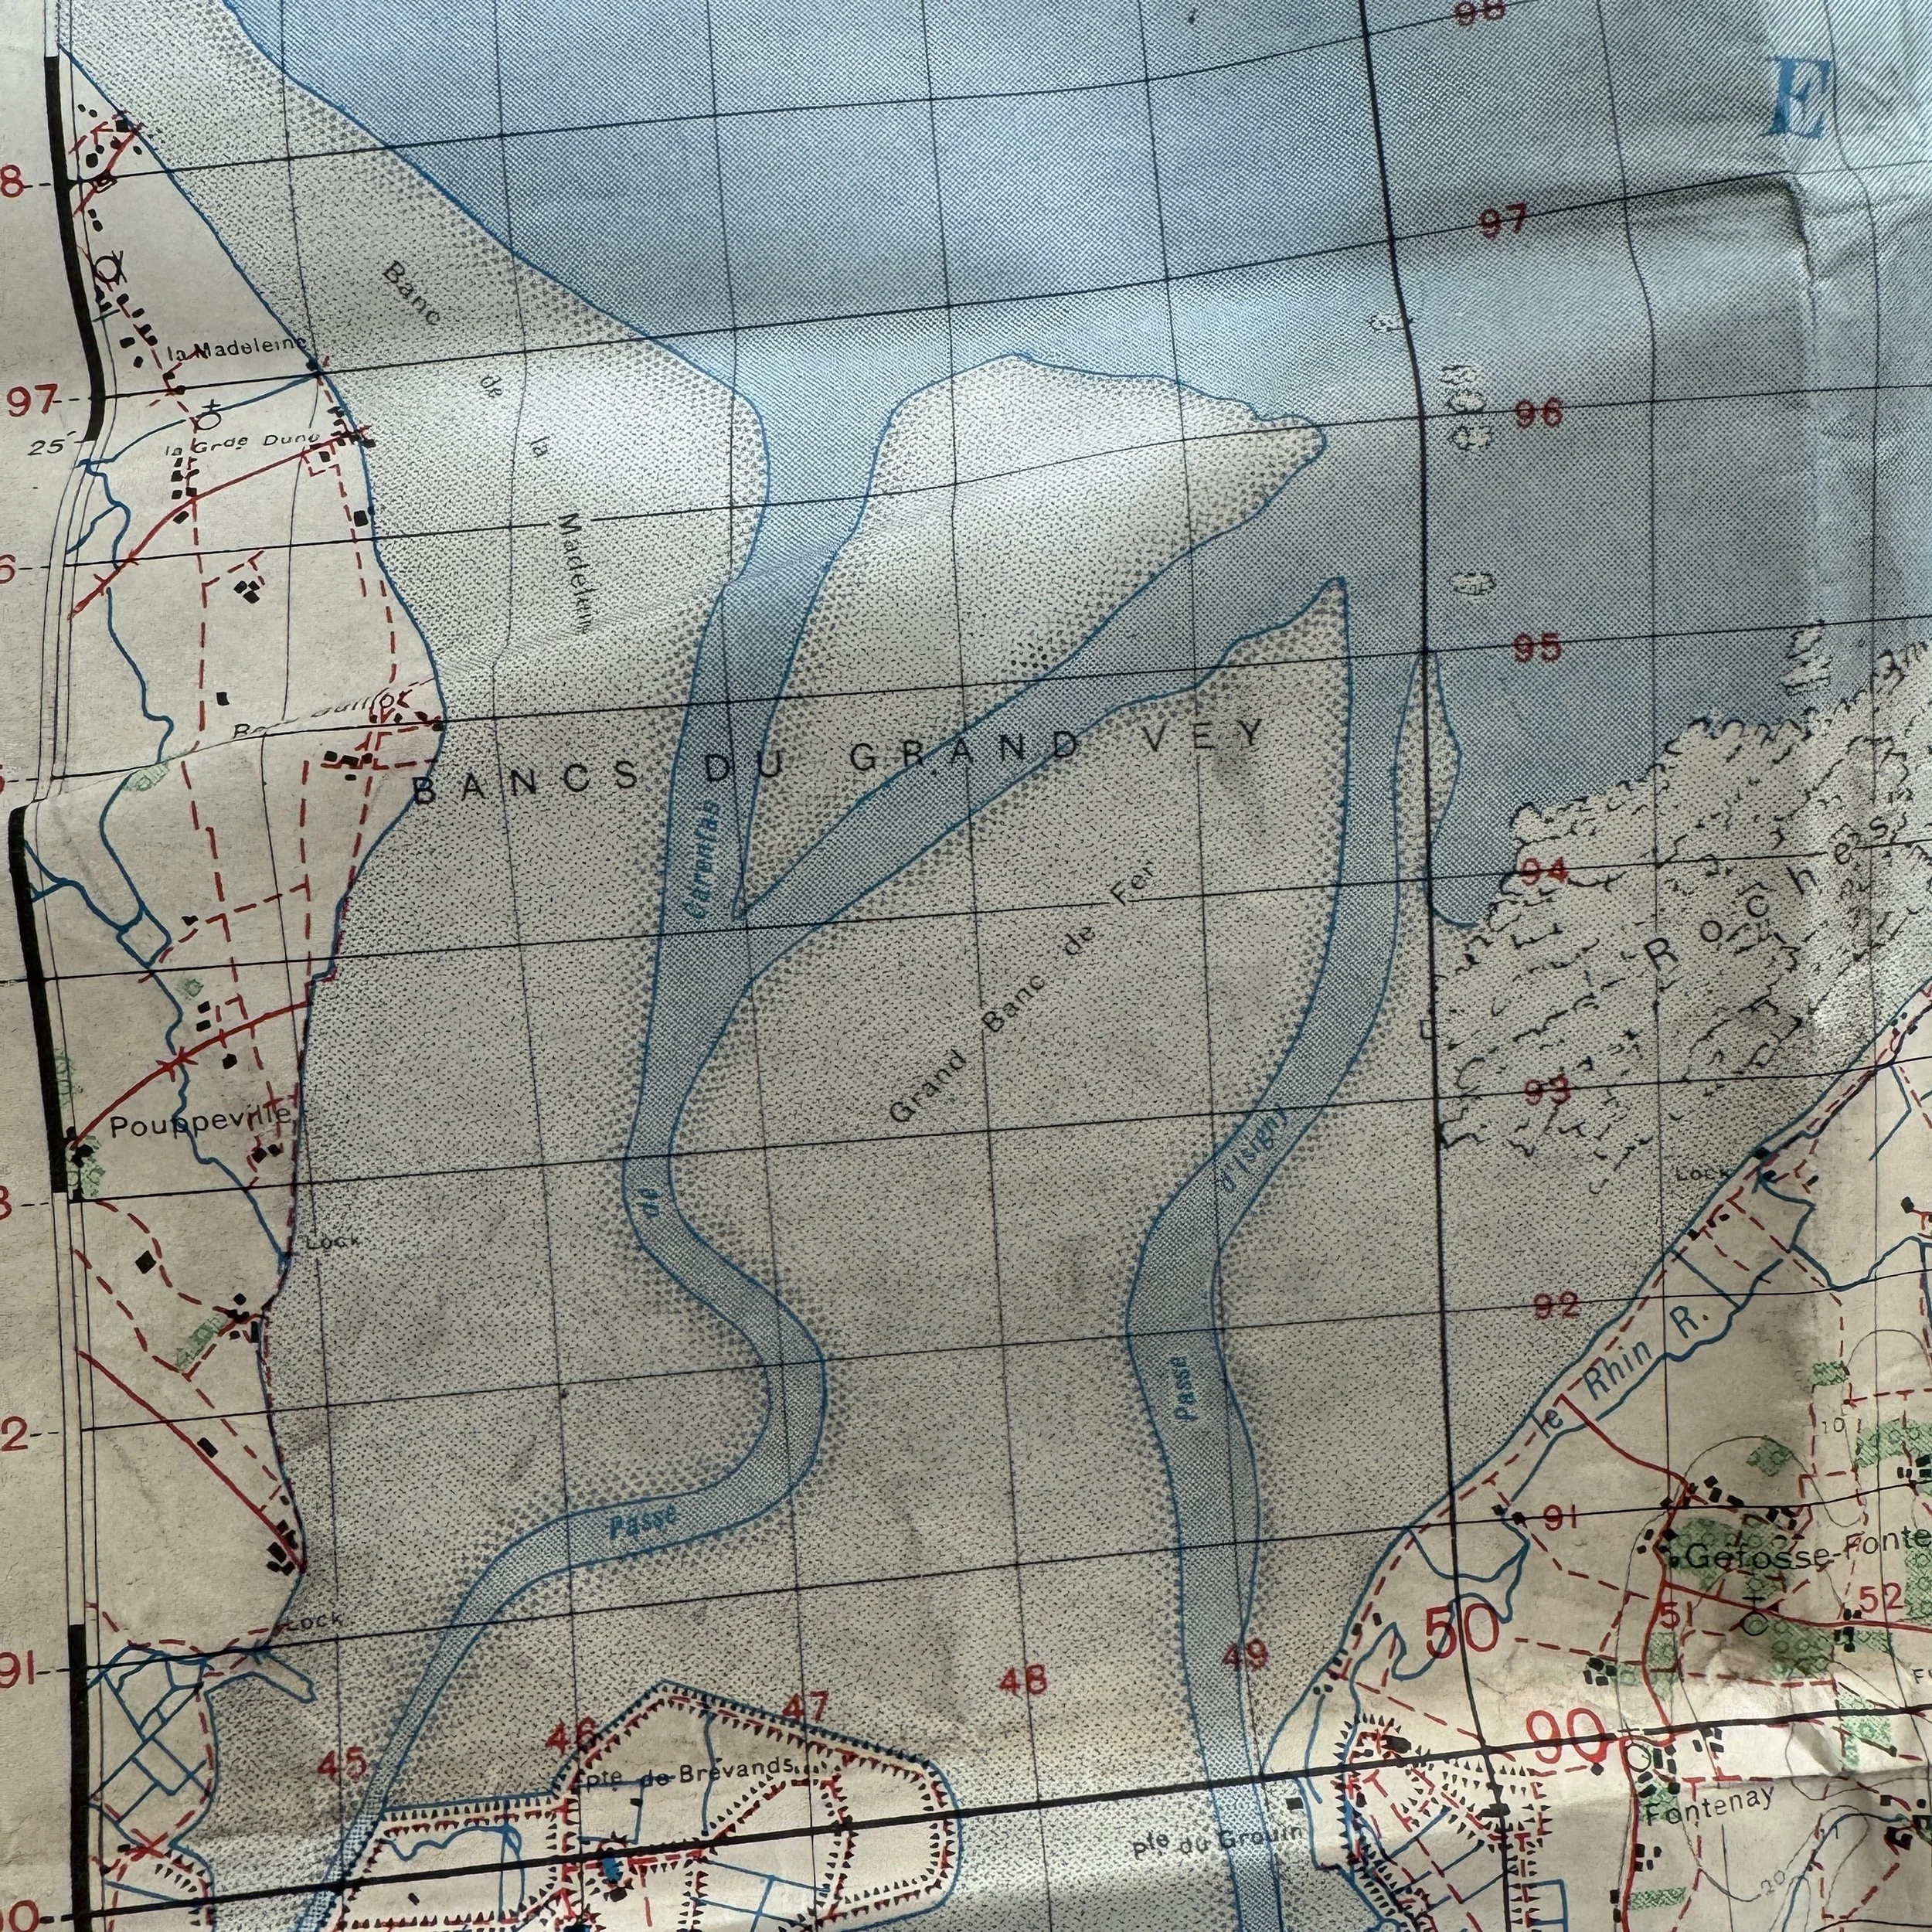
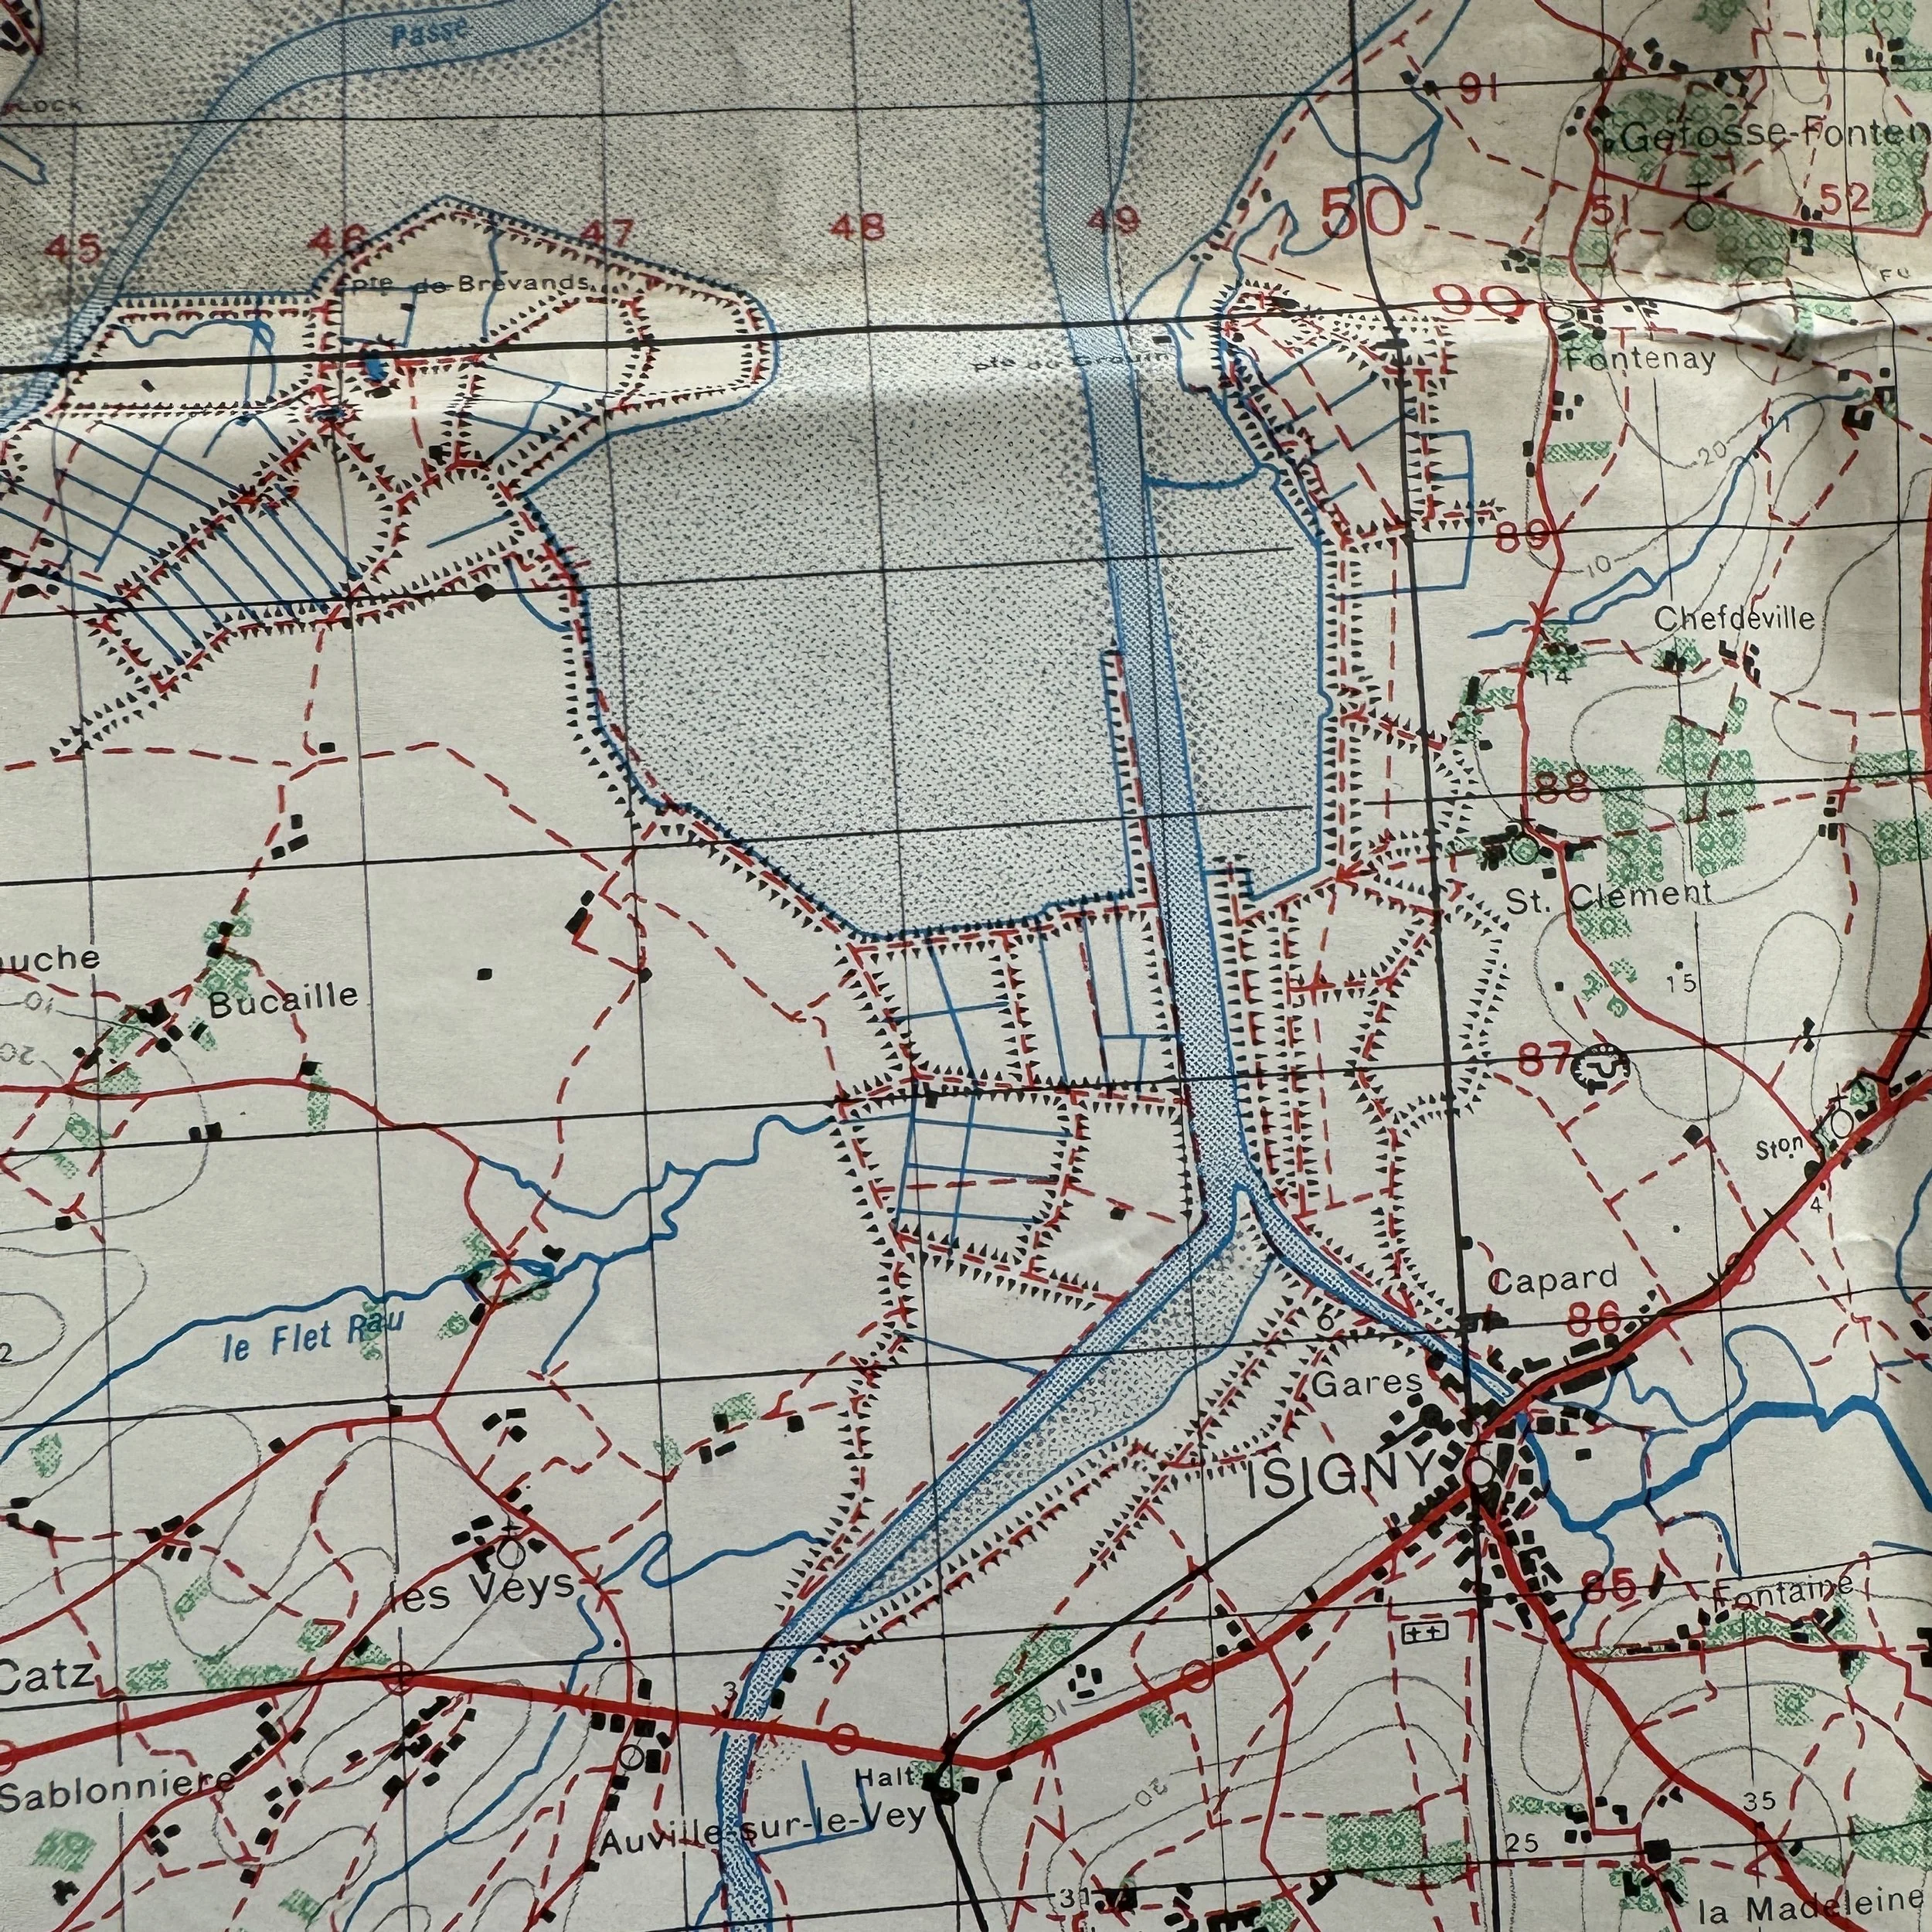
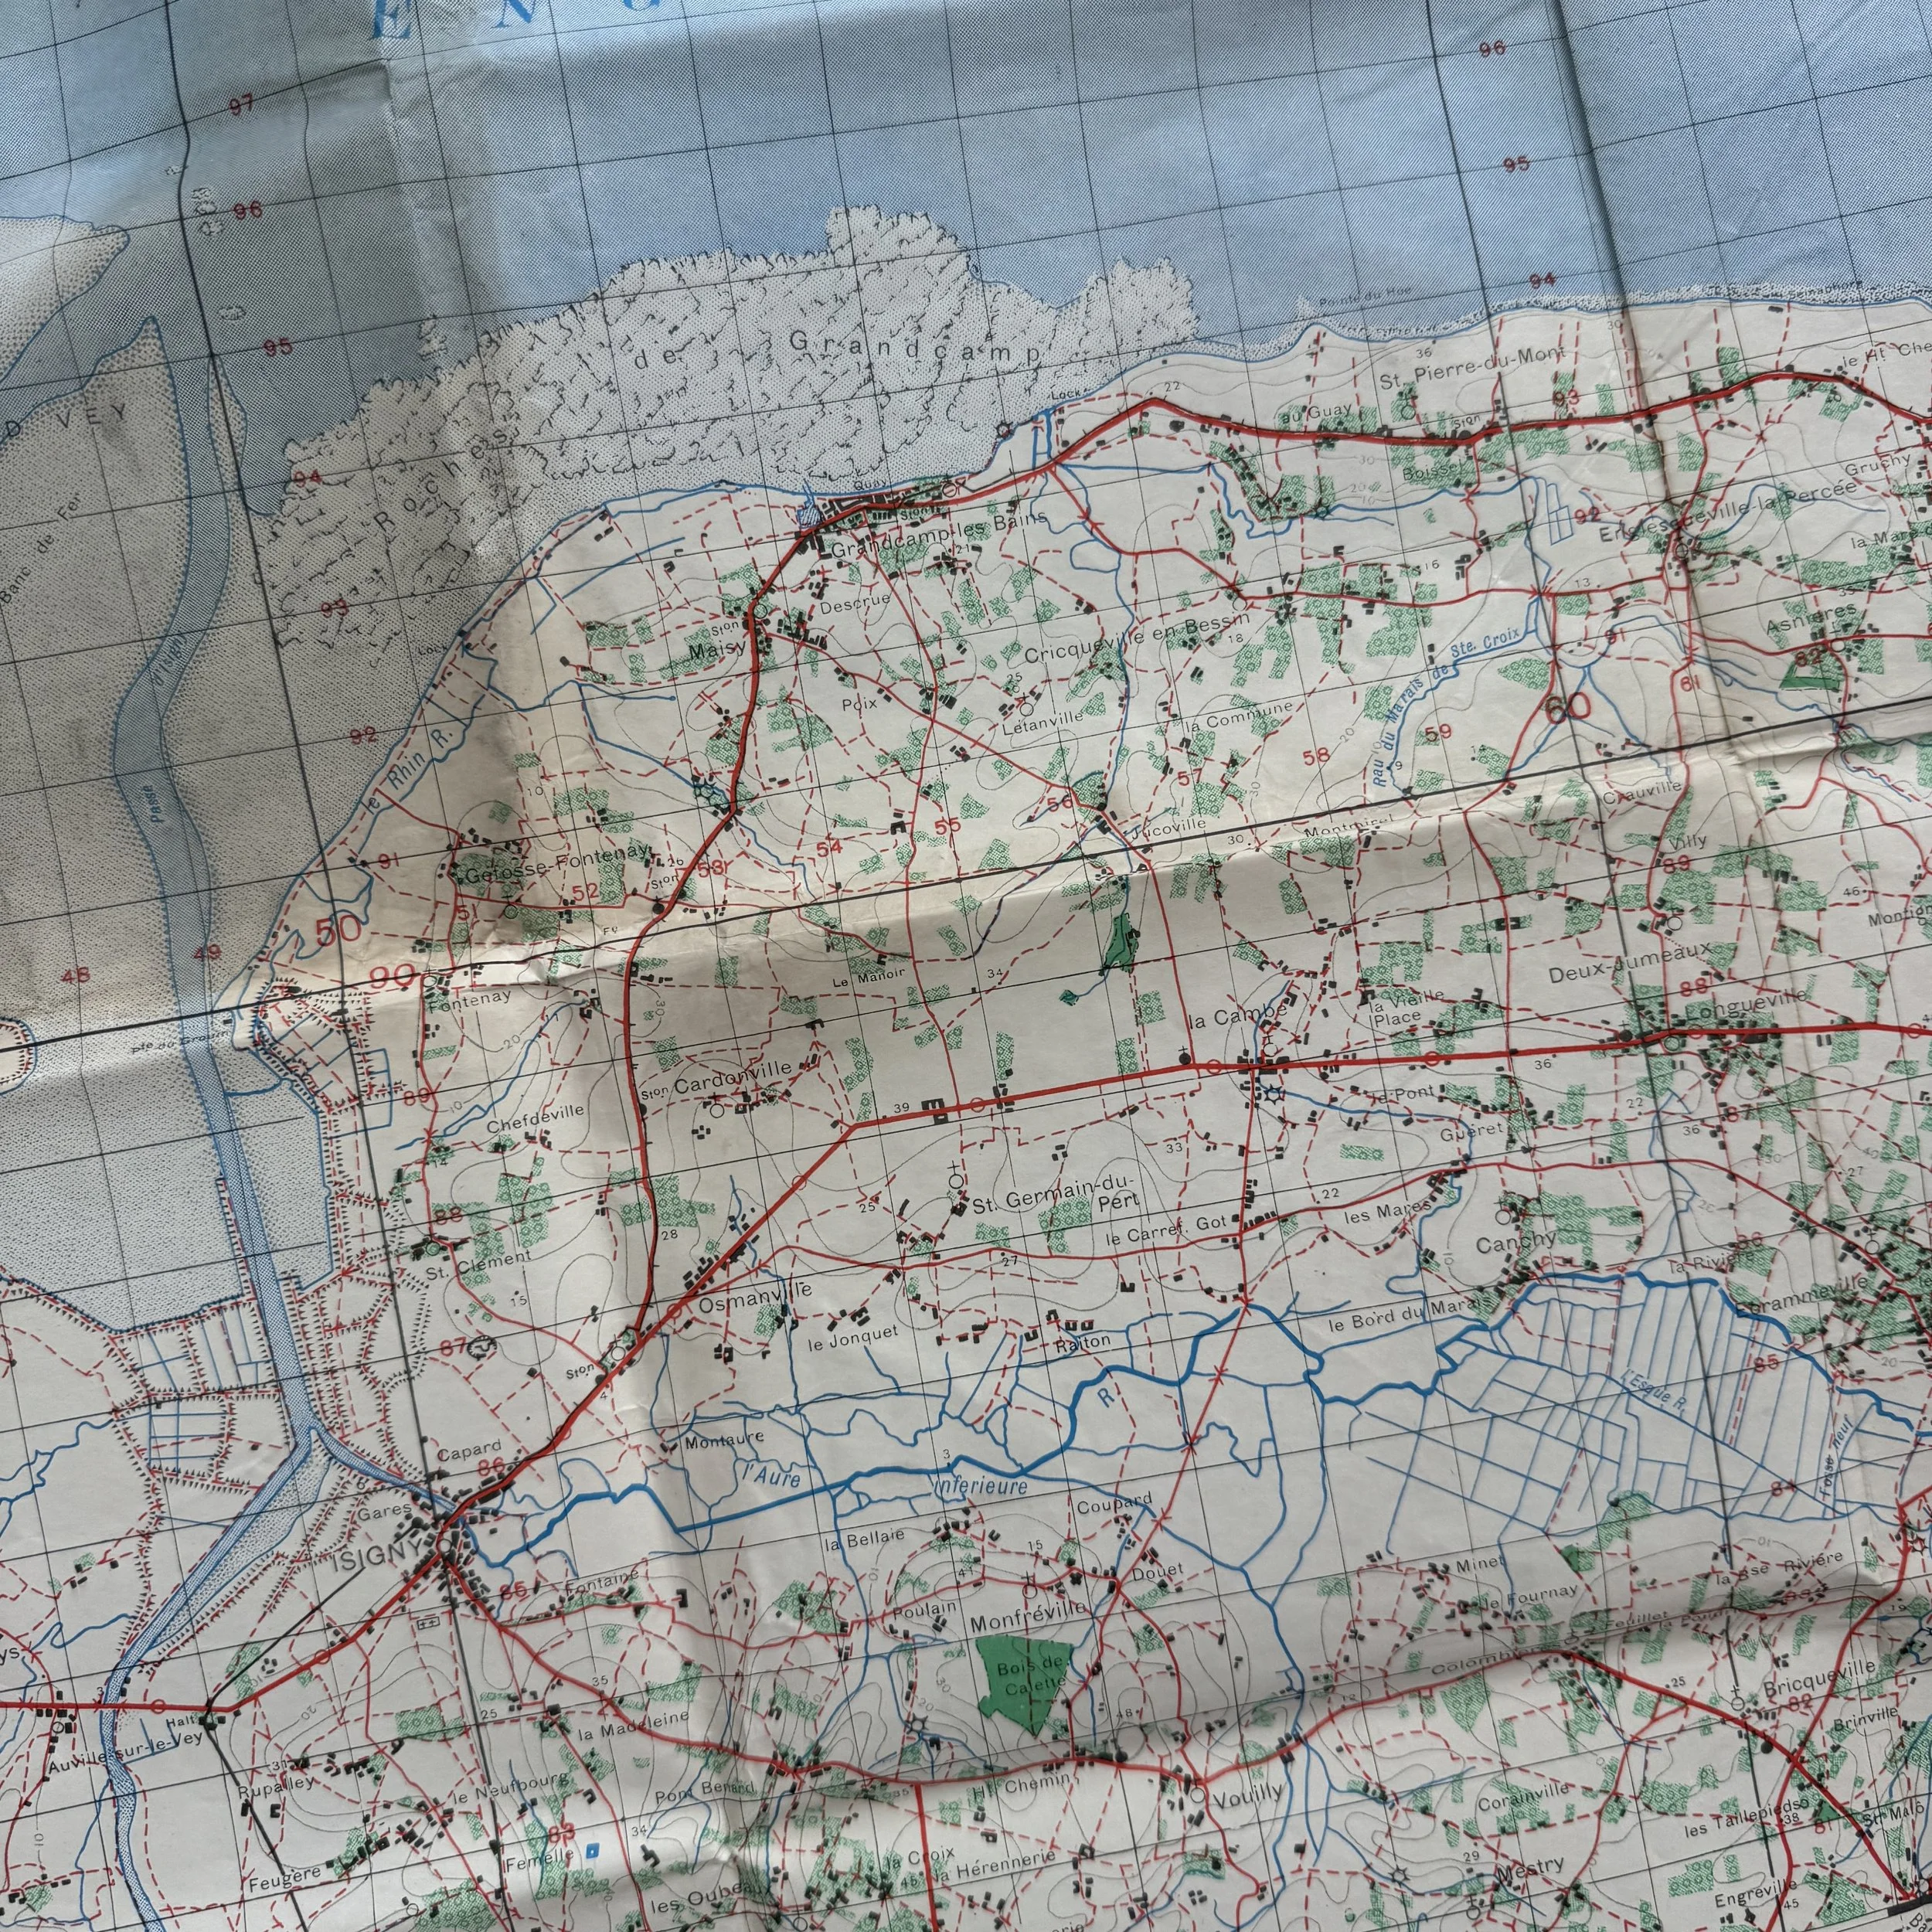
This exceptionally rare museum-grade D-Day U.S. combat map represents one of the most critical operational documents of the Allied landings on June 6th, 1944. This updated Third Edition is dated 1943 and was prepared for both the U.S. 1st Infantry Division and 29th Infantry Division as they readied to storm Omaha Beach. Revised as part of the Invasion of Normandy series, this Third Edition Overlord assault map marks the infamous Pointe du Hoc, Charlie Sector, and Dog Green Sector locations that would become synonymous with sacrifice and heroism.
Only a small handful of these original Omaha Beach Operation Overlord maps exist. This particular edition is among the most sought after, as it was carried ashore by the soldiers of the U.S. Rangers, 1st Infantry Division, and 29th Infantry Division on D-Day itself. It details German strongpoints, minefields, obstacles, and terrain that the assault troops would face as they braved withering fire and established the vital American beachhead at Normandy.
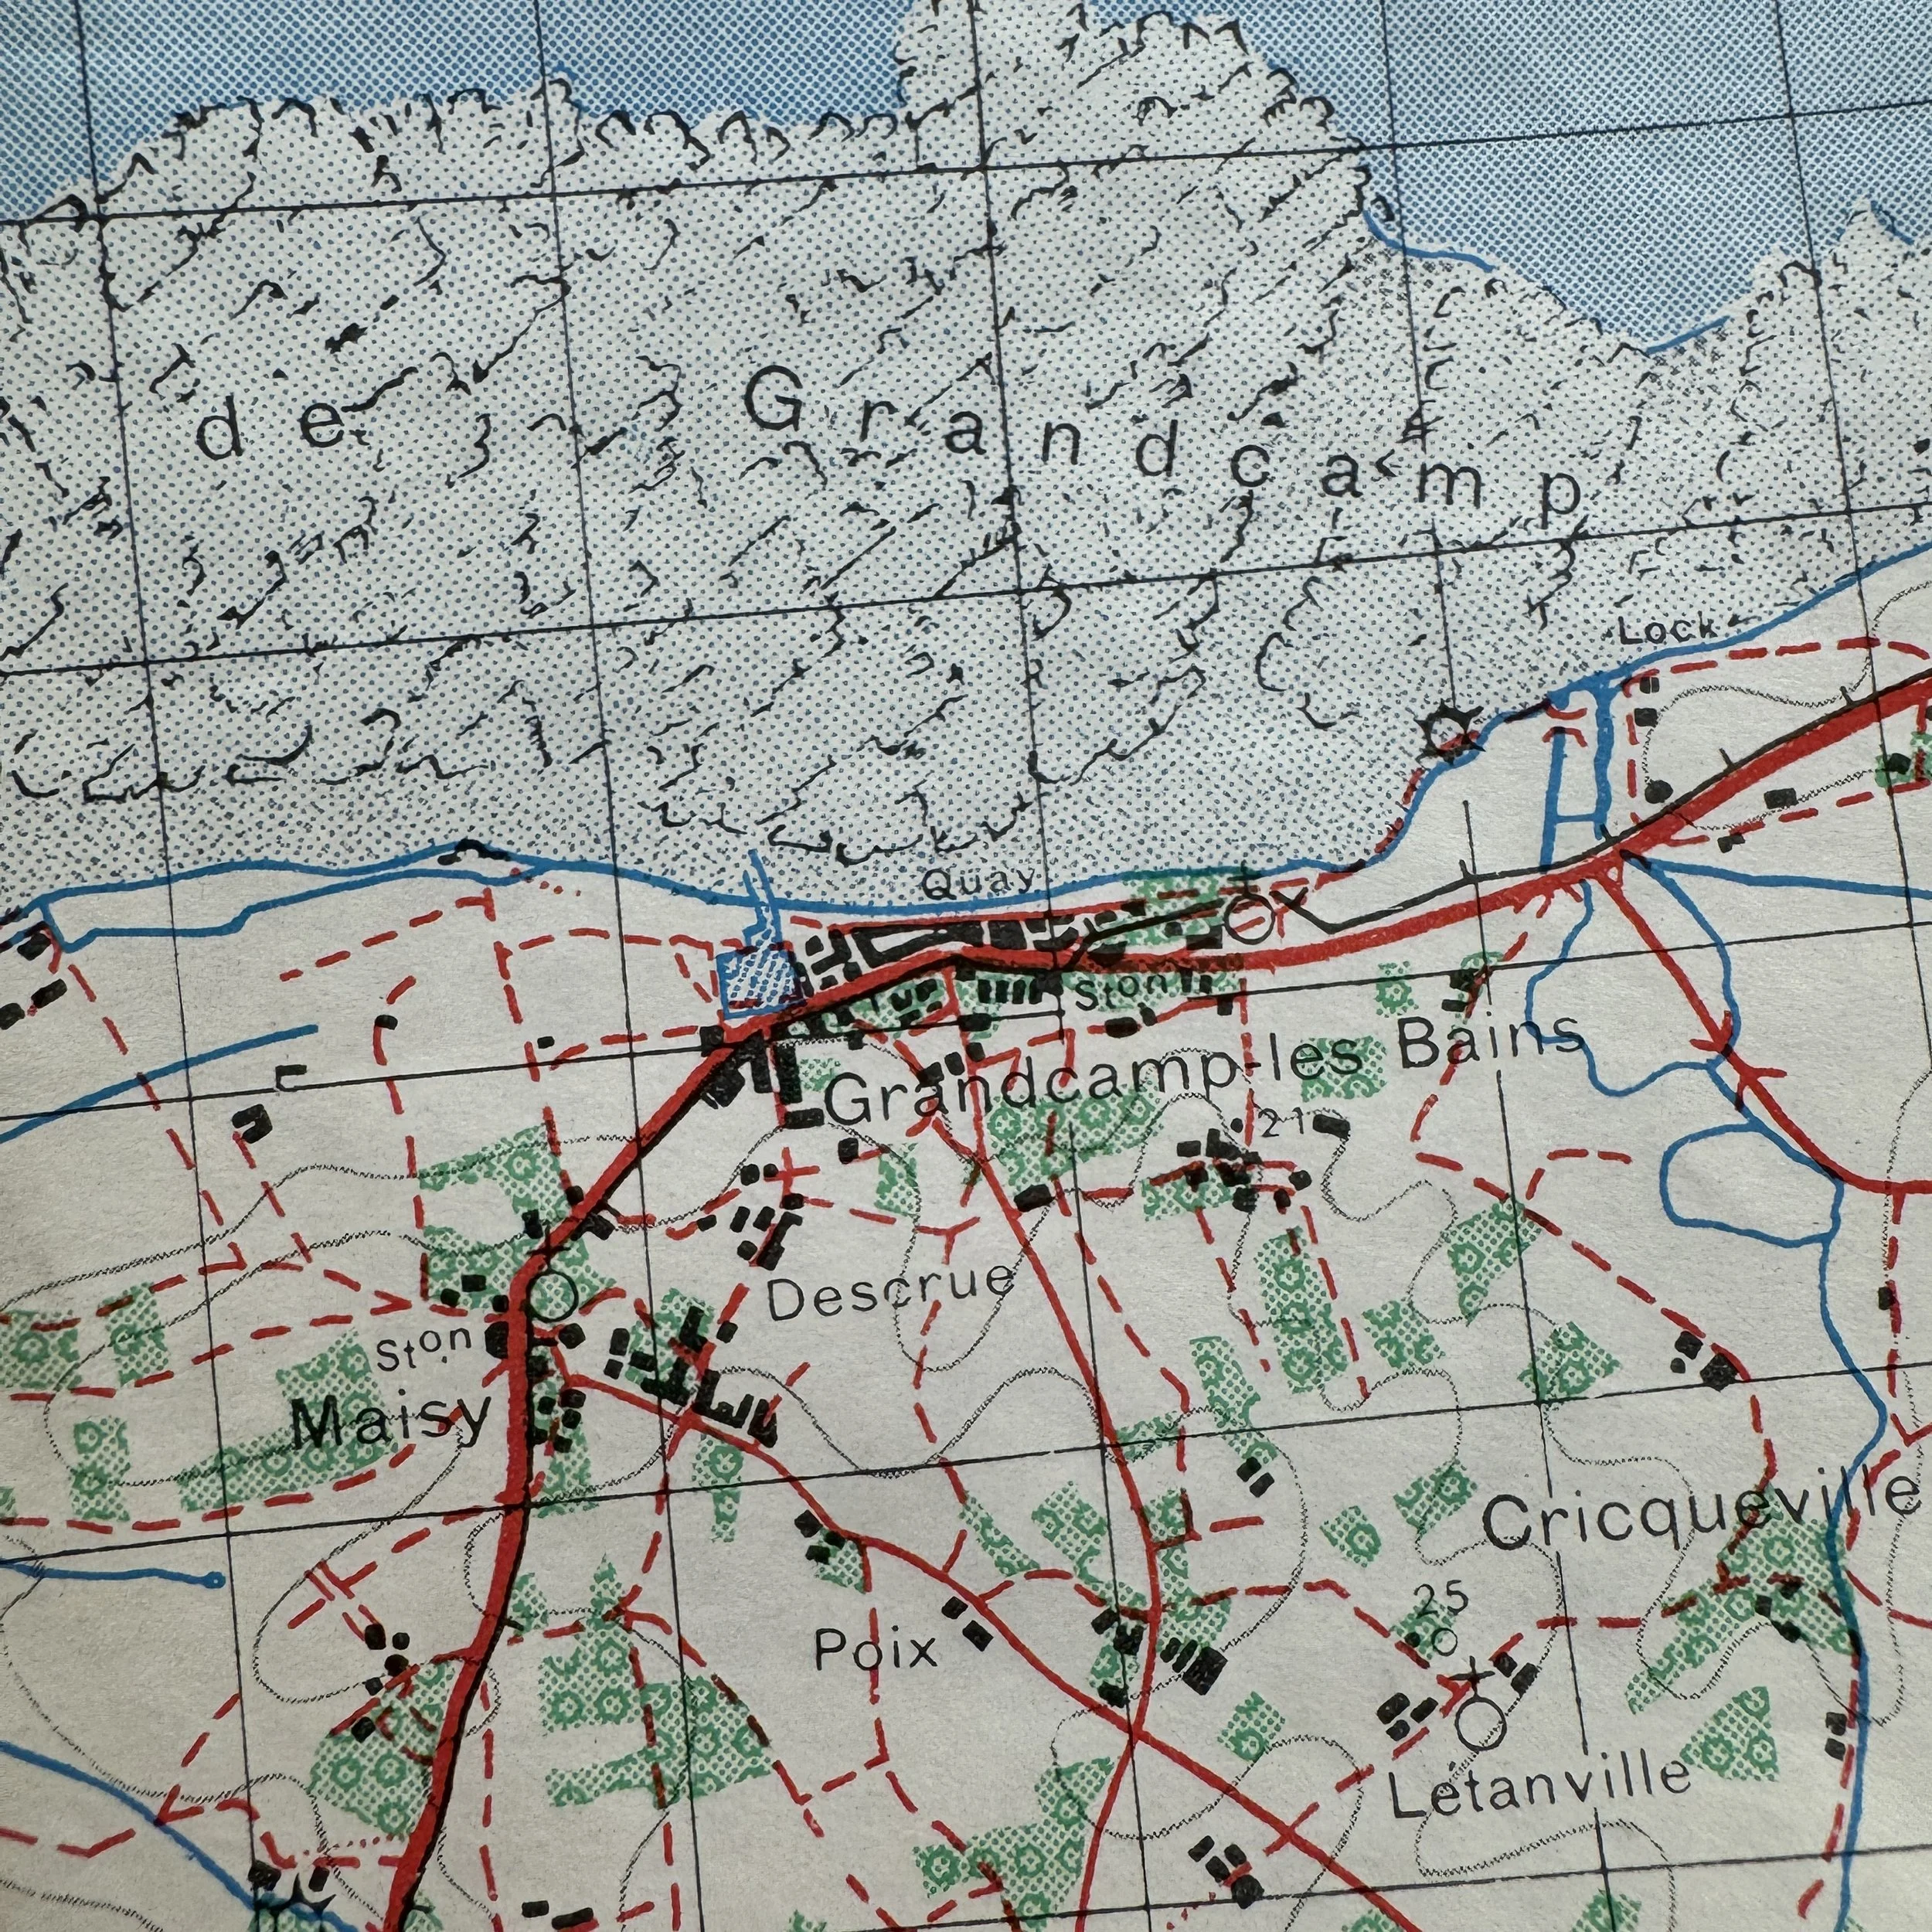
The map is historically significant not only for its coverage of Omaha Beach but also for its inclusion of the infamous Pointe du Hoc. Jutting into the English Channel, Pointe du Hoc threatened both Utah and Omaha Beaches with its long-range German artillery. Intelligence had identified massive 155mm guns emplaced in reinforced casemates, and neutralizing them was considered vital to the success of the landings. On D-Day, the 2nd and 5th Ranger Battalions under Lieutenant Colonel James Rudder scaled the 100-foot cliffs under fire to destroy the guns. Though the casemates proved empty, a two-man patrol soon discovered the weapons hidden inland, trained on Utah Beach. Using thermite grenades, the Rangers destroyed the elevating and traversing mechanisms, neutralizing the threat and securing one of the earliest Allied successes of the day, though at a cost of nearly half their strength.
Elsewhere on Omaha, the 1st and 29th Infantry Divisions faced some of the fiercest resistance of the entire Normandy campaign. The Germans of the 352nd Infantry Division had fortified the beach with minefields, trenches, barbed wire, and interlocking fields of fire from concrete casemates. At Dog Green sector, Company A of the 116th Infantry Regiment, part of the 29th Division and composed largely of Virginia National Guard troops, landed directly in front of the Vierville Draw. They were met with a storm of machine-gun fire, mortar rounds, and artillery. Entire landing craft were wiped out within minutes, including LCA 1015, where all 30 men perished, among them Captain Taylor Fellers. Survivors were reduced to clinging to the shingle bank or crawling forward under relentless fire. In Charlie and Easy Red sectors, the 1st Infantry Division fared only slightly better. Their combat experience allowed scattered groups to reorganize and push slowly inland, but casualties were heavy and leadership was decimated in the opening minutes.
By the end of June 6th, Omaha Beach had become synonymous with sacrifice. More than 2,400 American casualties were sustained there in a single day. Yet through acts of extraordinary heroism, shattered companies and small groups of survivors managed to secure a fragile foothold on the bluffs. Engineers blew paths through obstacles. Soldiers carried the wounded from the rising tide at the risk of their own lives. Junior officers and enlisted men rallied their comrades where higher leadership had fallen. Against impossible odds, they overcame the defenses of WN 71, 72, and 73, and began the breakout from the beach.